|


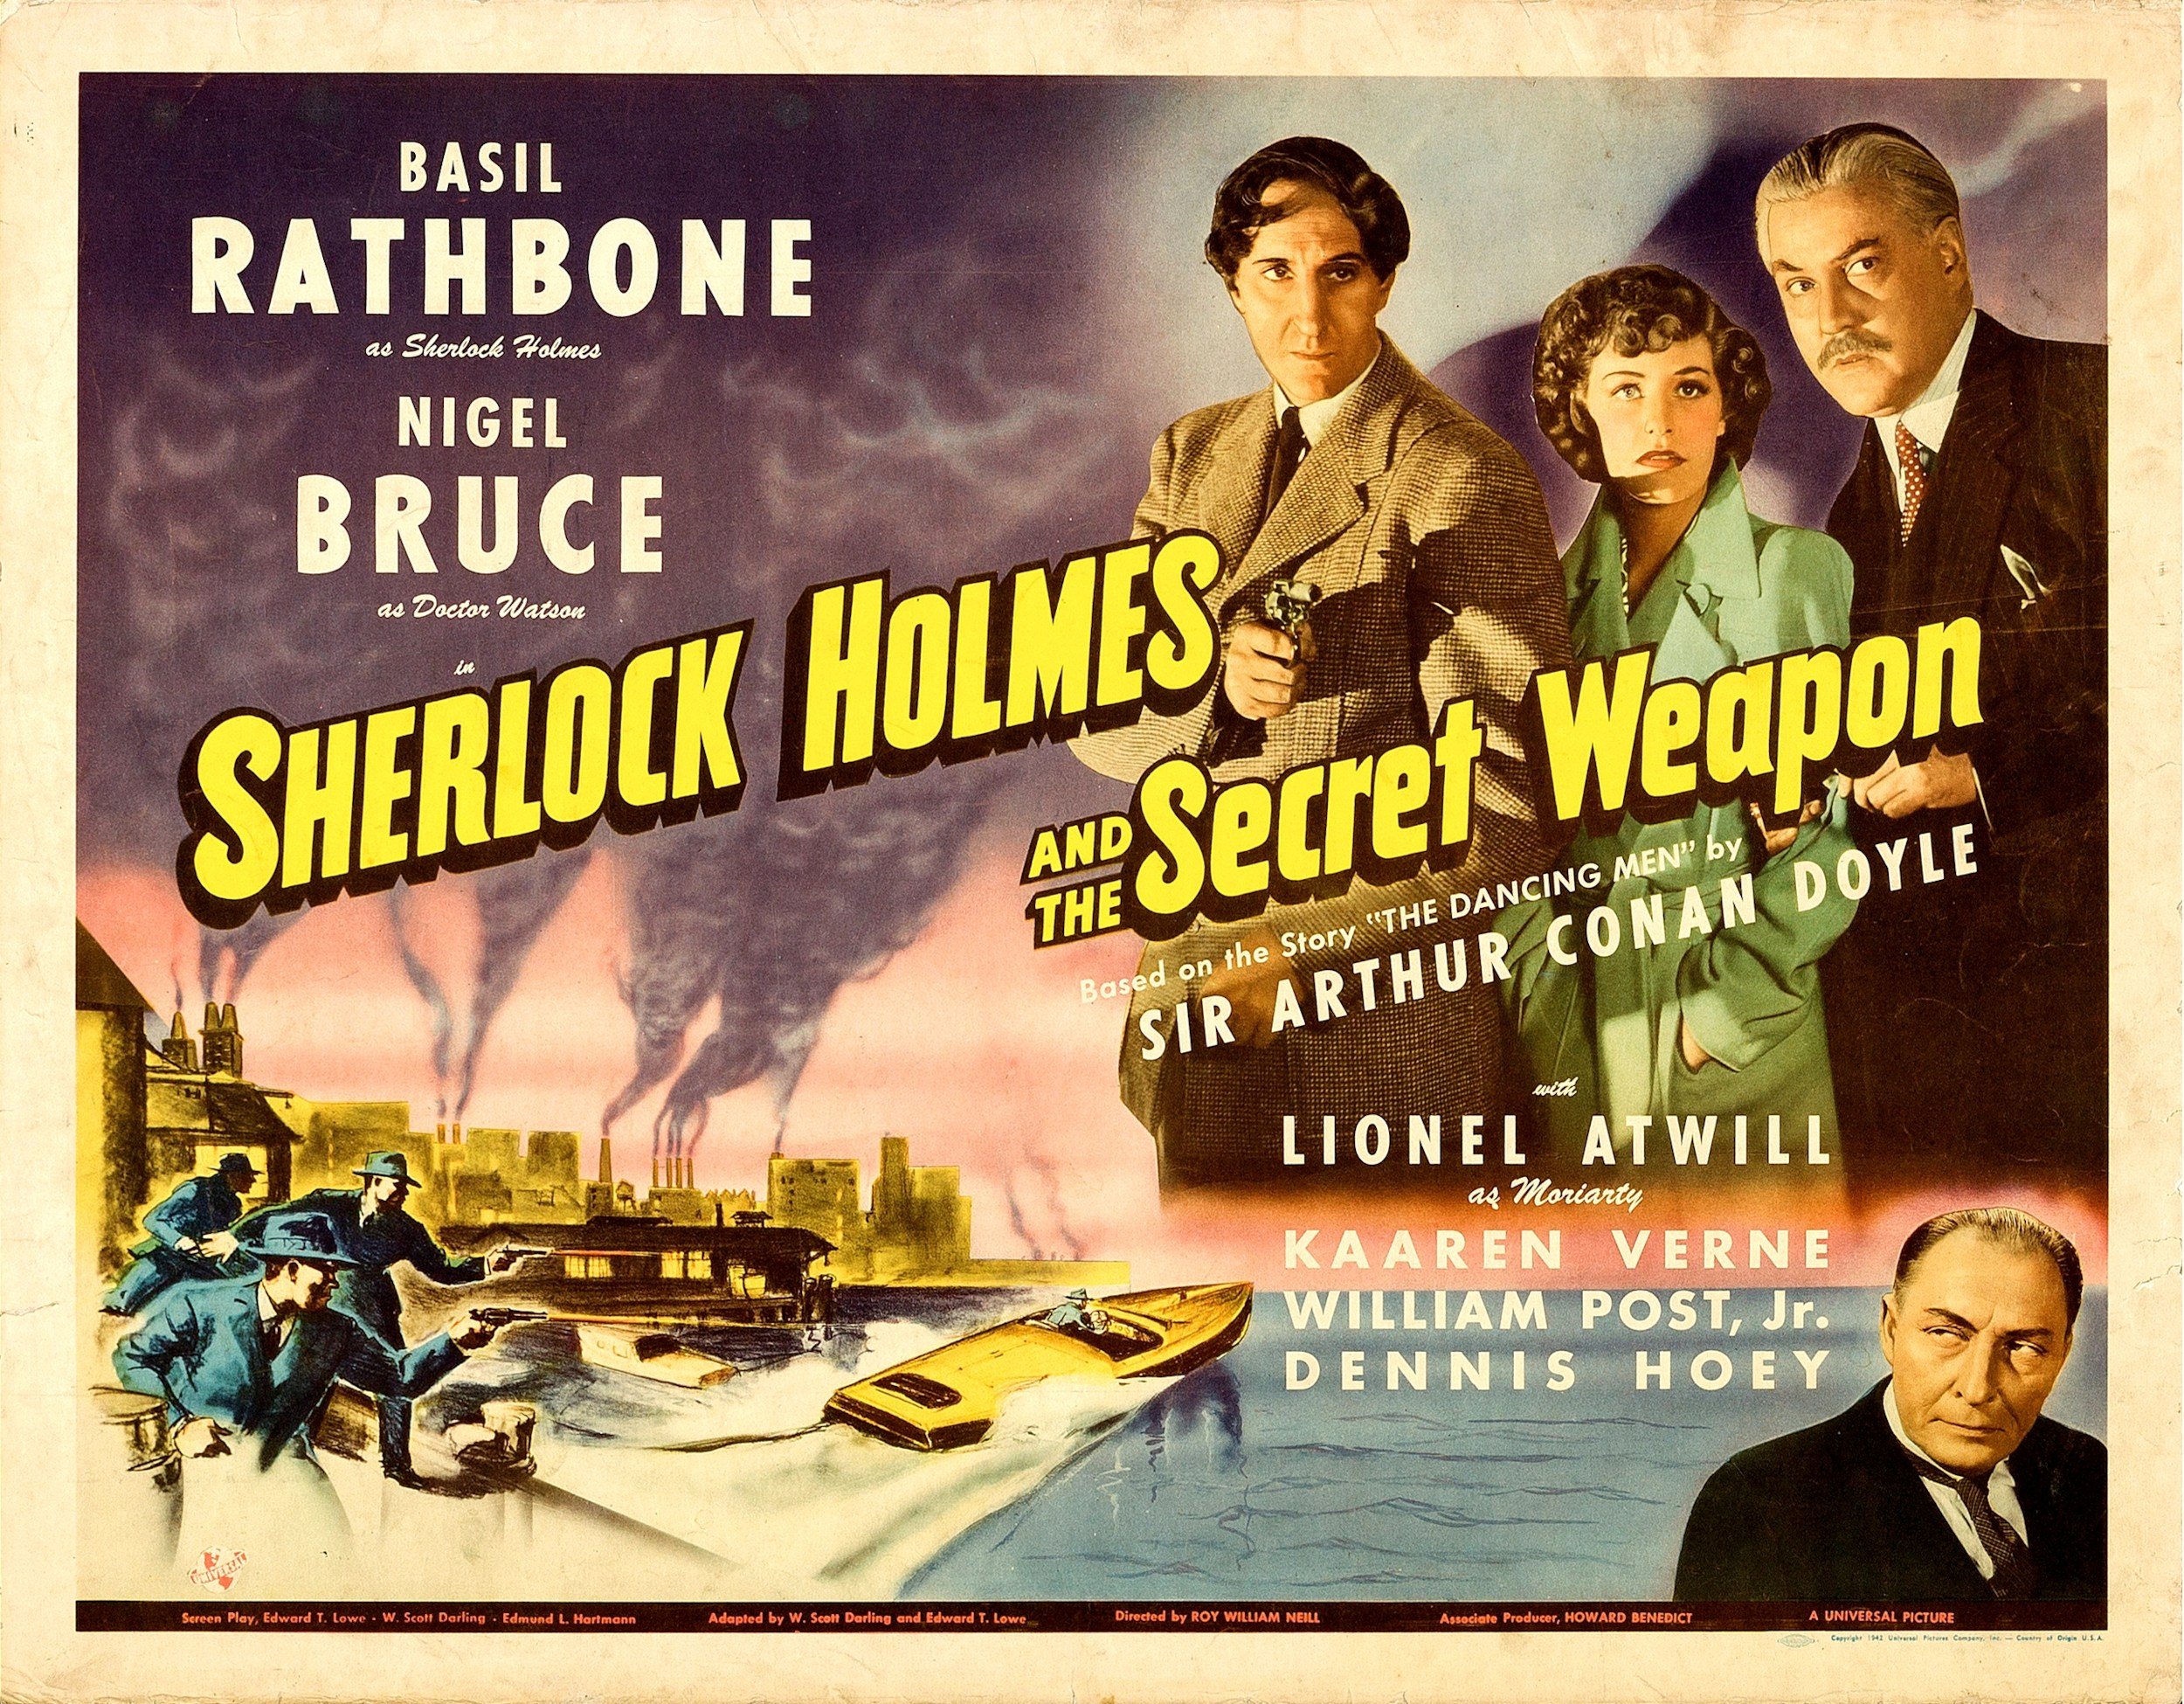
Sherlock
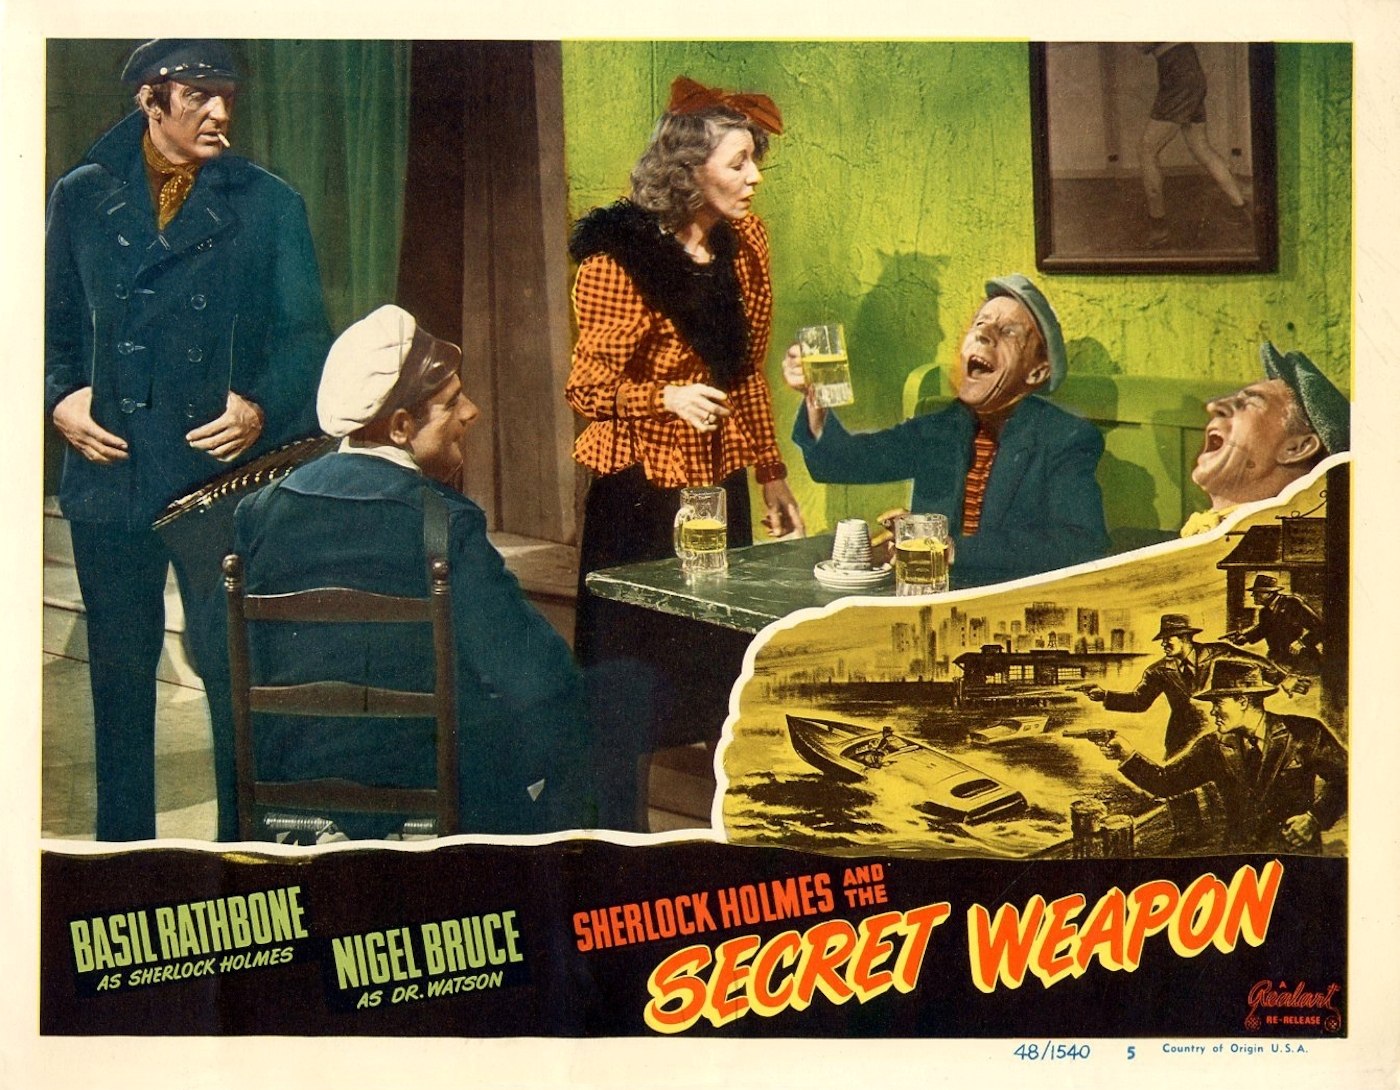
Holmes and the Secret Weapon
|
||||||||||||||||||||||||||||||||||||||||||||||||||||||||||||||||||
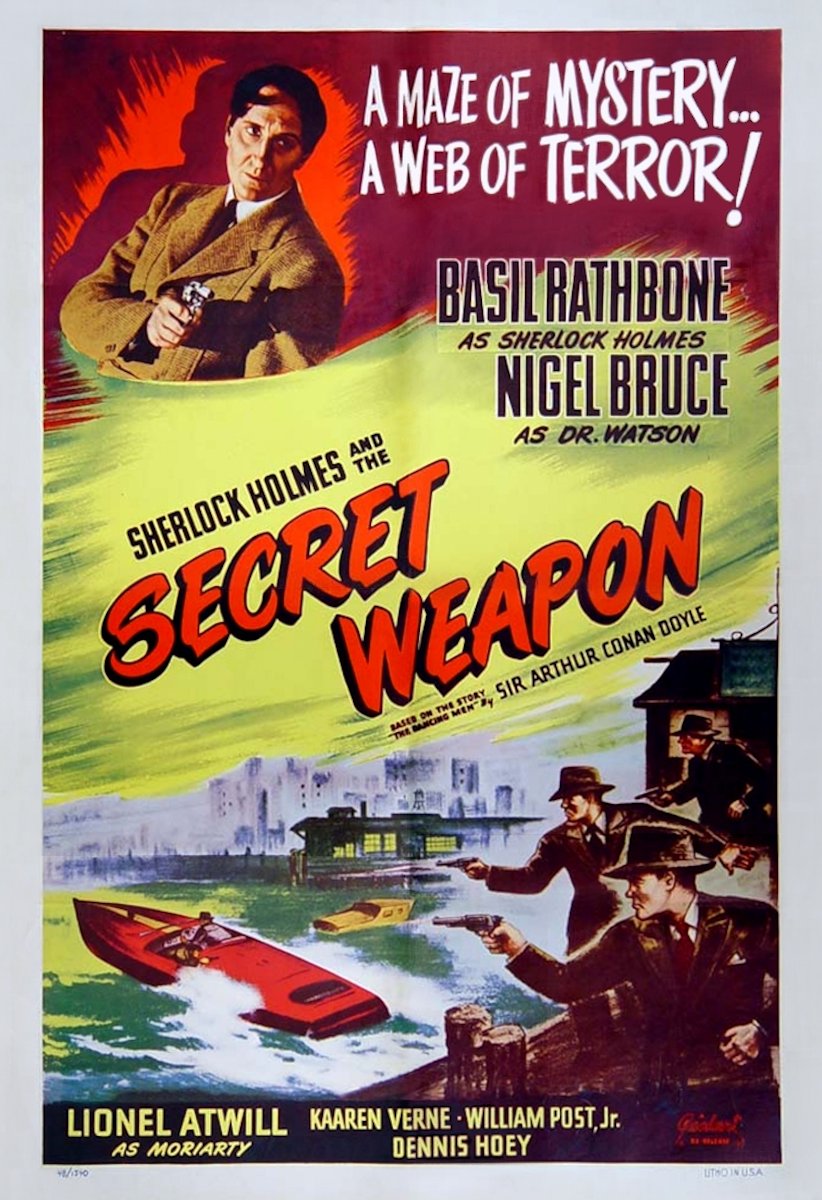
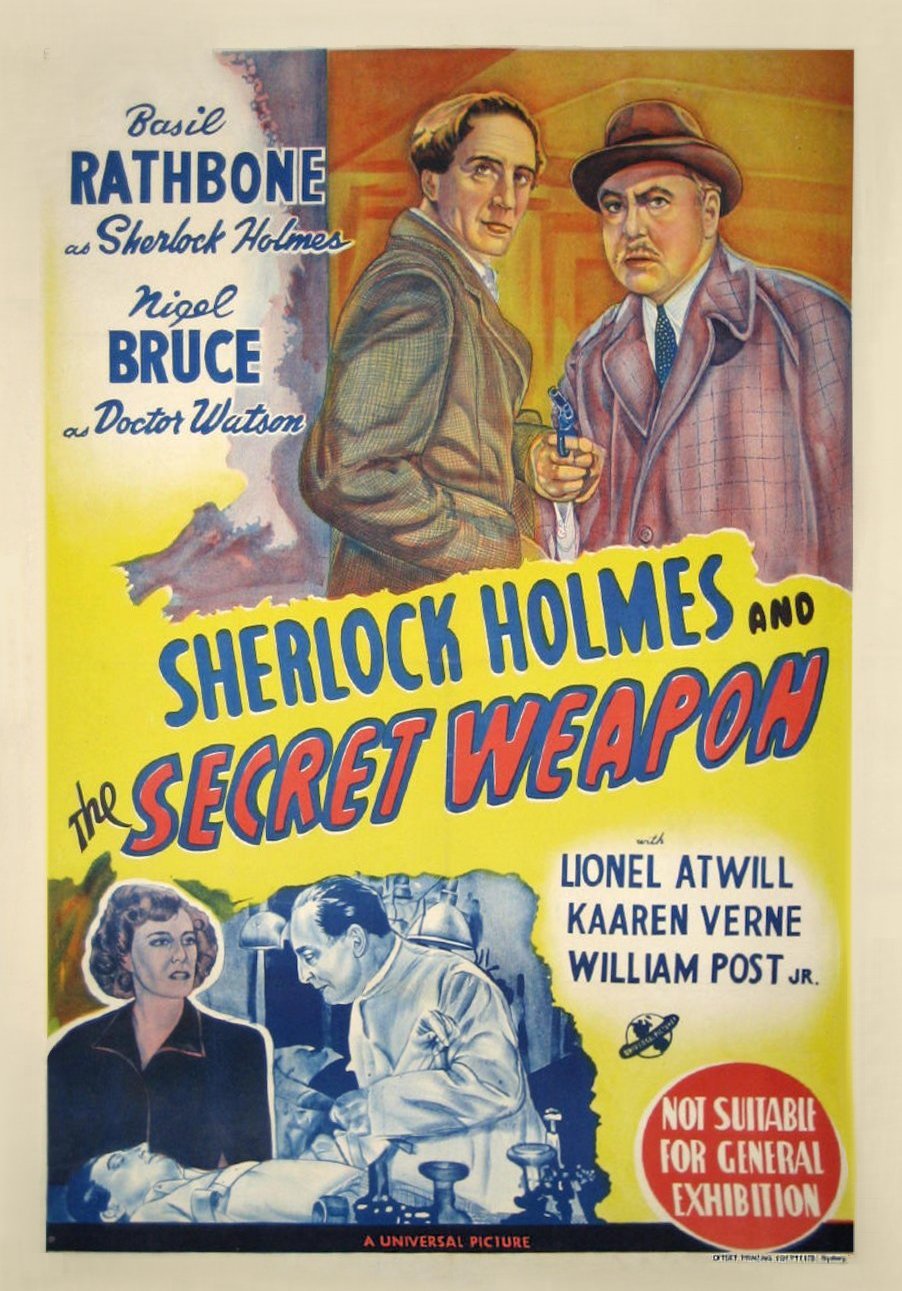
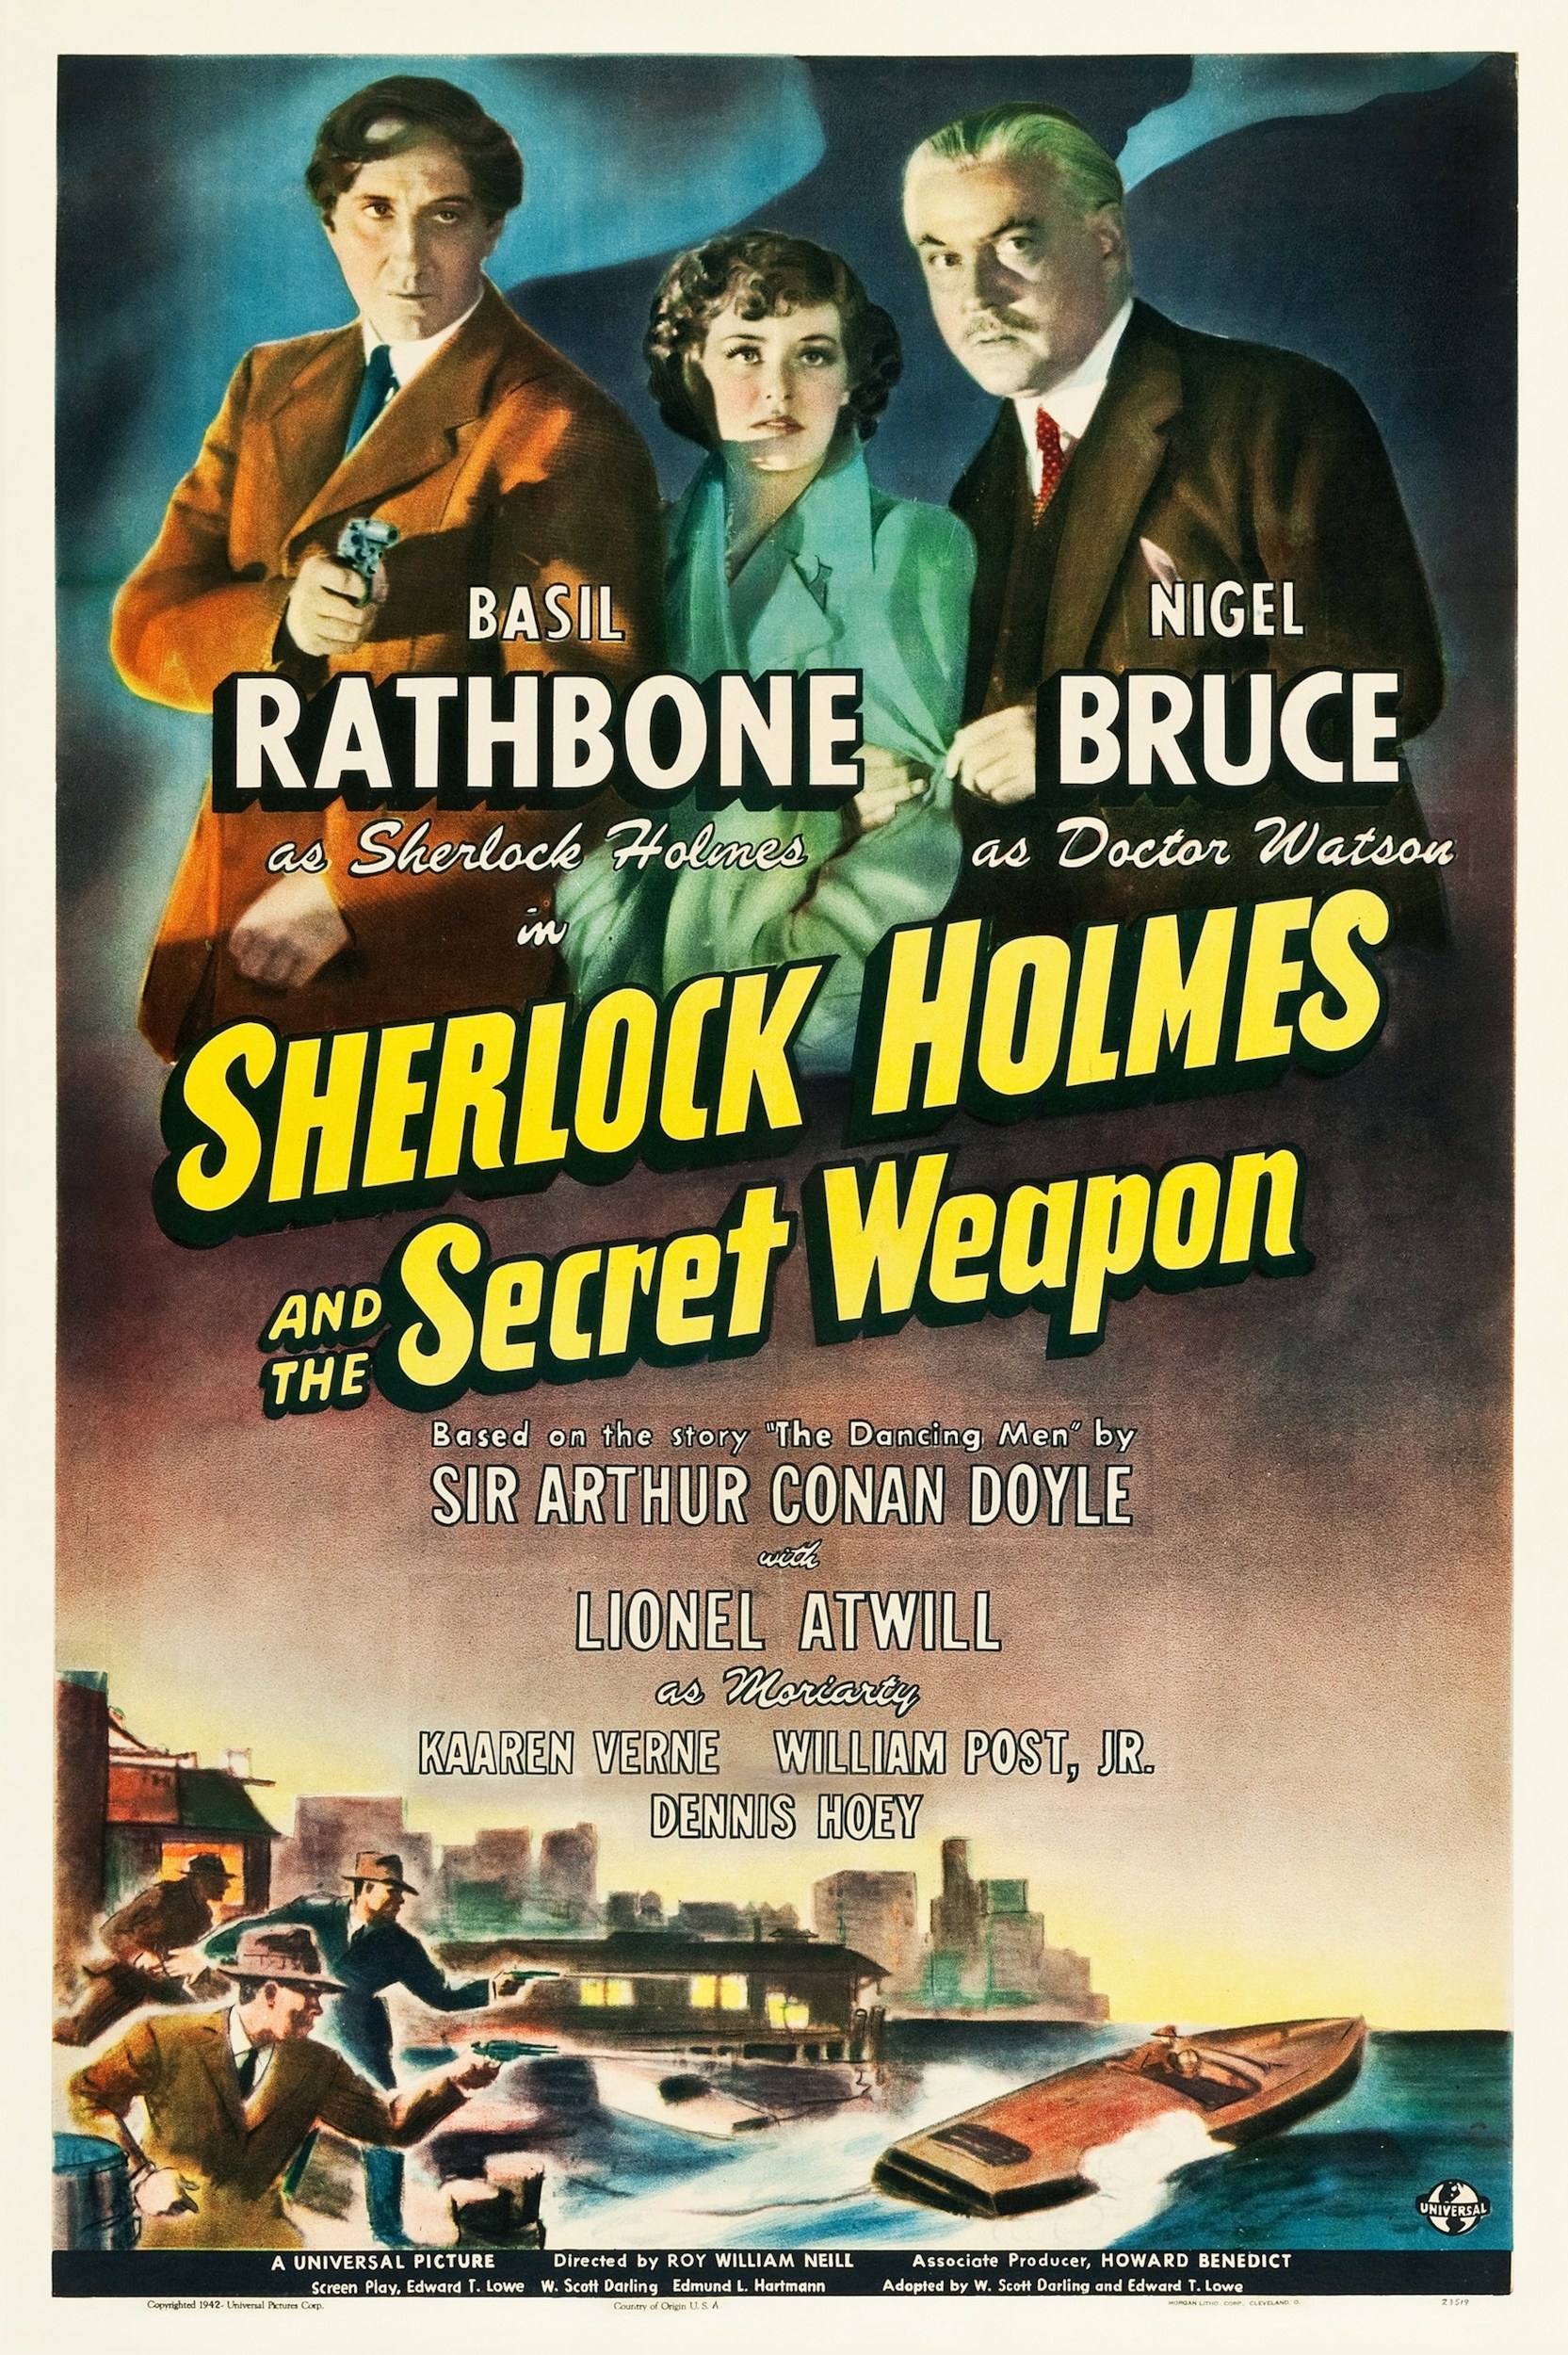 one sheet poster, 1942 |
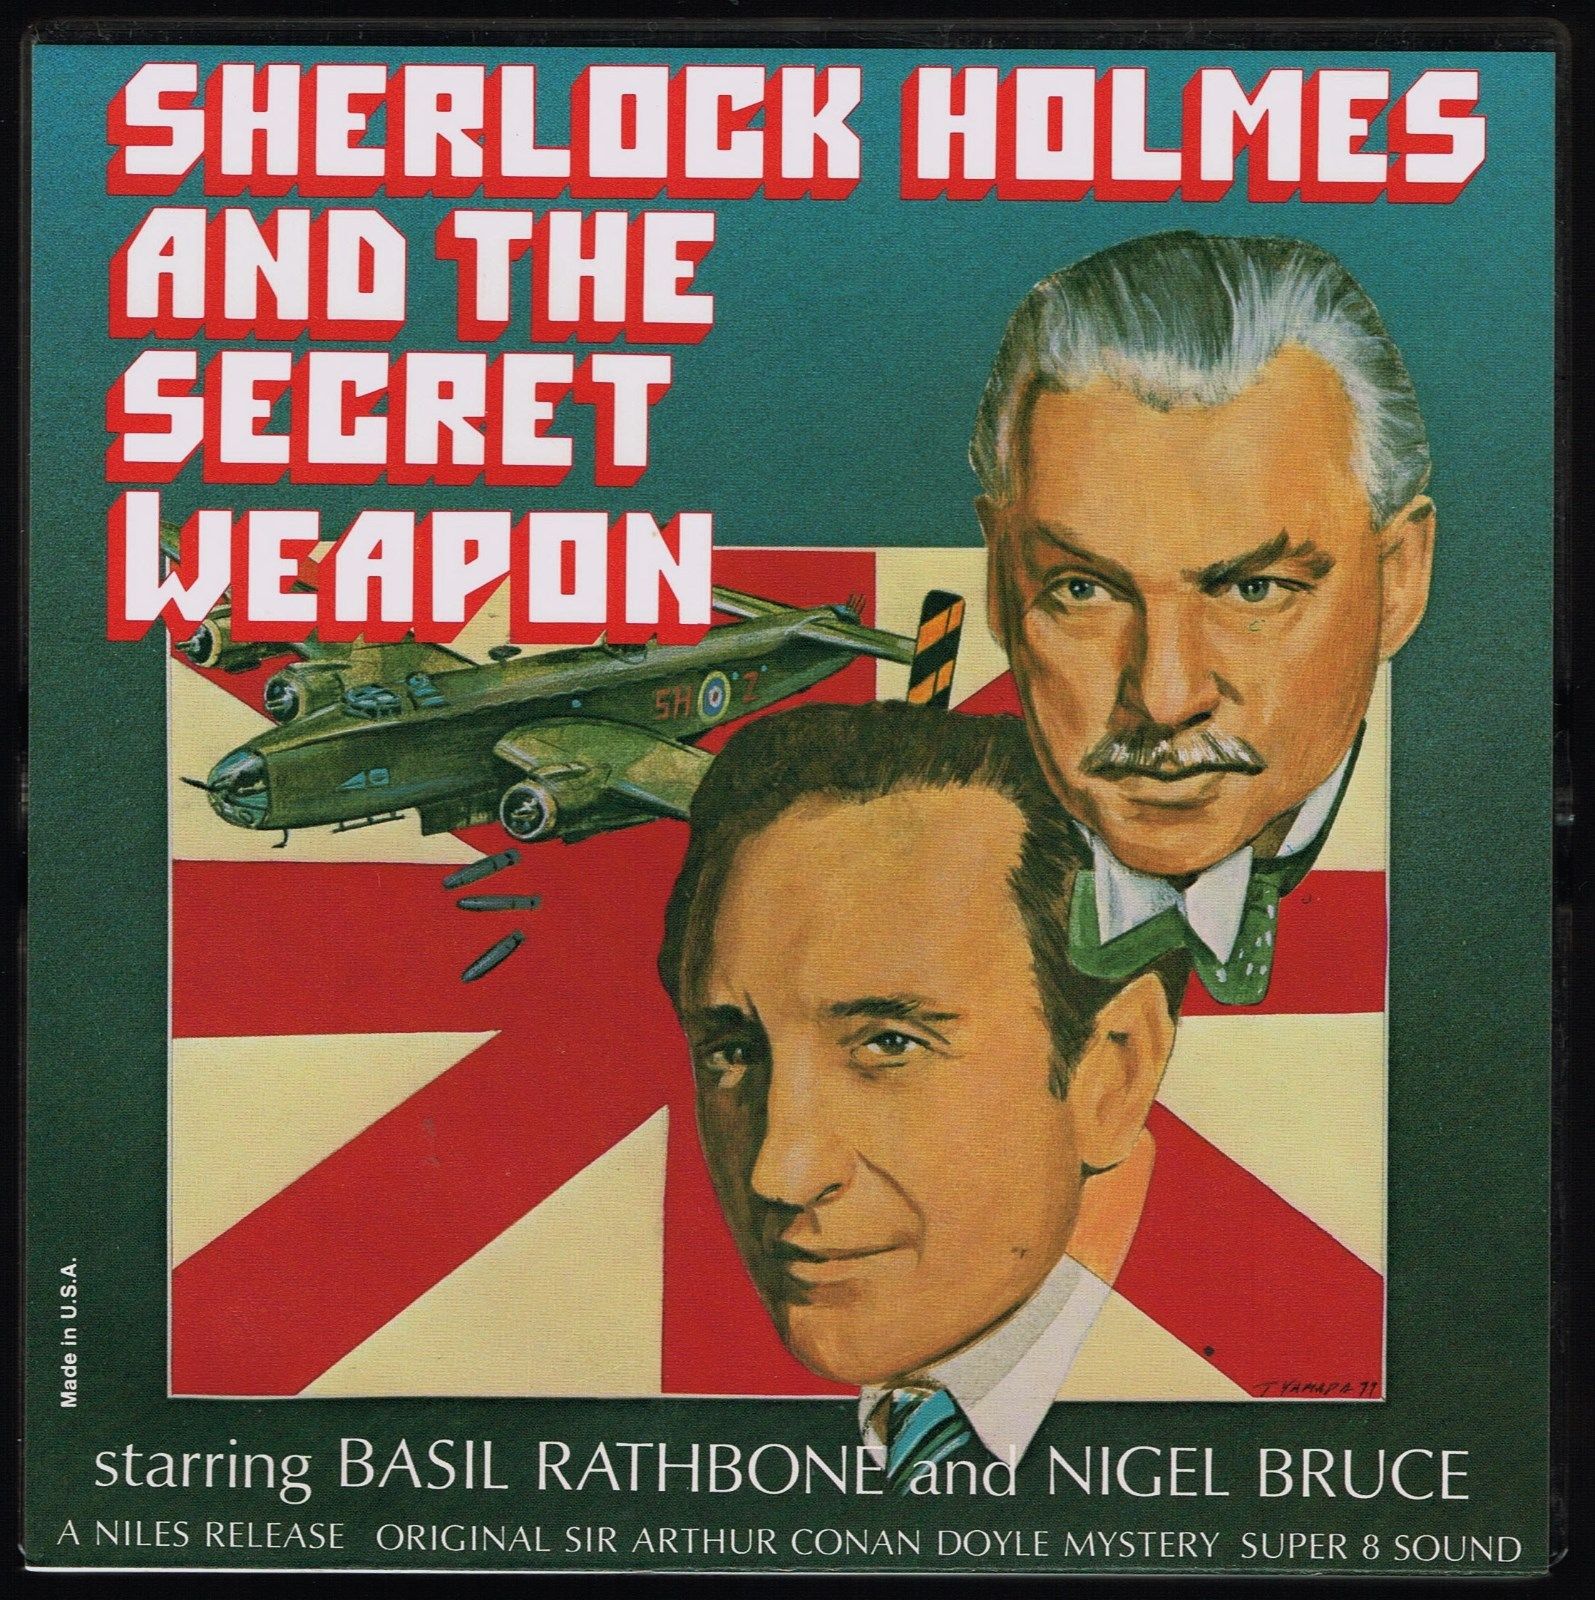
 re-release one sheet poster, 1948 |
|||
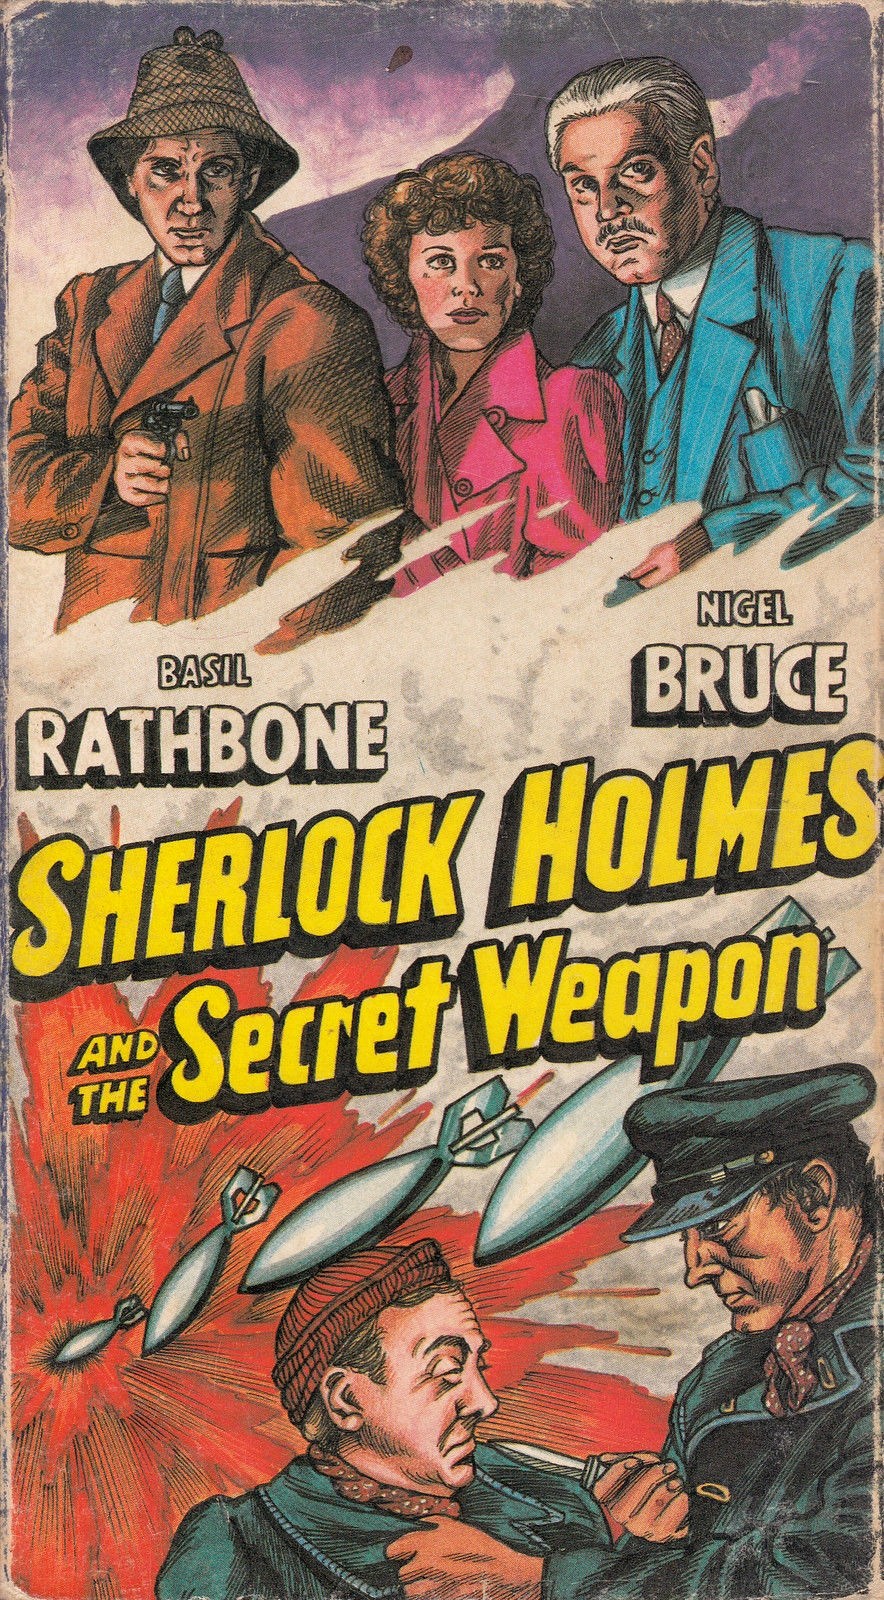
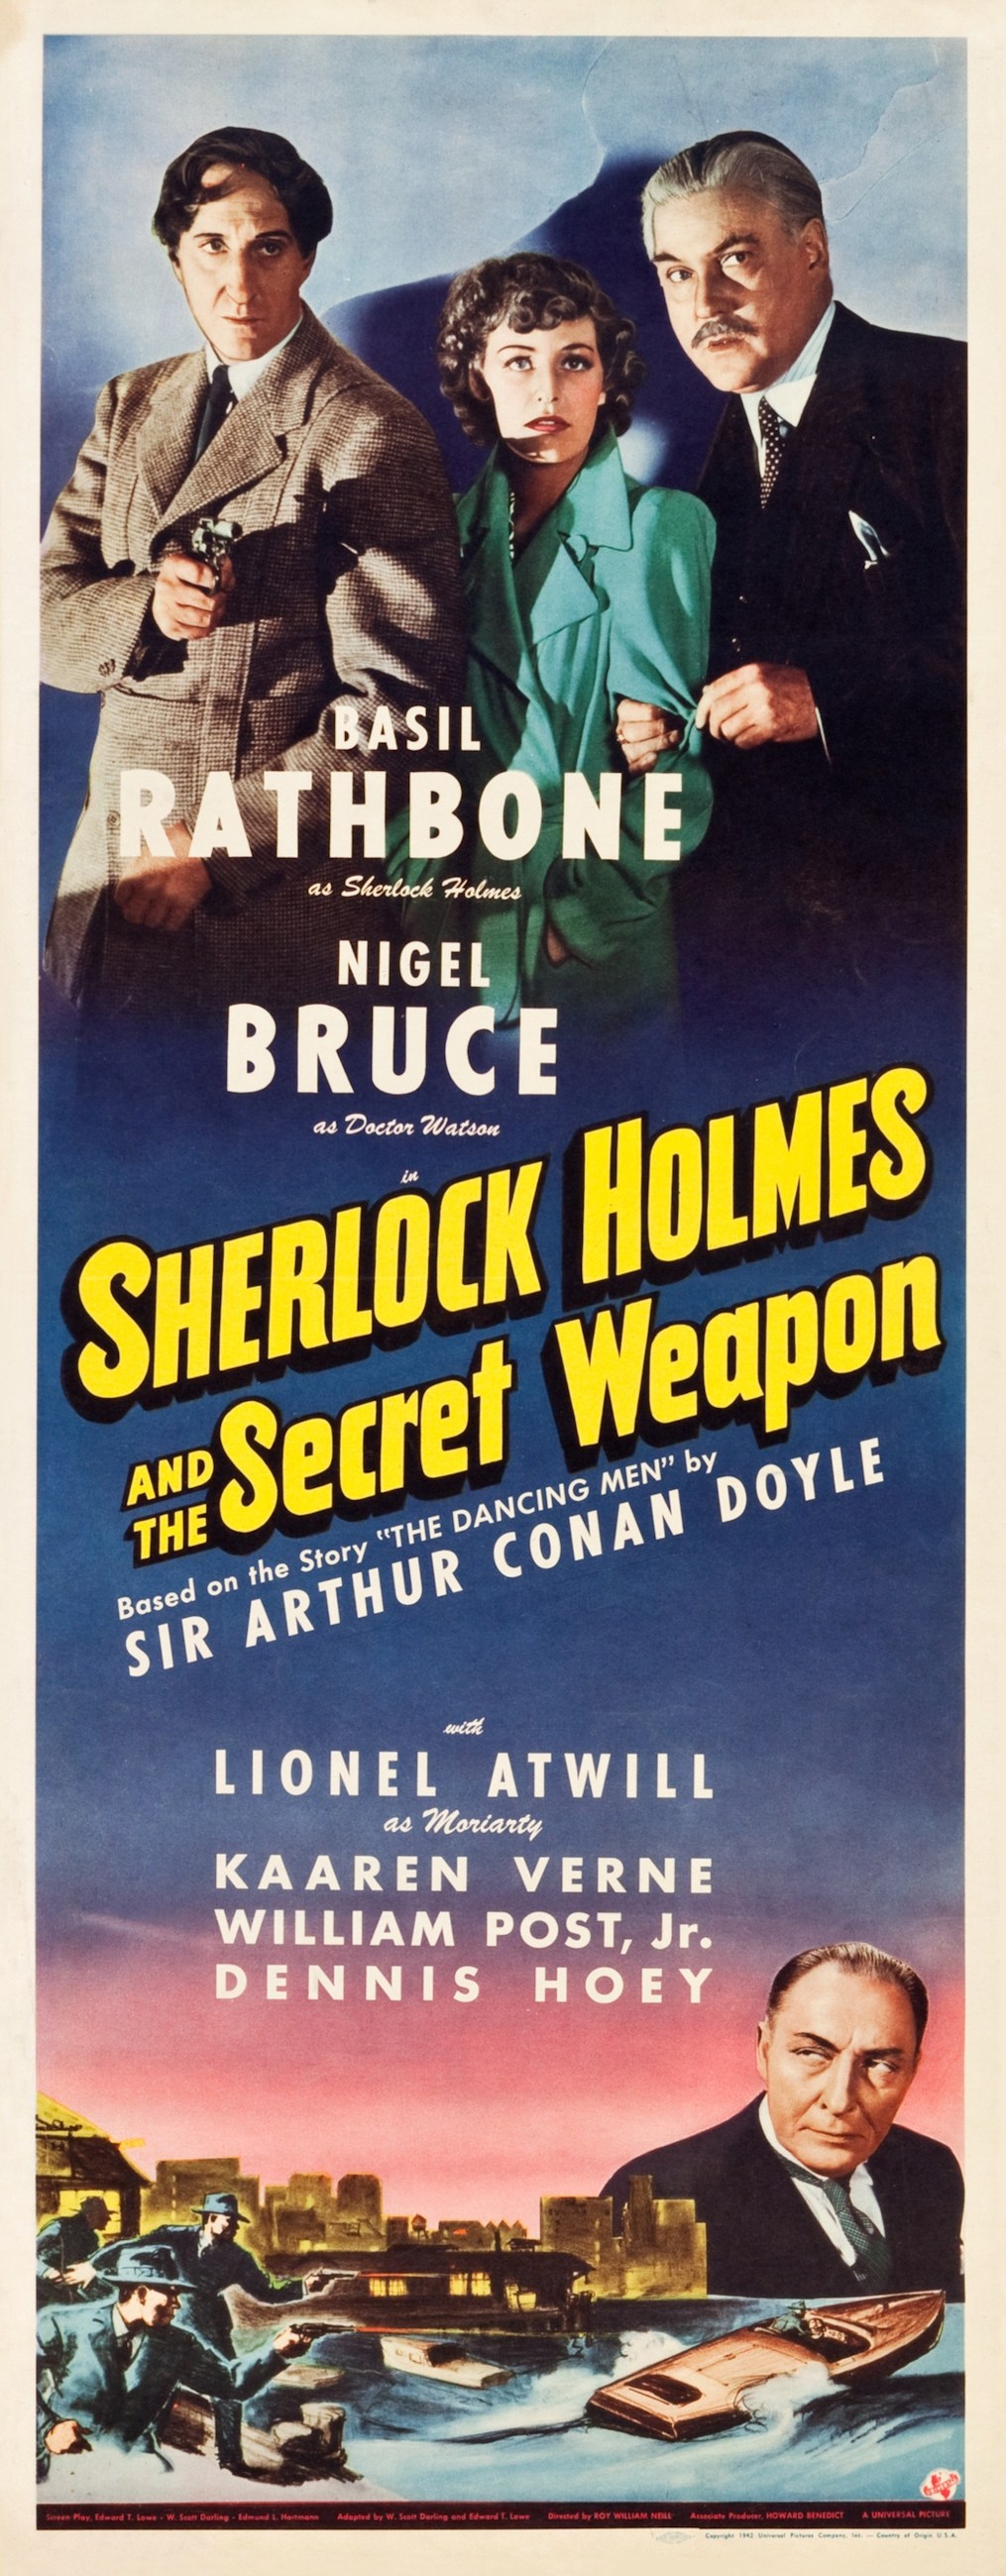 insert, 1942 original release |
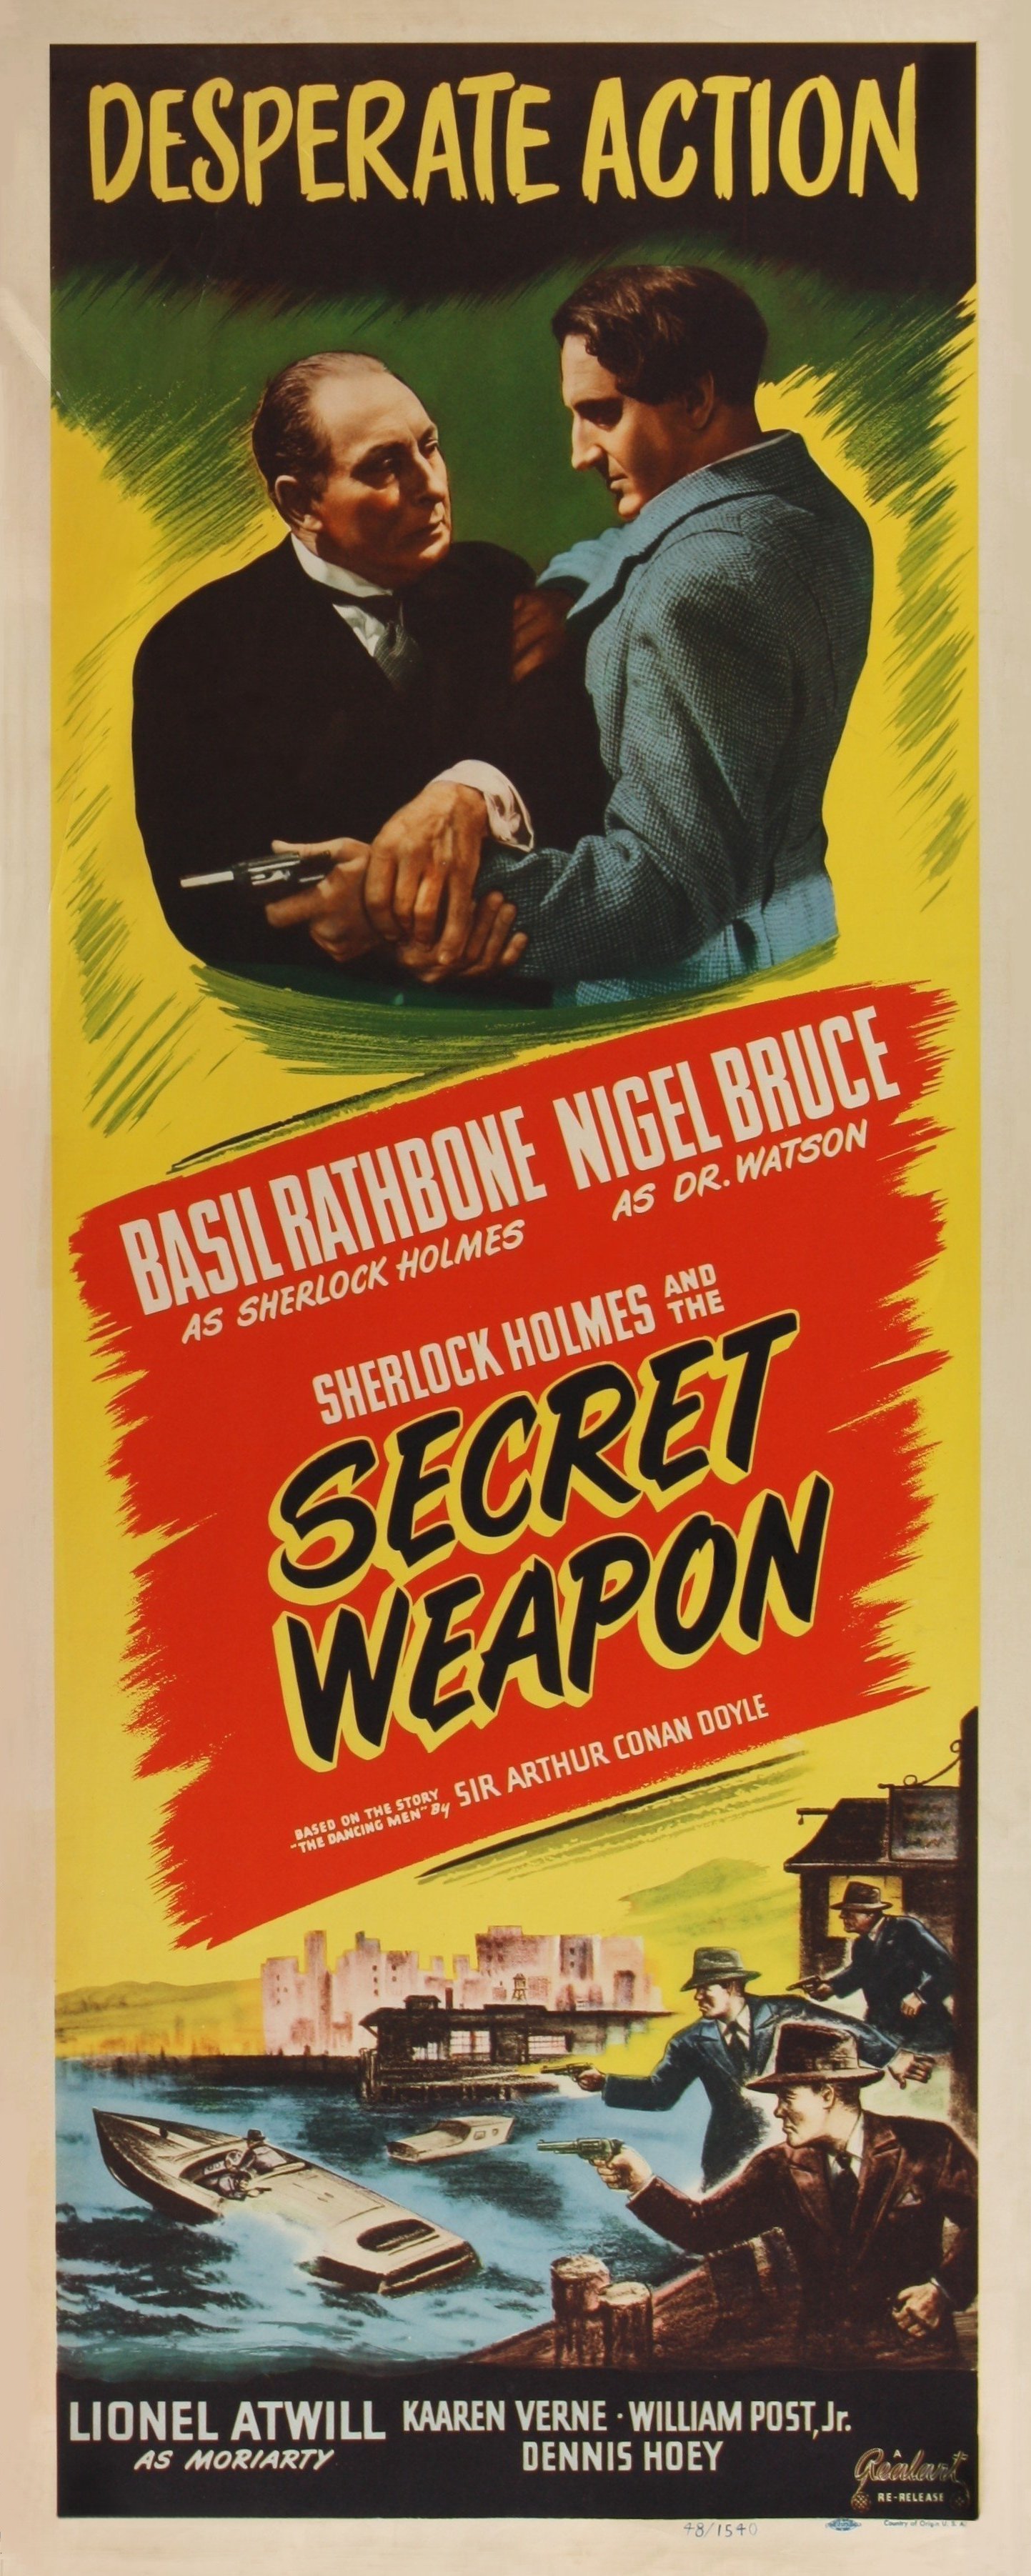 insert, 1948 re-release |
|||
|
 German poster |
|||
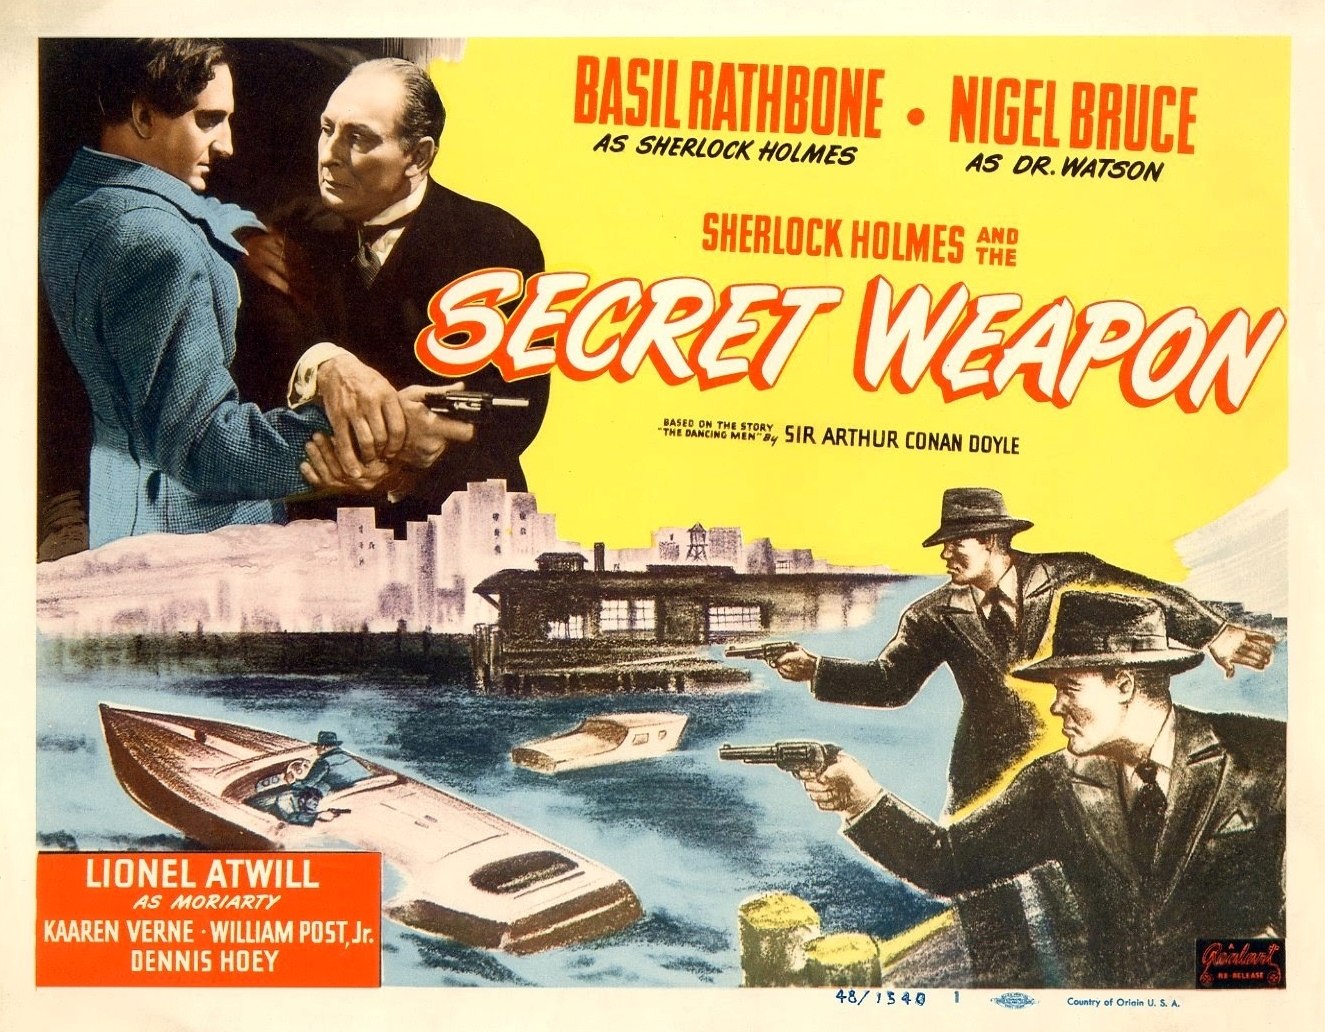 a Realart re-release half sheet, 1948 |
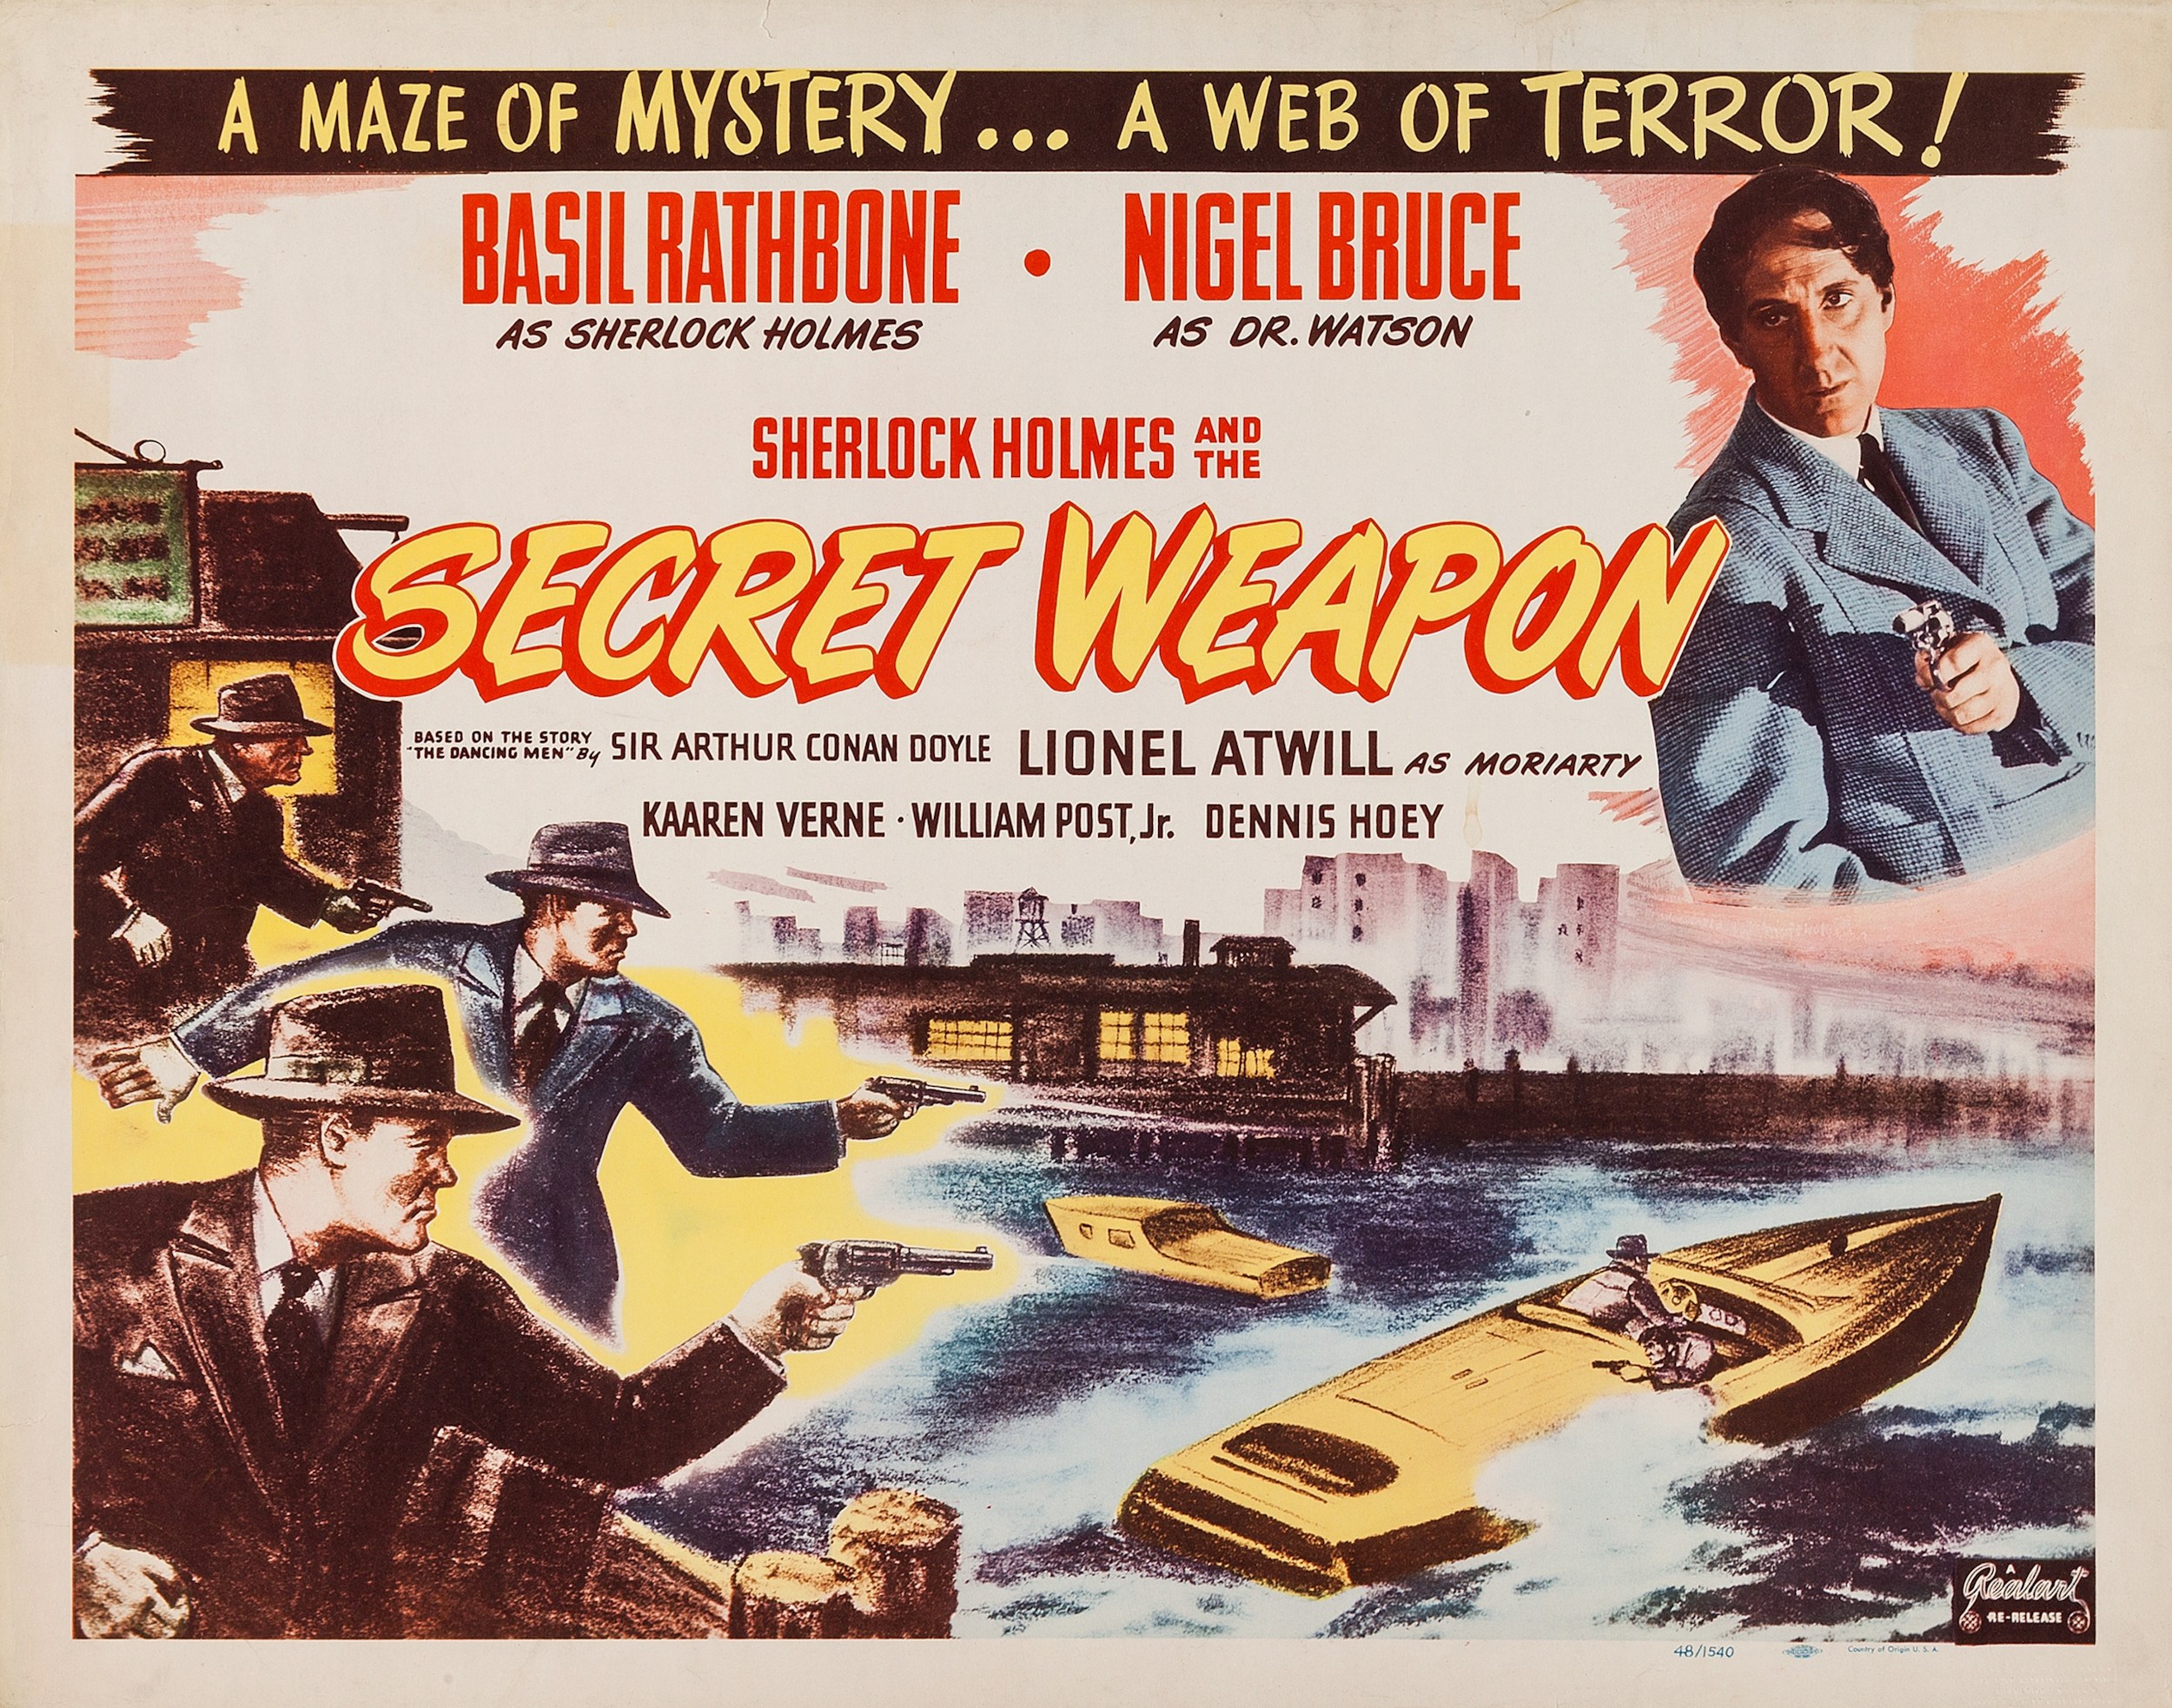 another re-release half sheet, 1948 |
|||
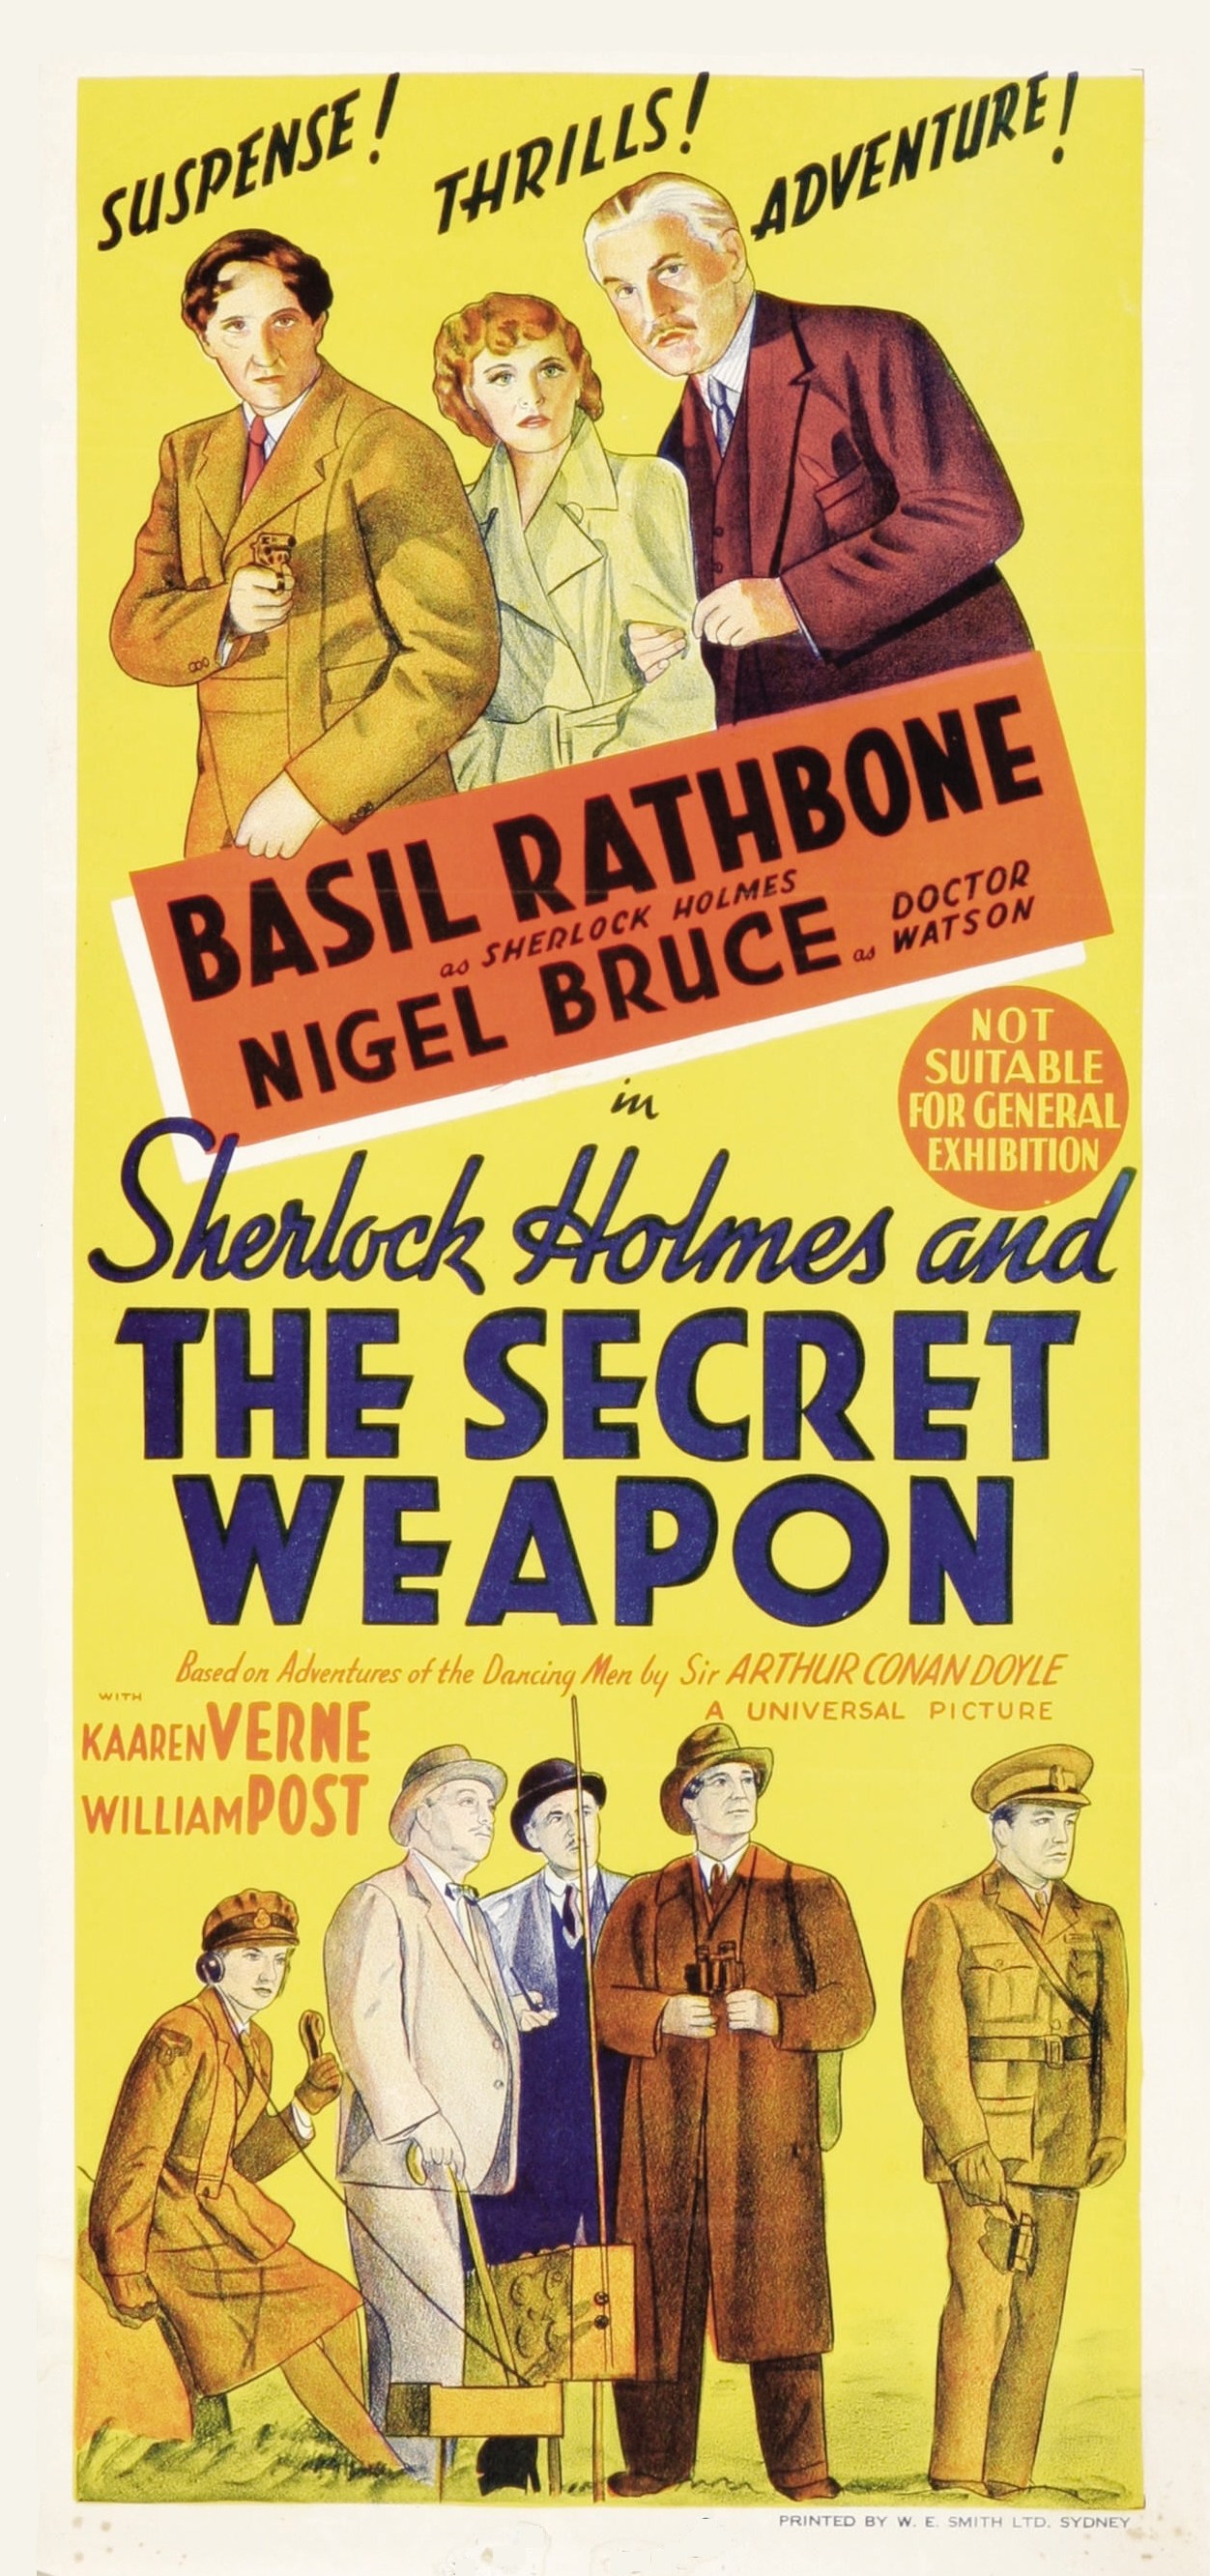 Australian daybill |
 Australian daybill, different style |
|||
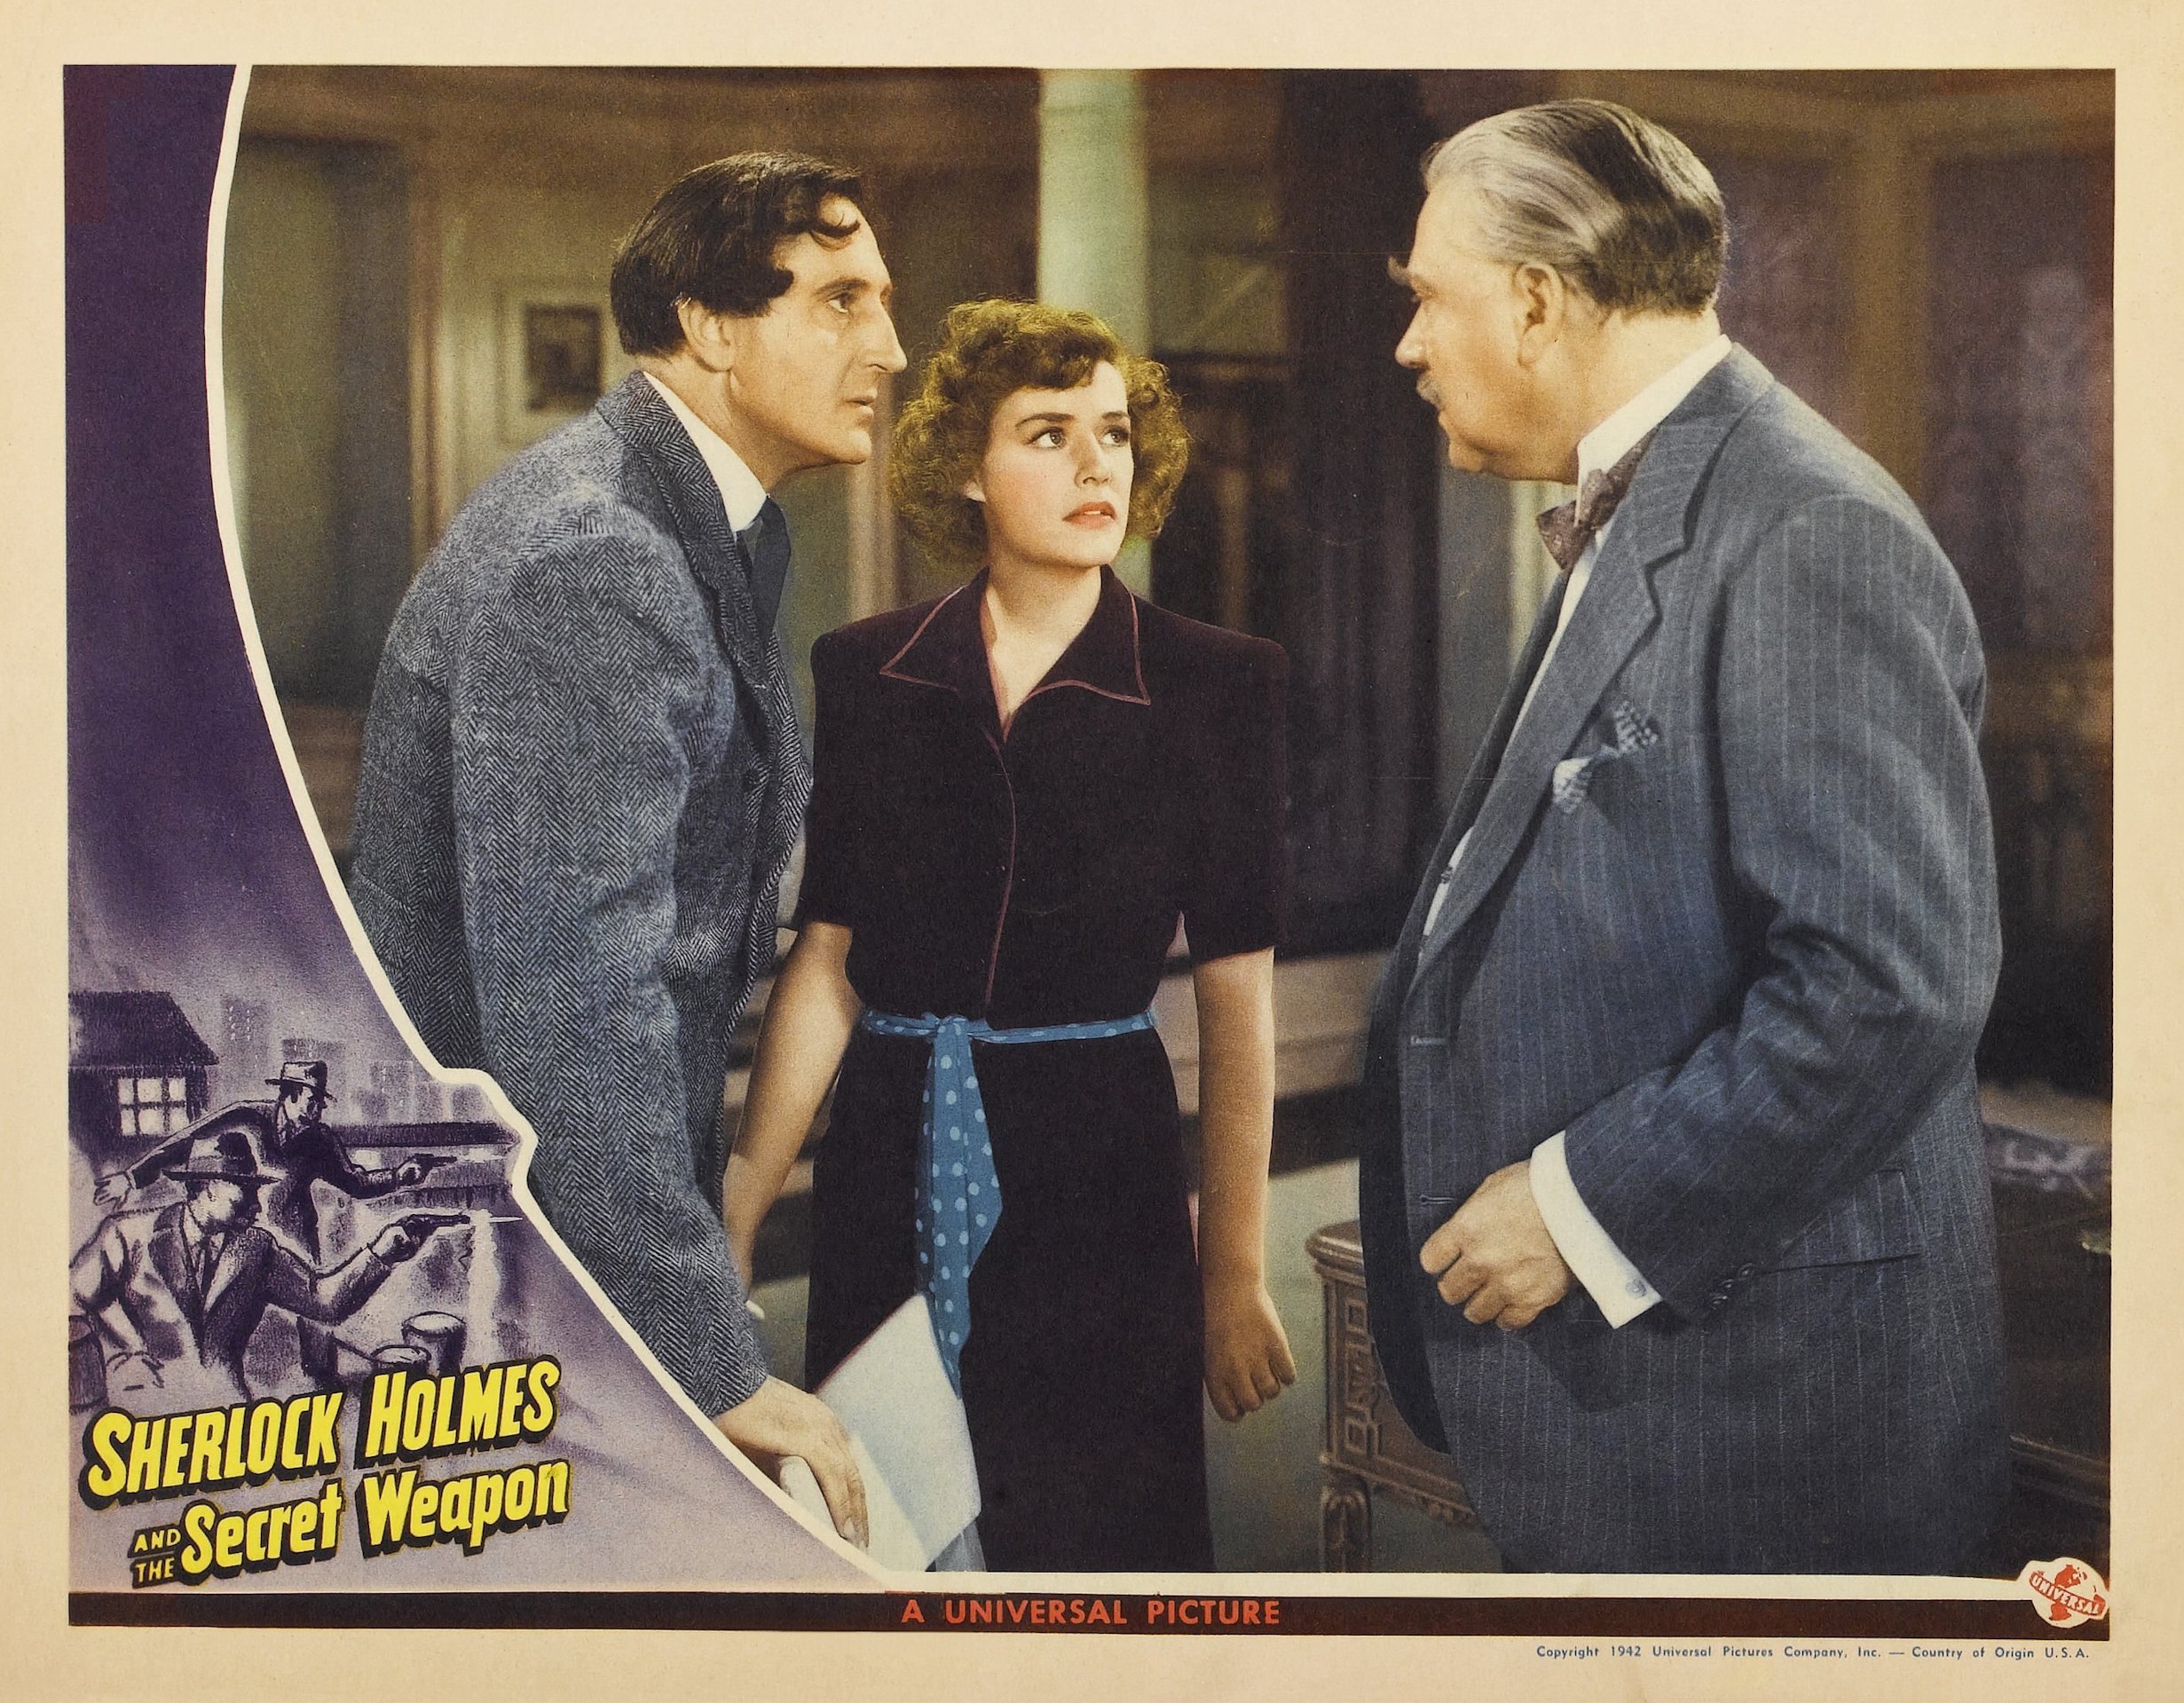
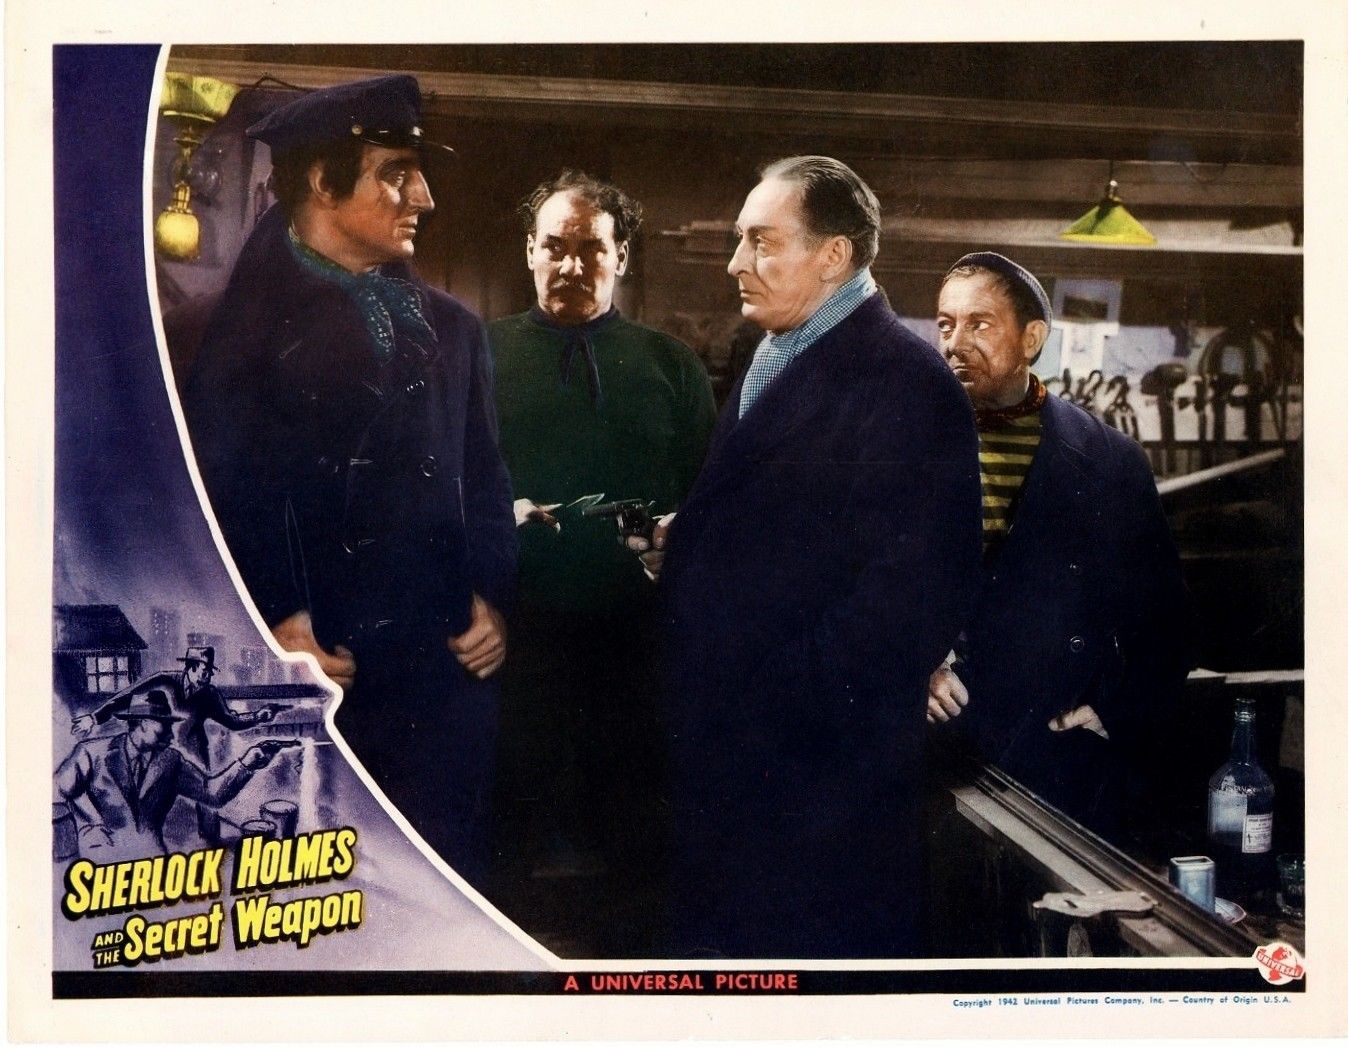
| Lobby cards from the original 1942 release: | ||||
 |
 |
|||
 |
 |
|||
 |
 |
|||
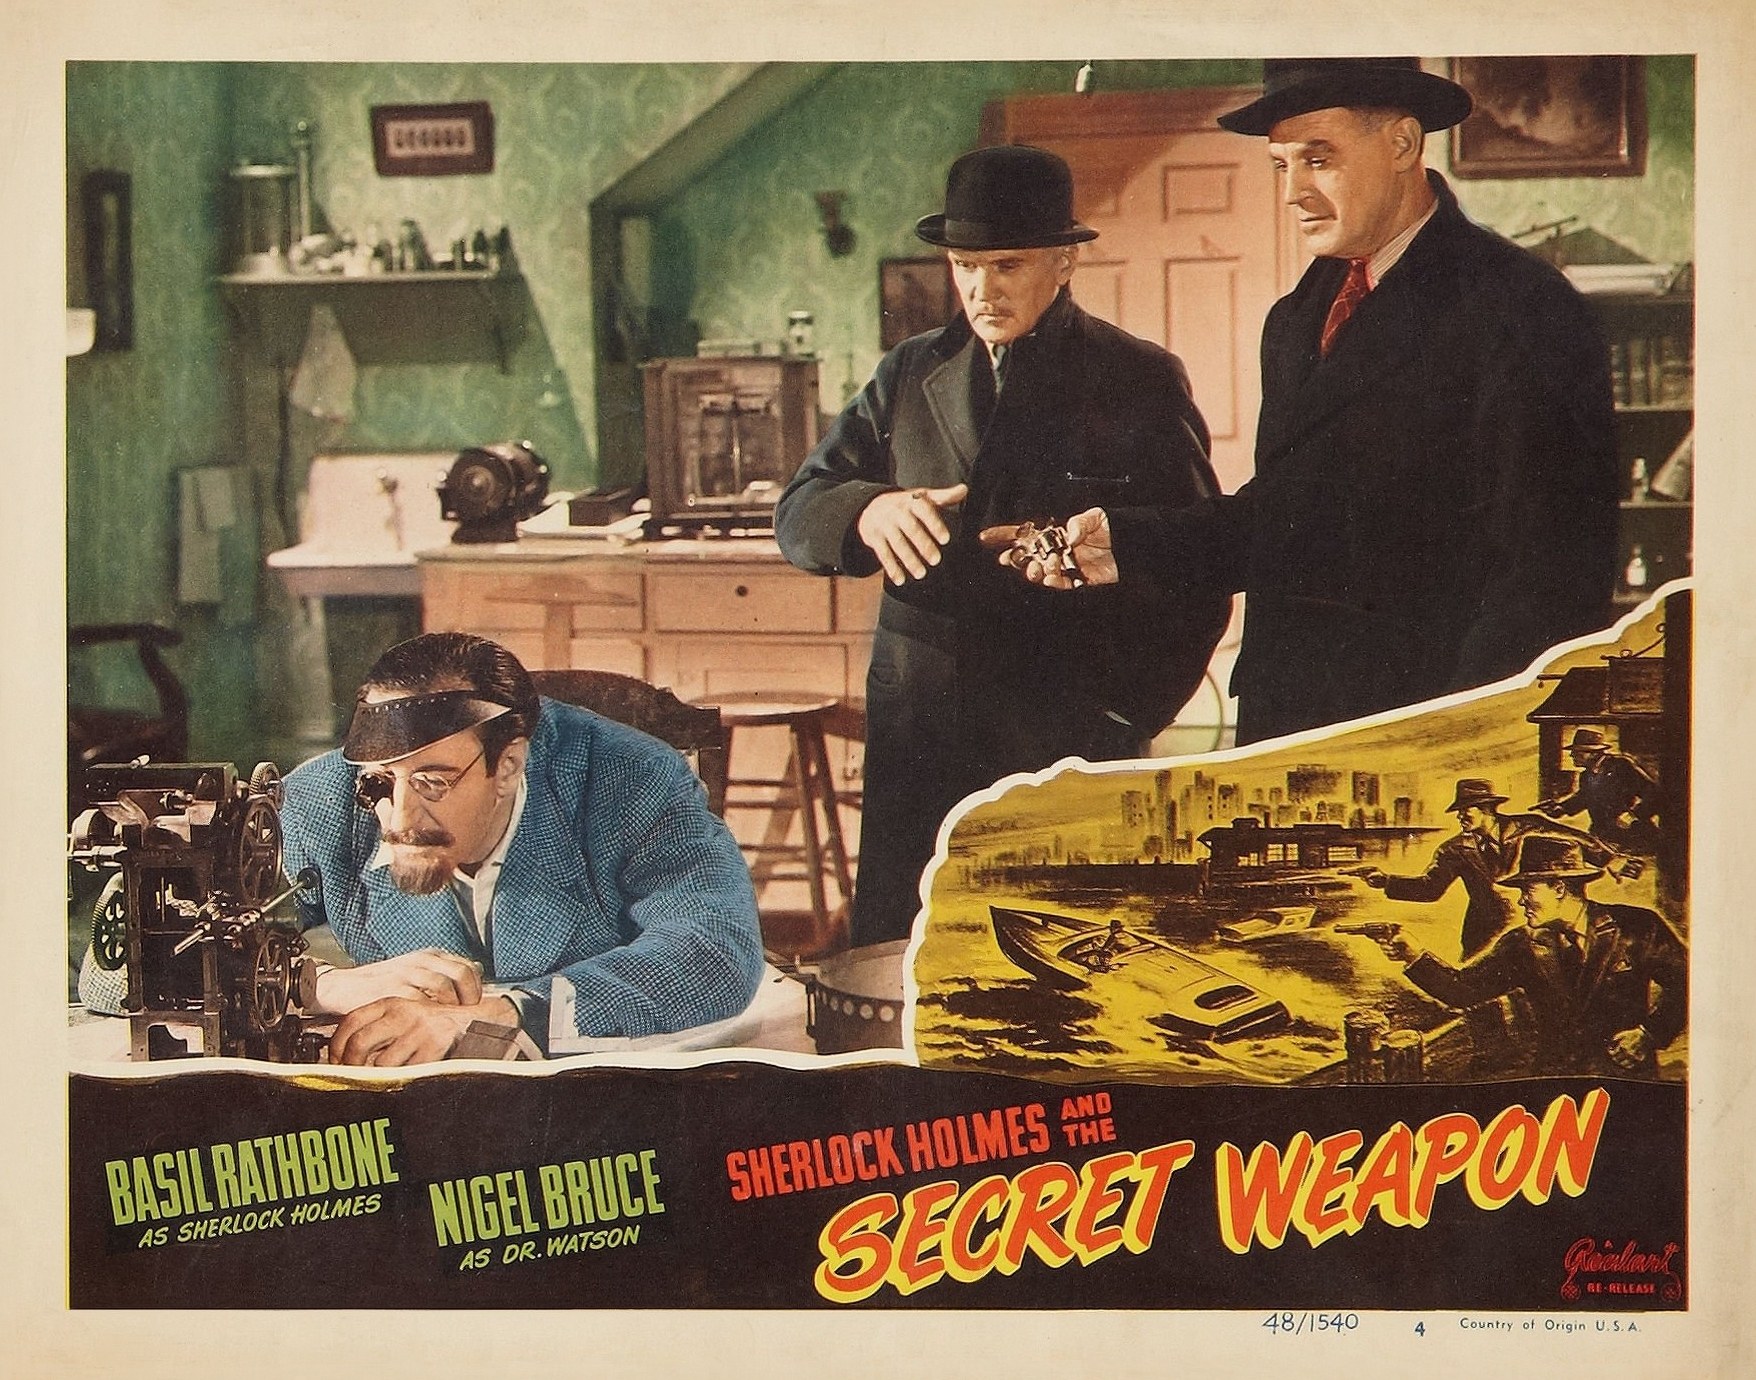
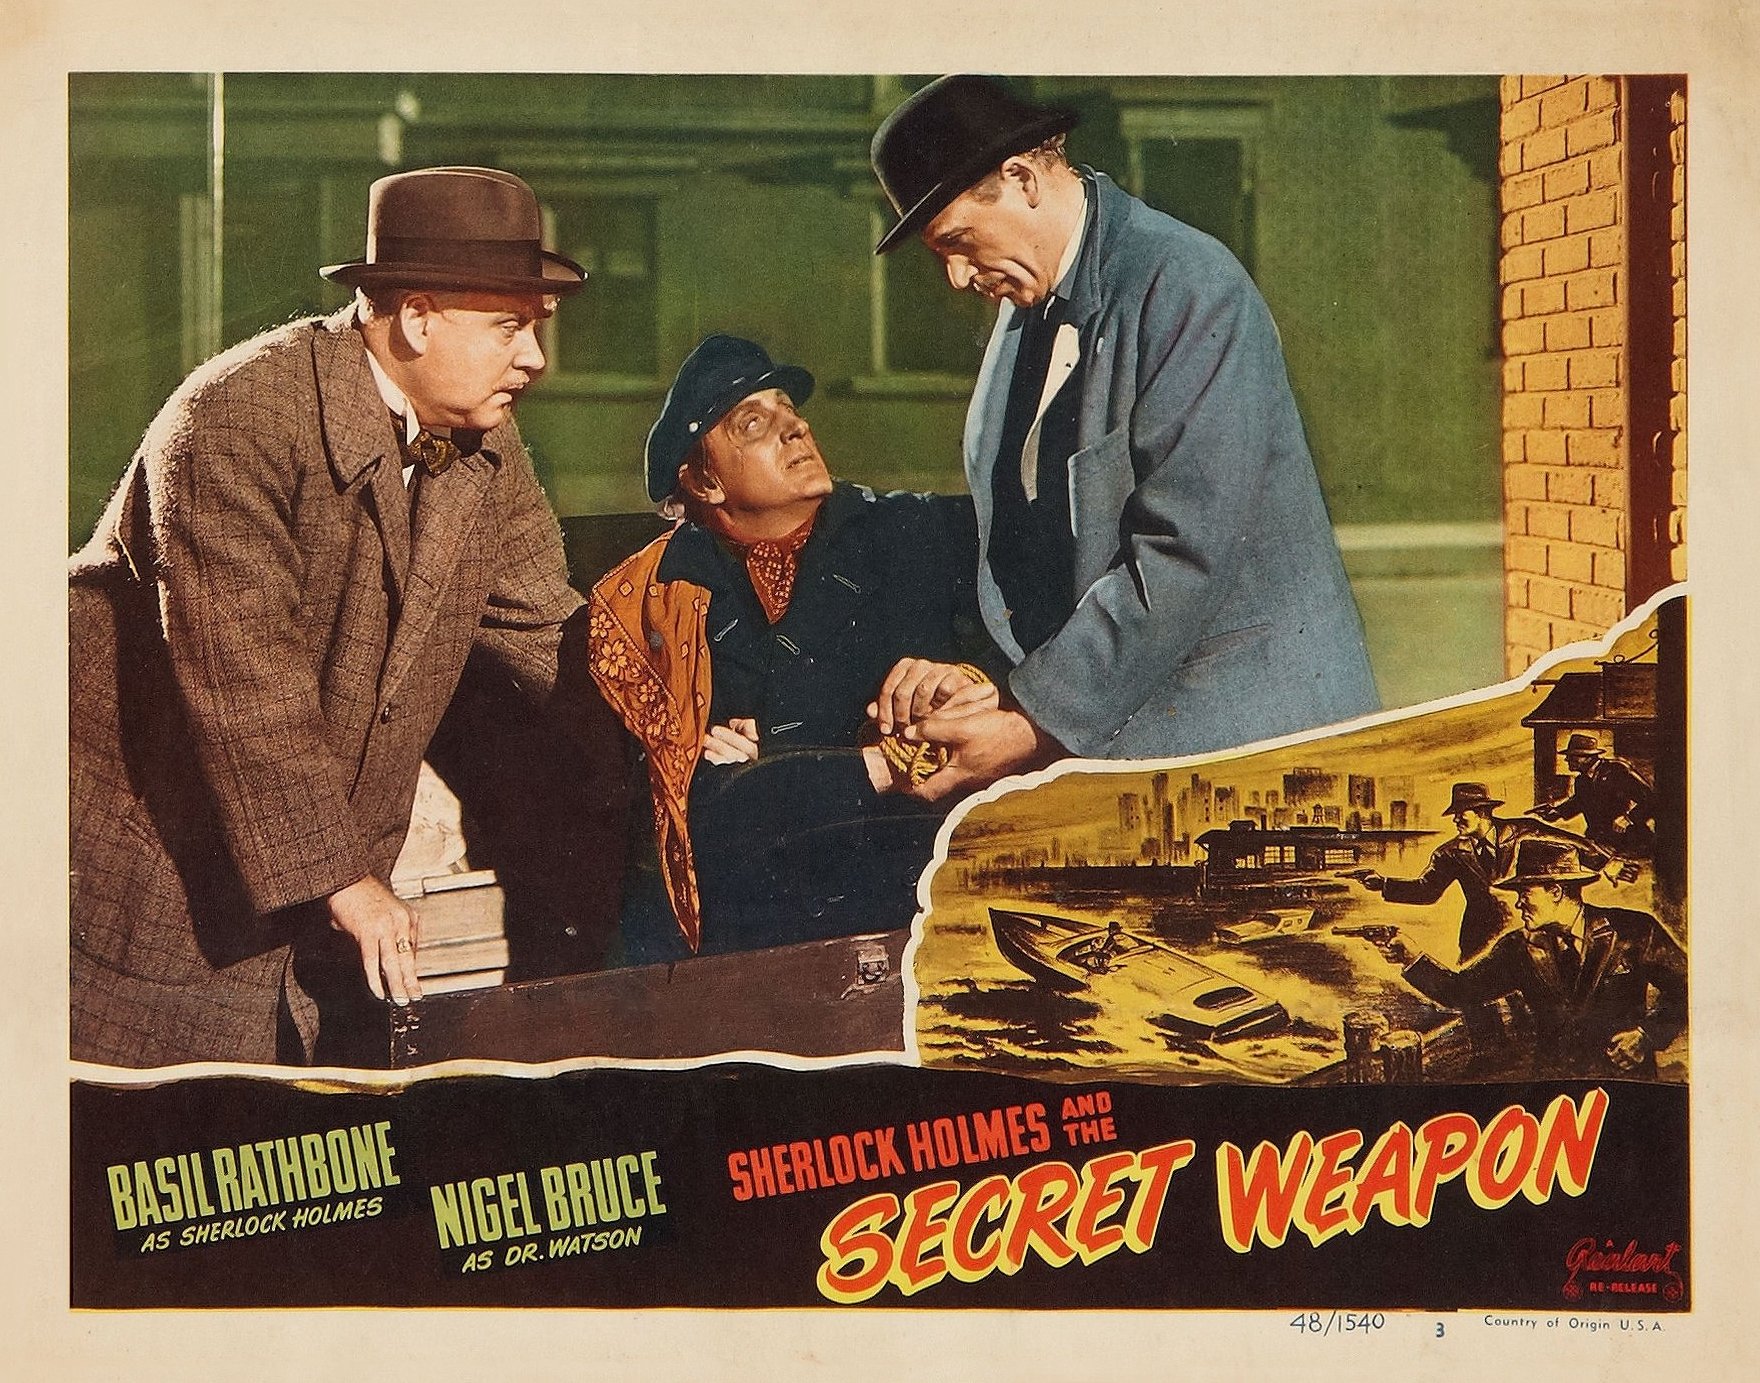
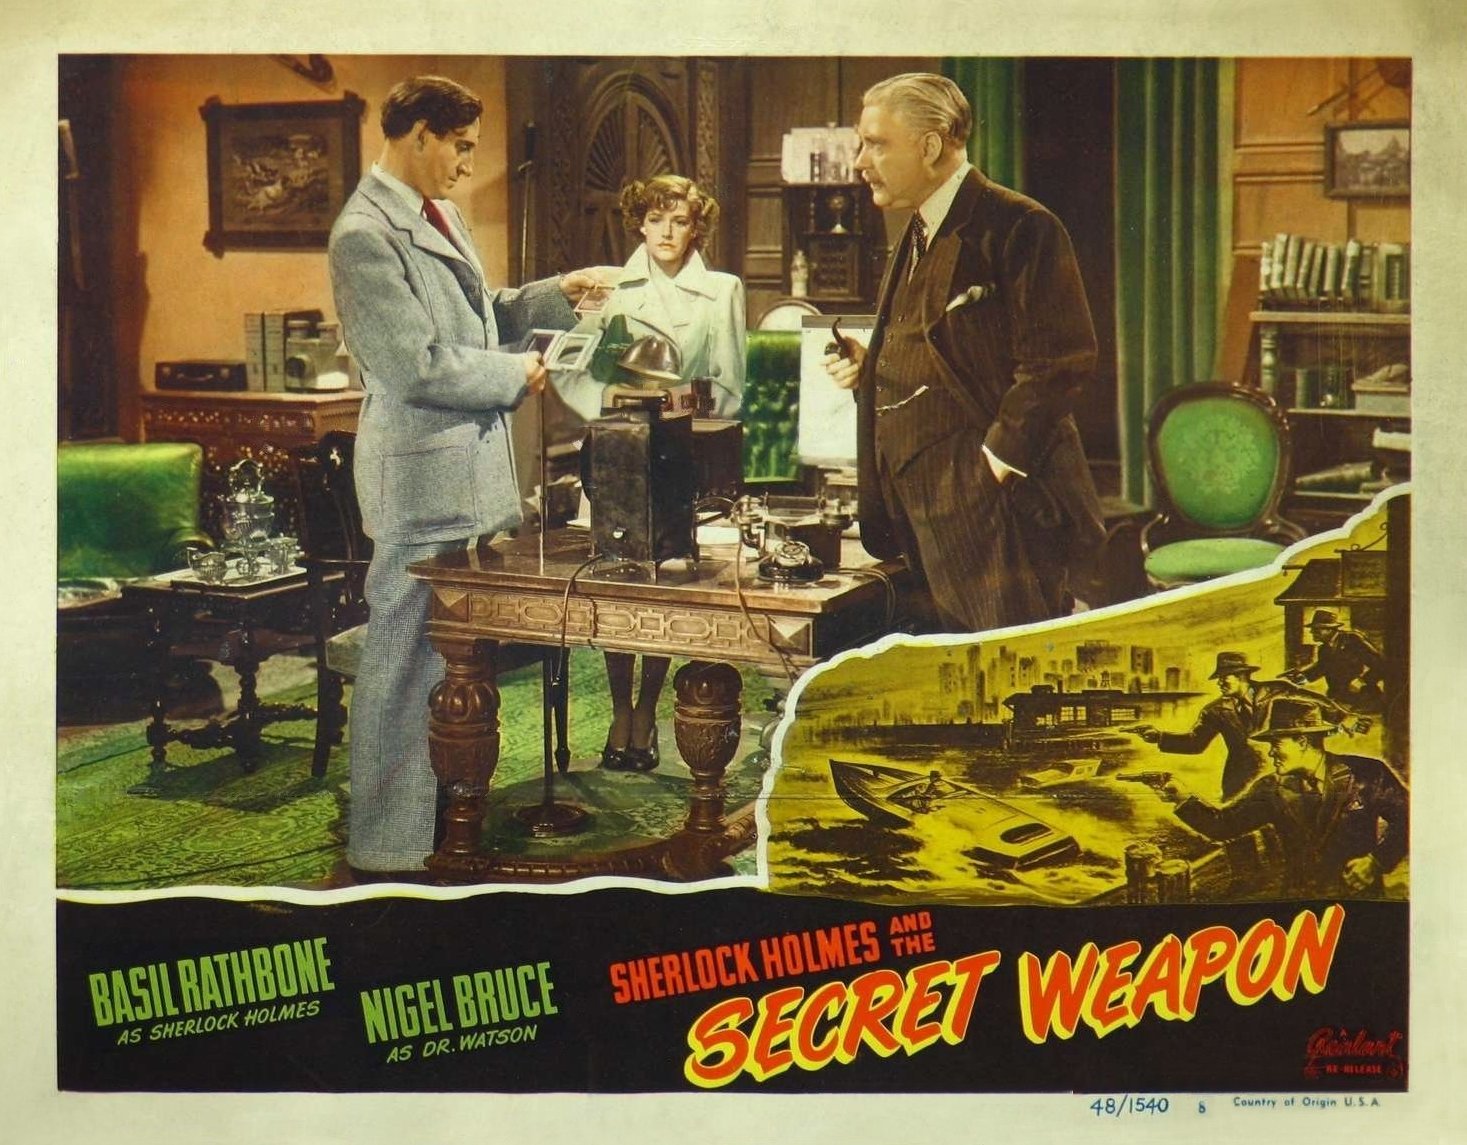
| Lobby cards from the 1948 re-release: | ||||
 |
 |
|||
 |
 |
|||
|
||||
| As Sherlock Holmes, Rathbone donned three disguises in this film. | ||||
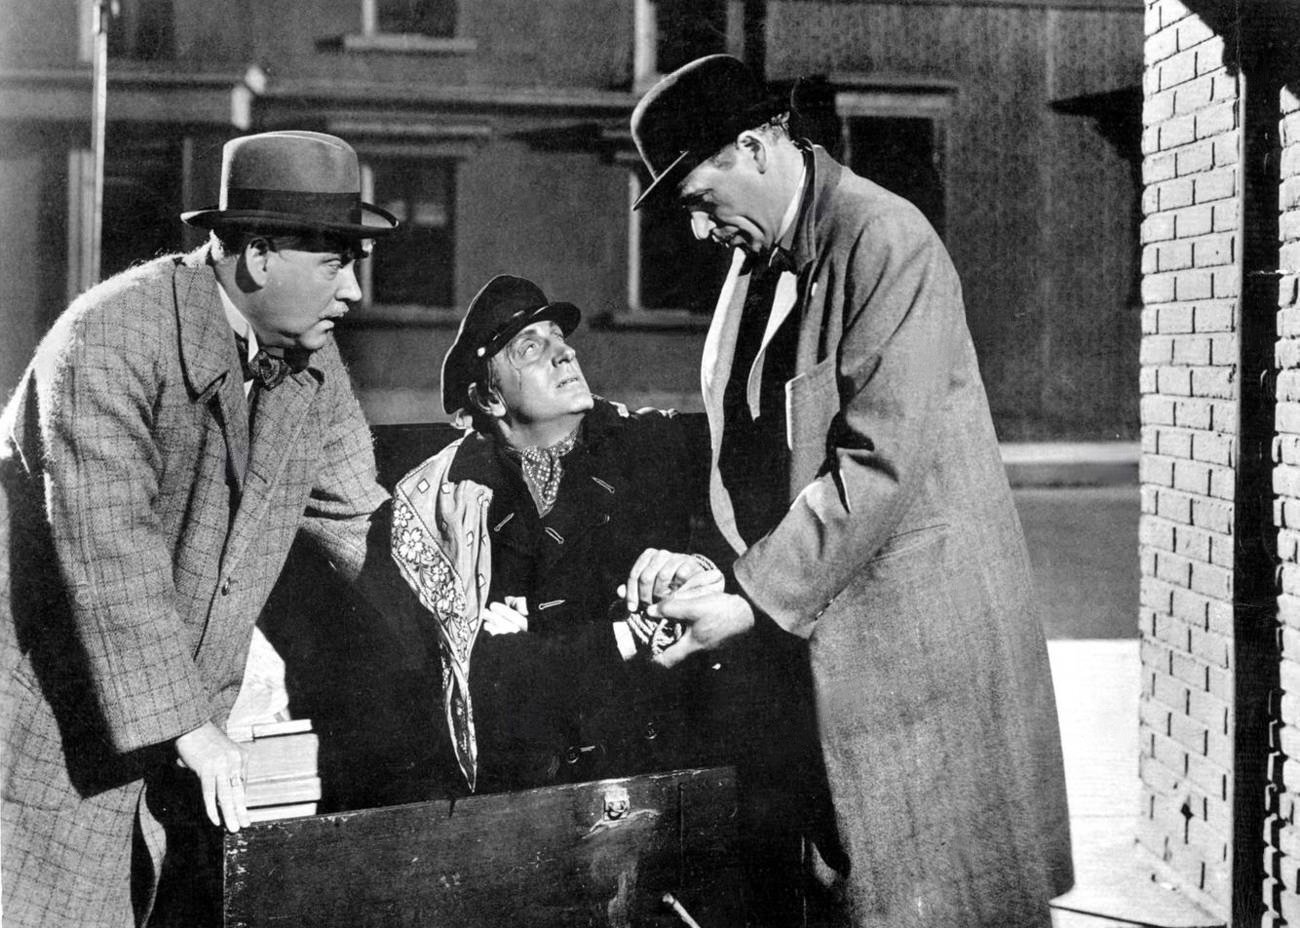
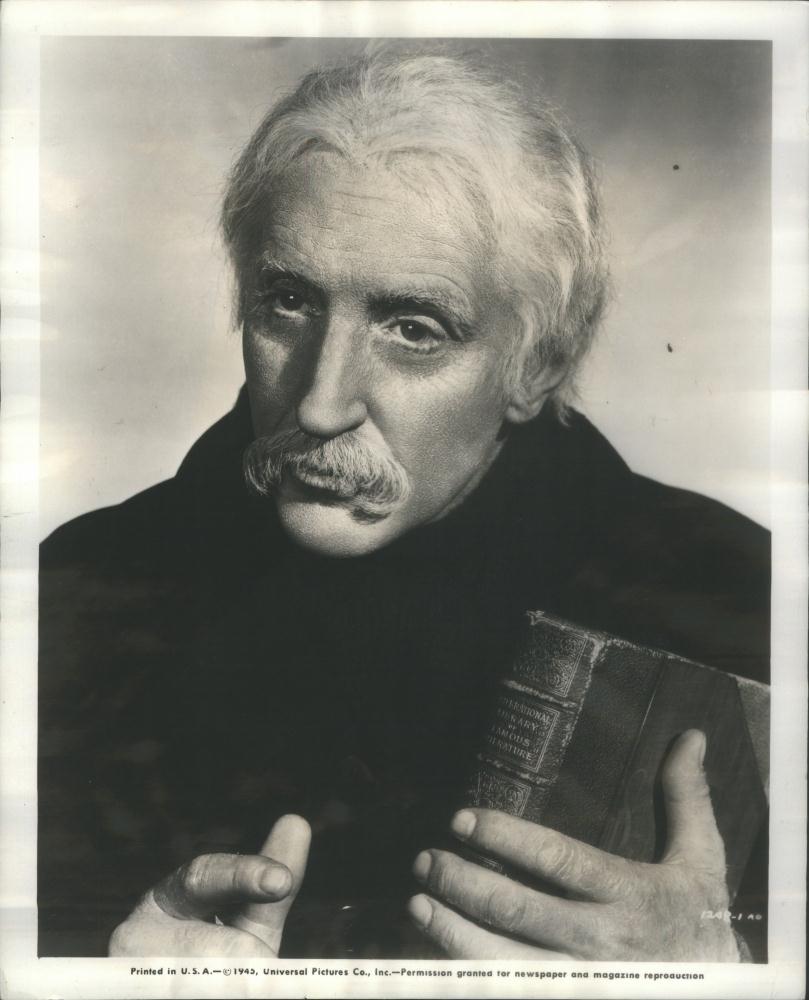 The first was the "old bookseller" disguise. |
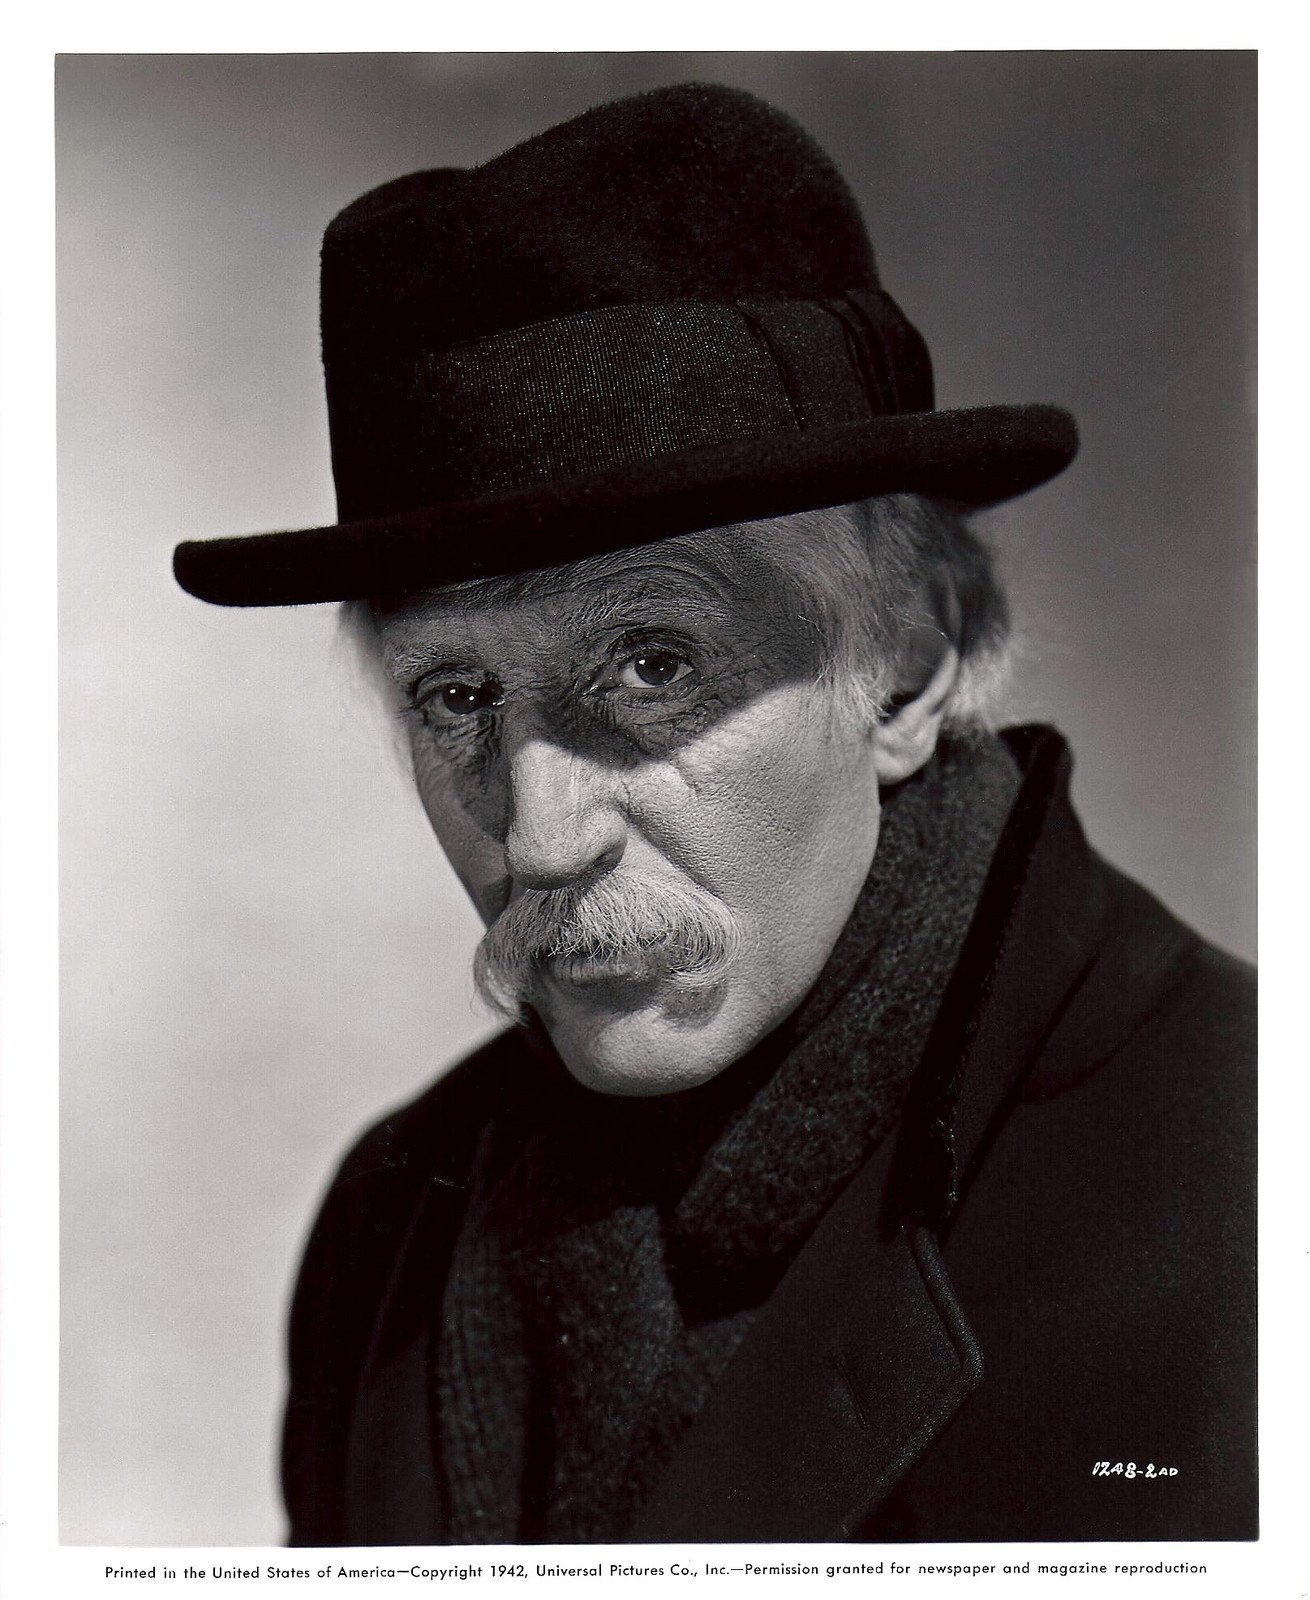 Holmes disguised as the old bookseller |
|||
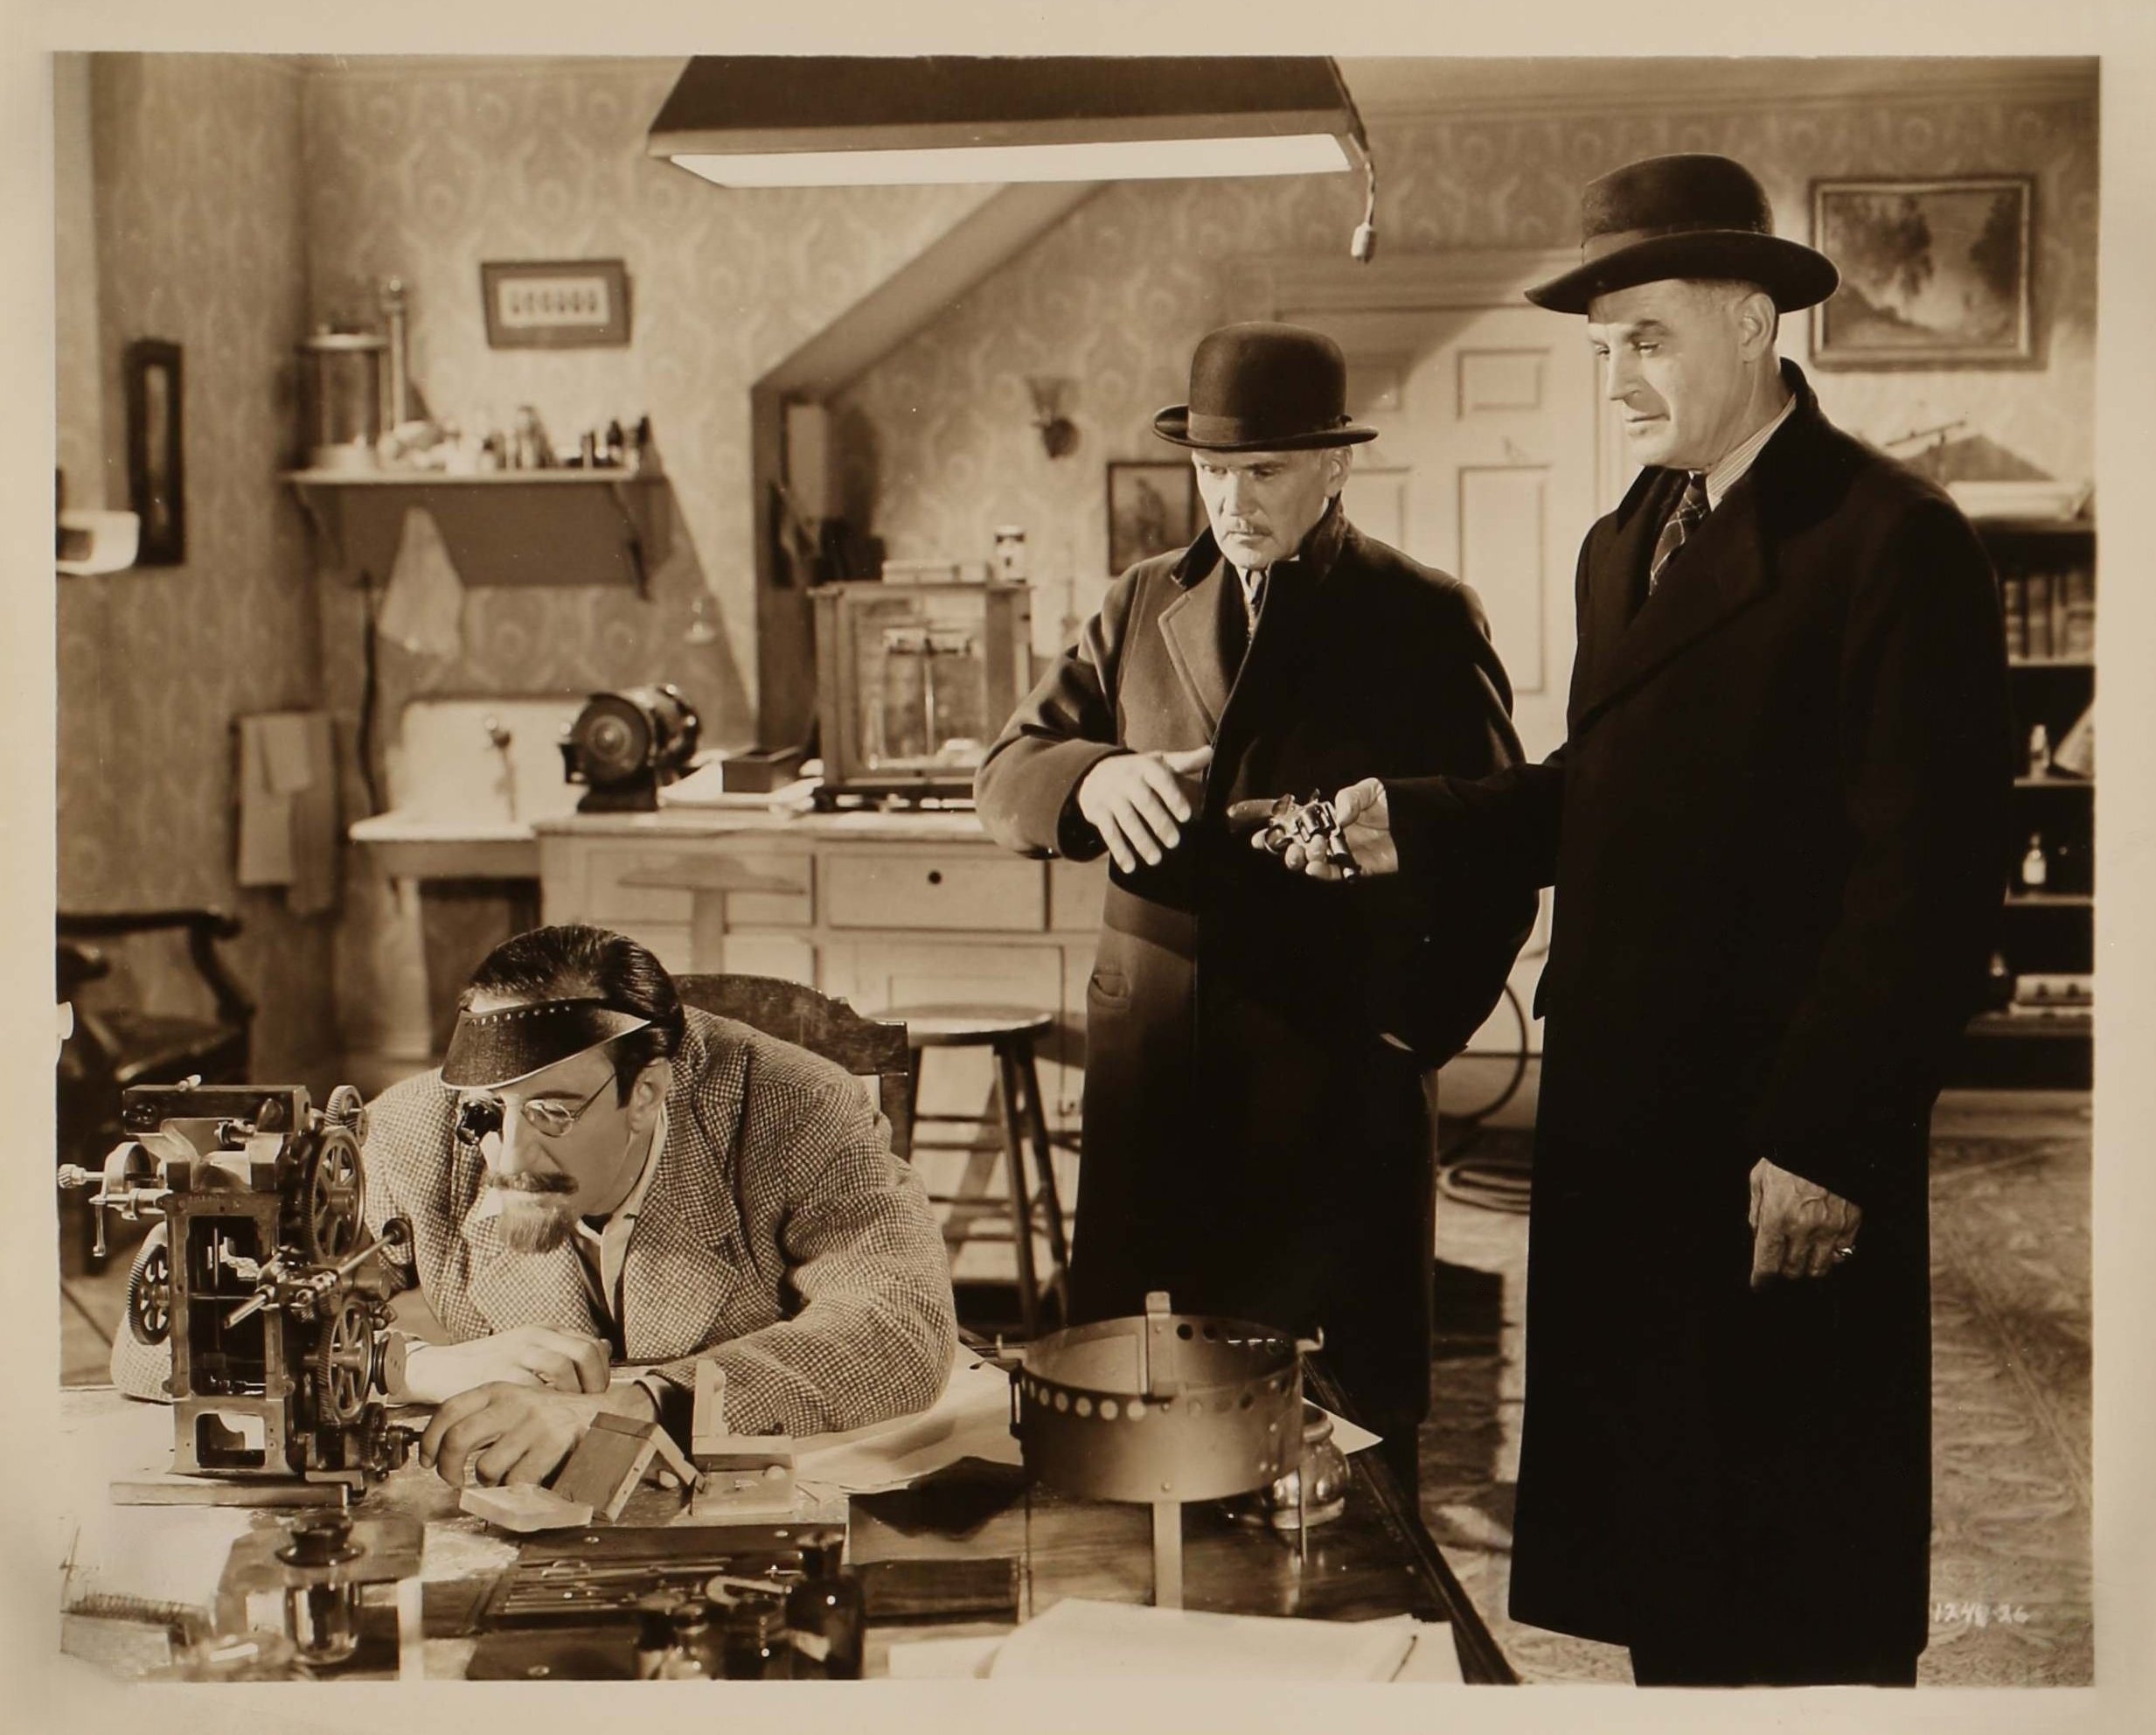
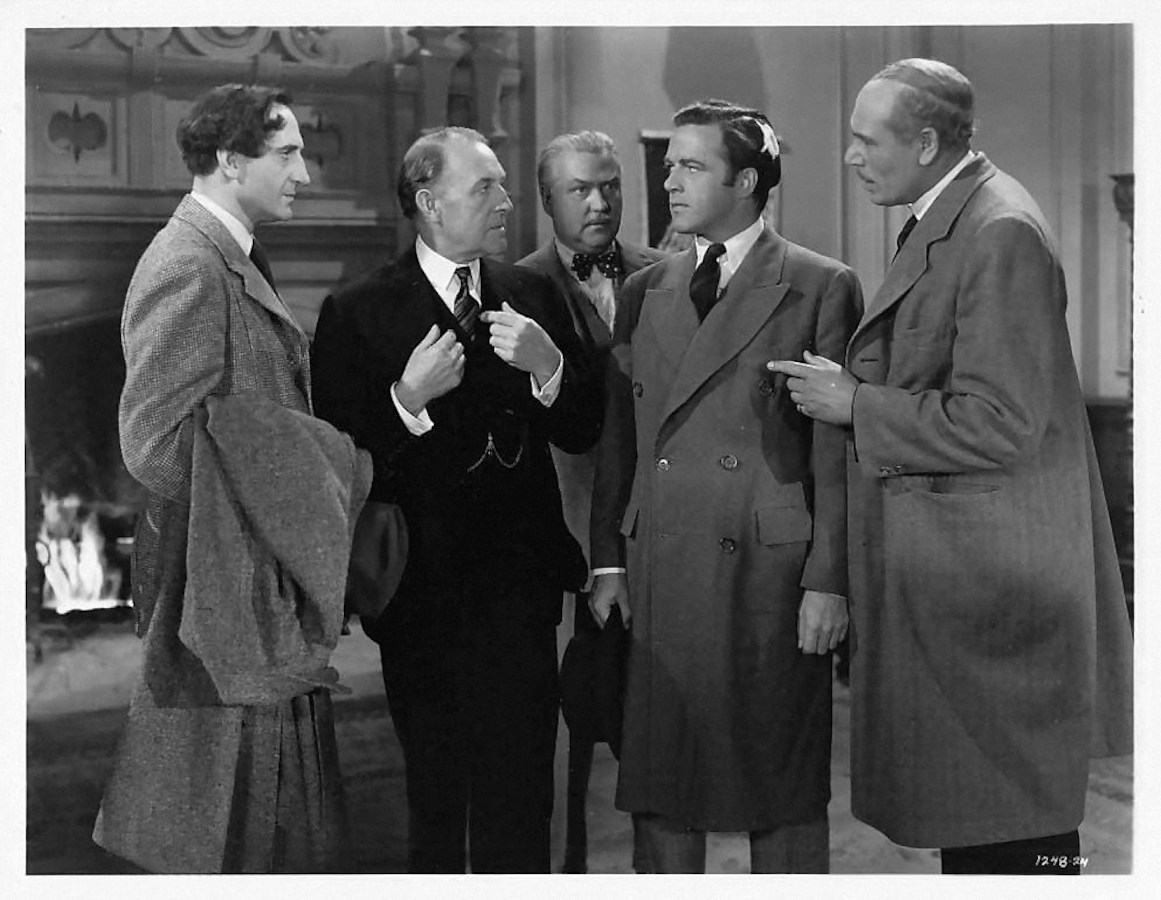
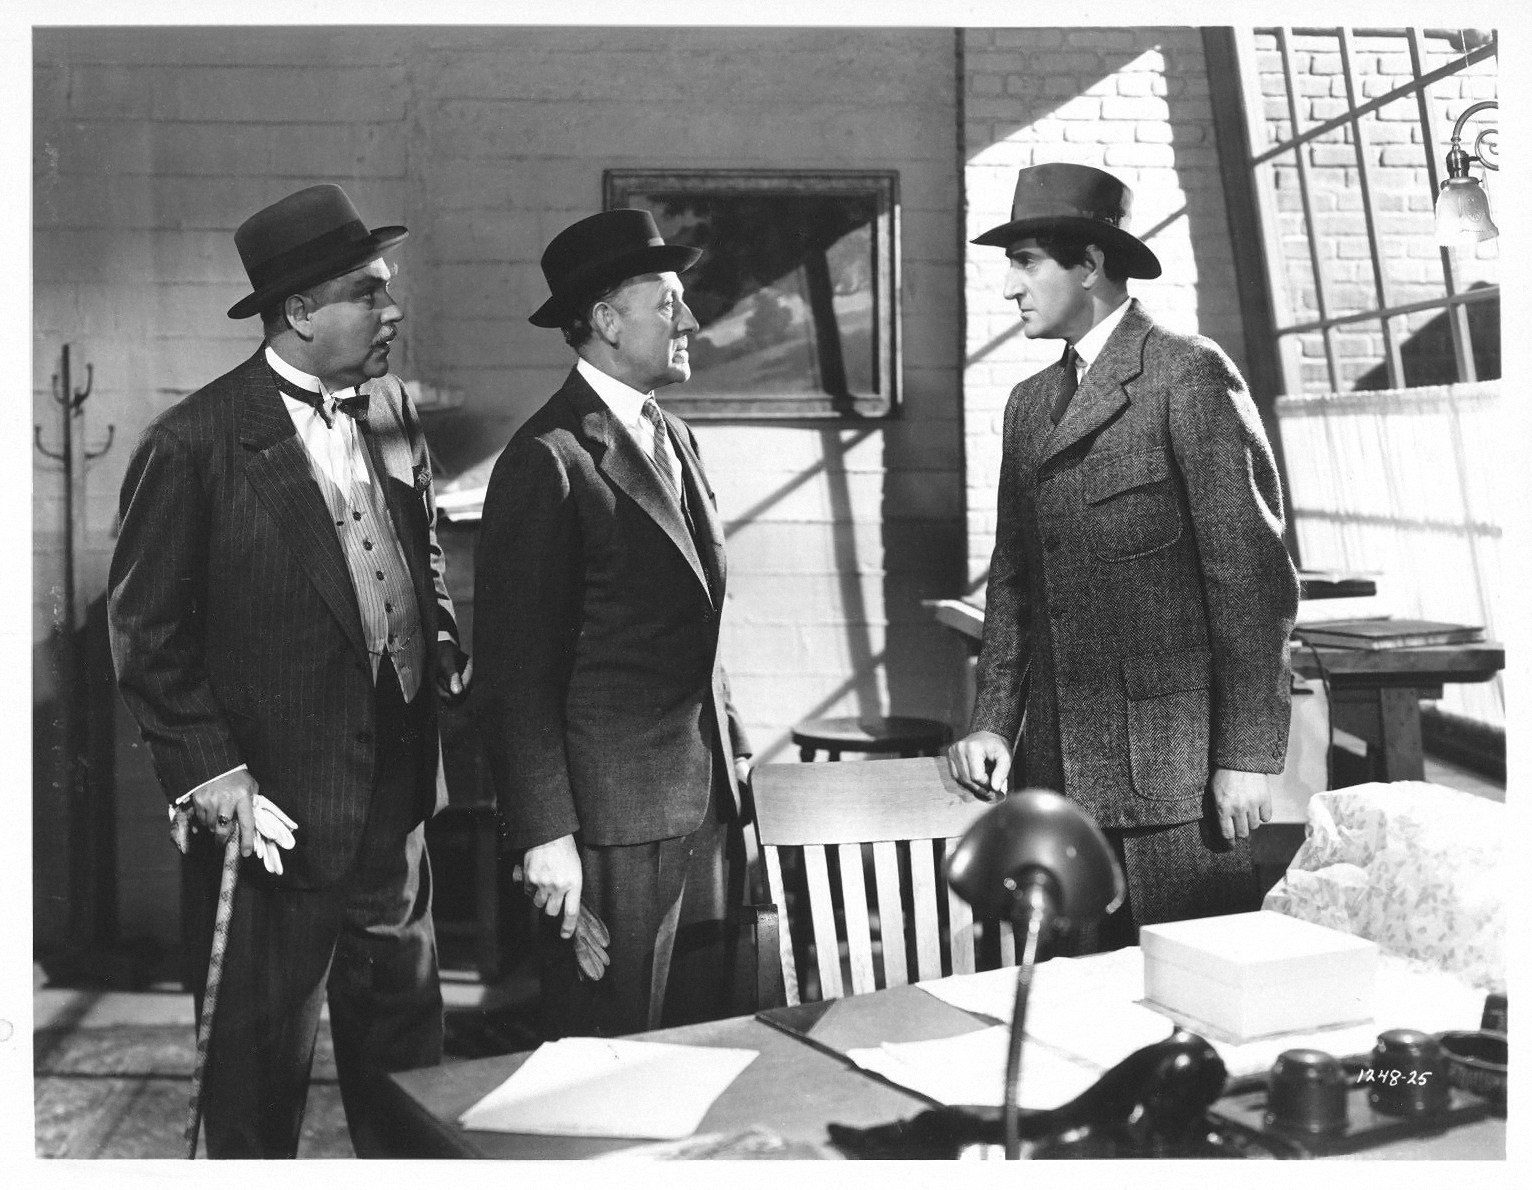
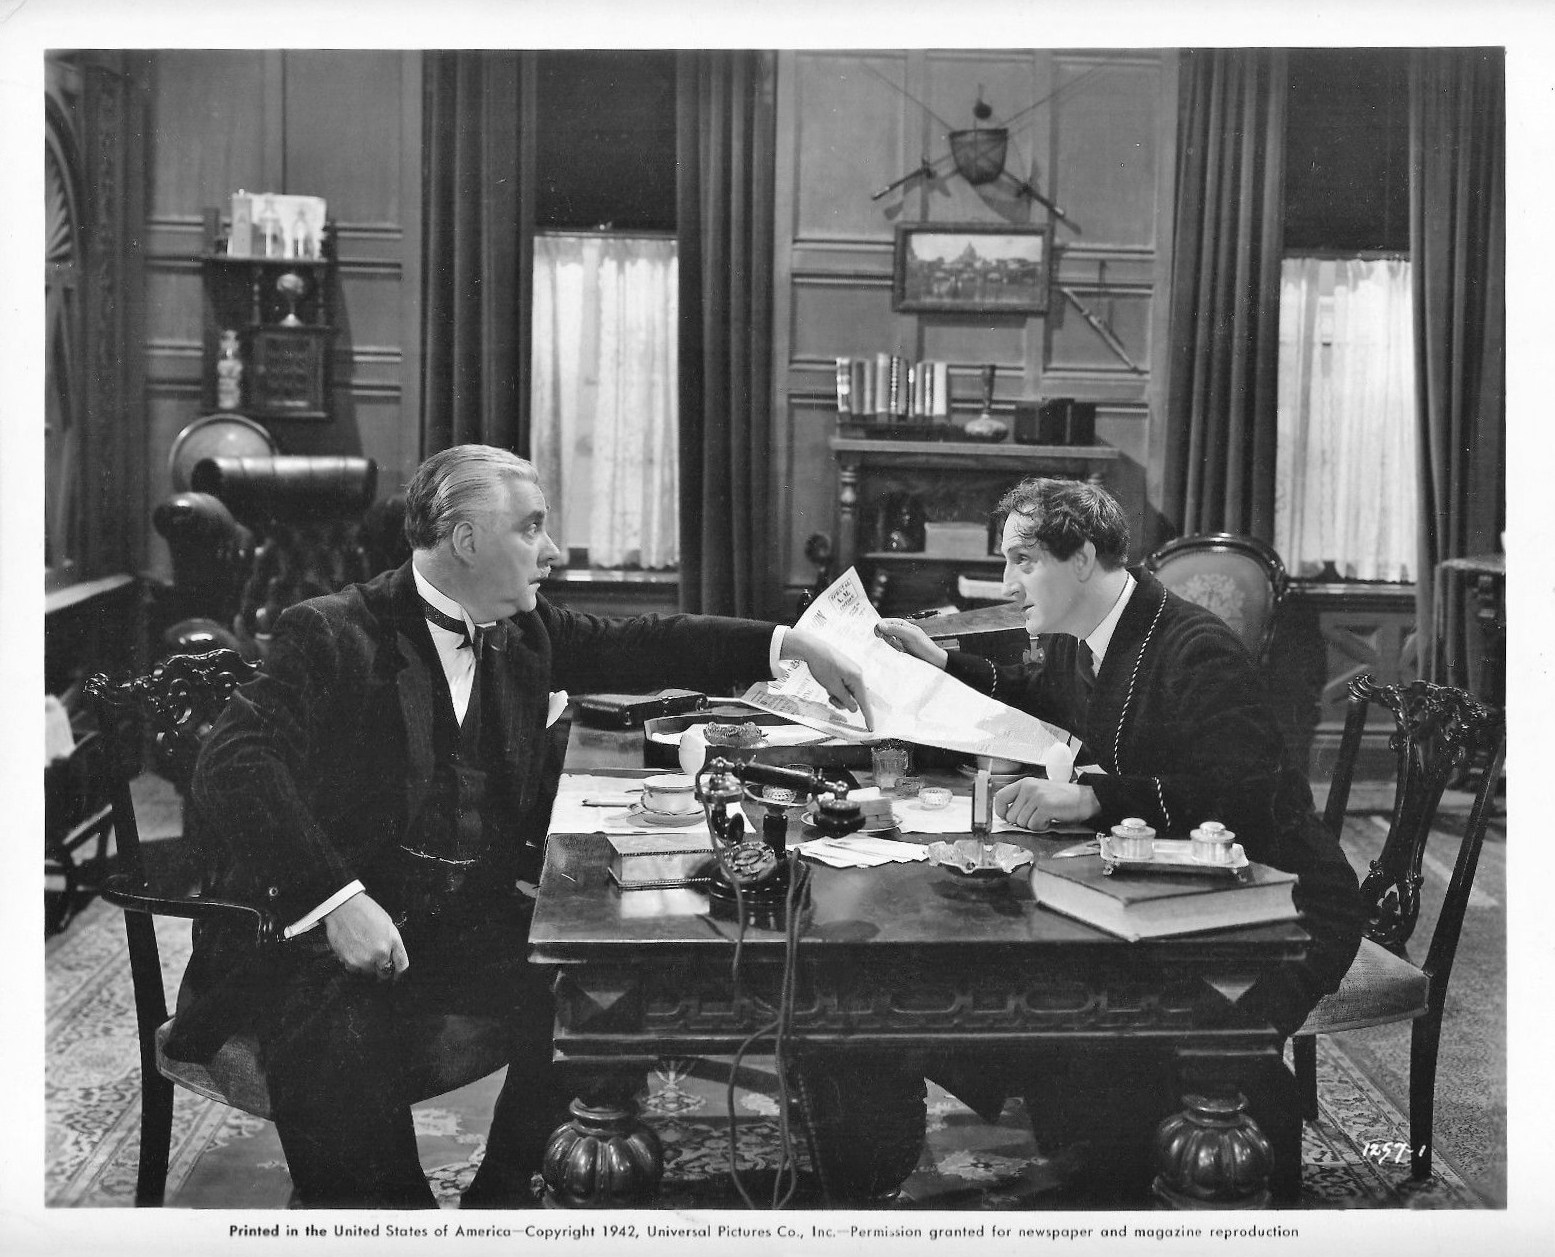
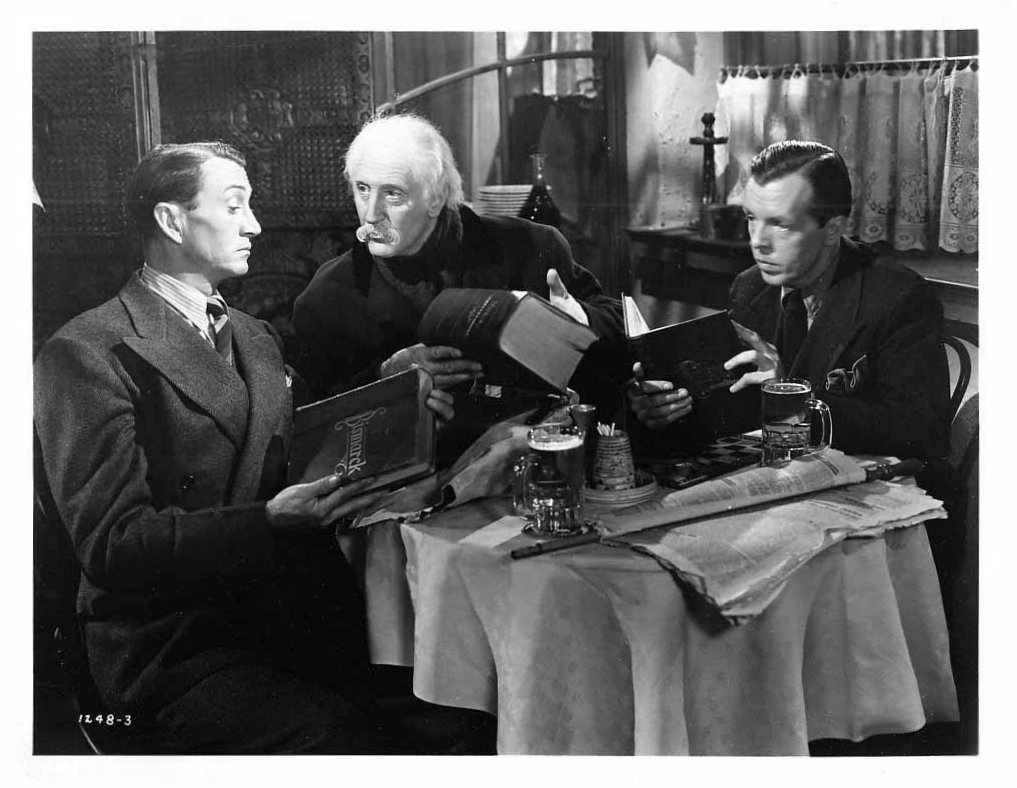 Rathbone with Paul Fix and Rudolph Anders (playing Nazi agents) |
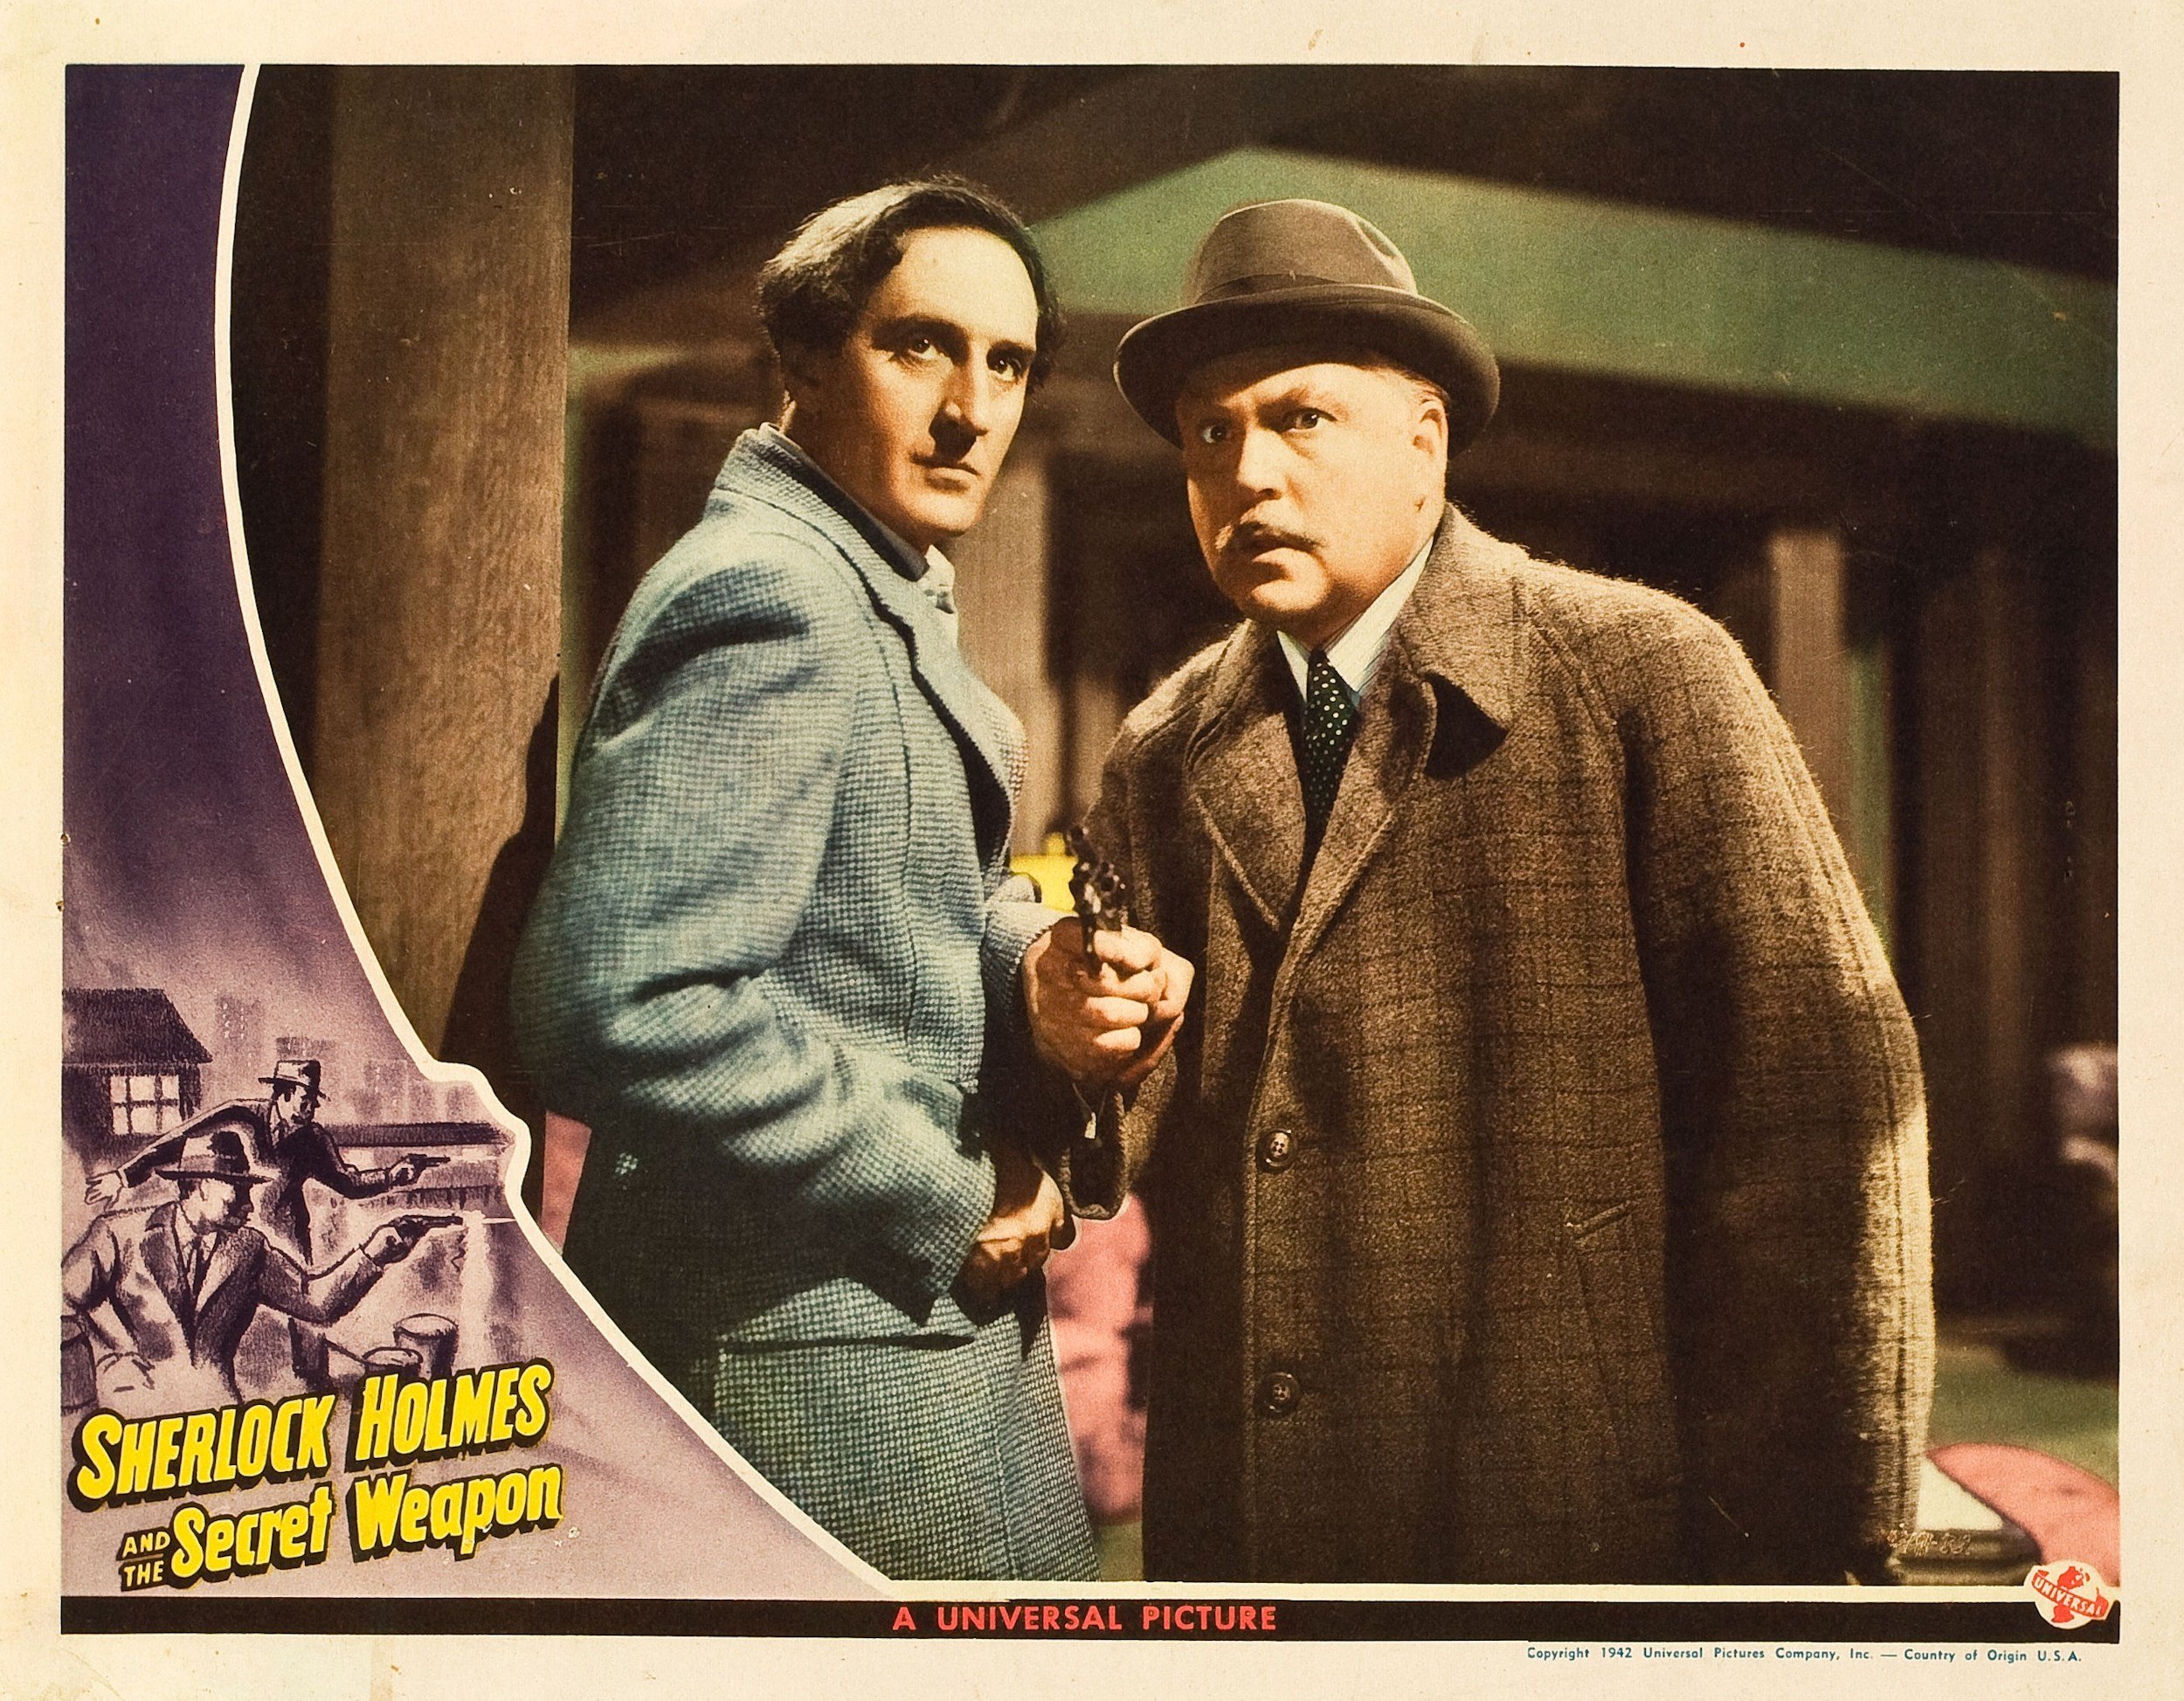
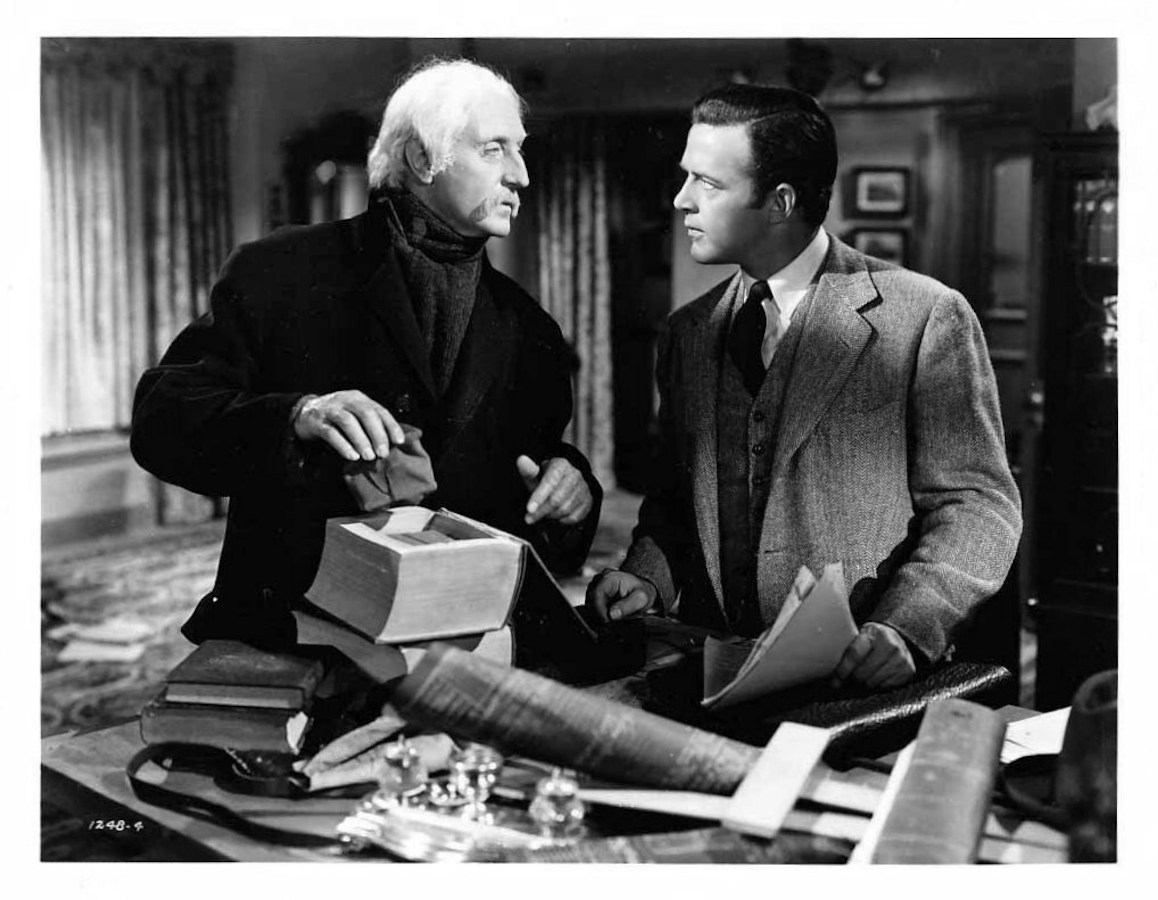 Rathbone and William Post |
|||
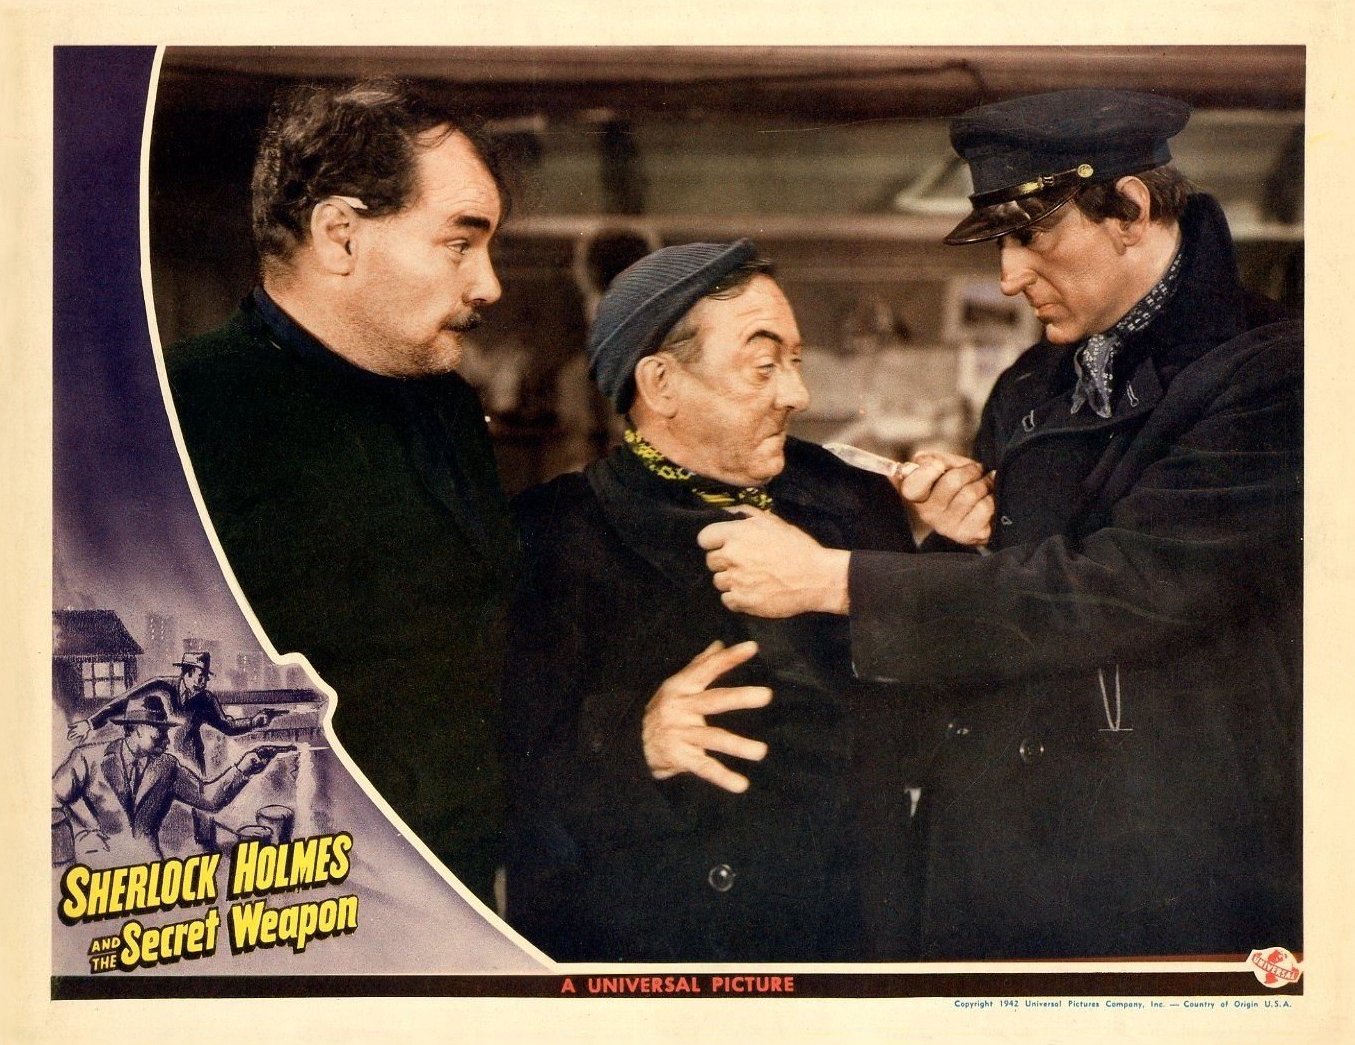
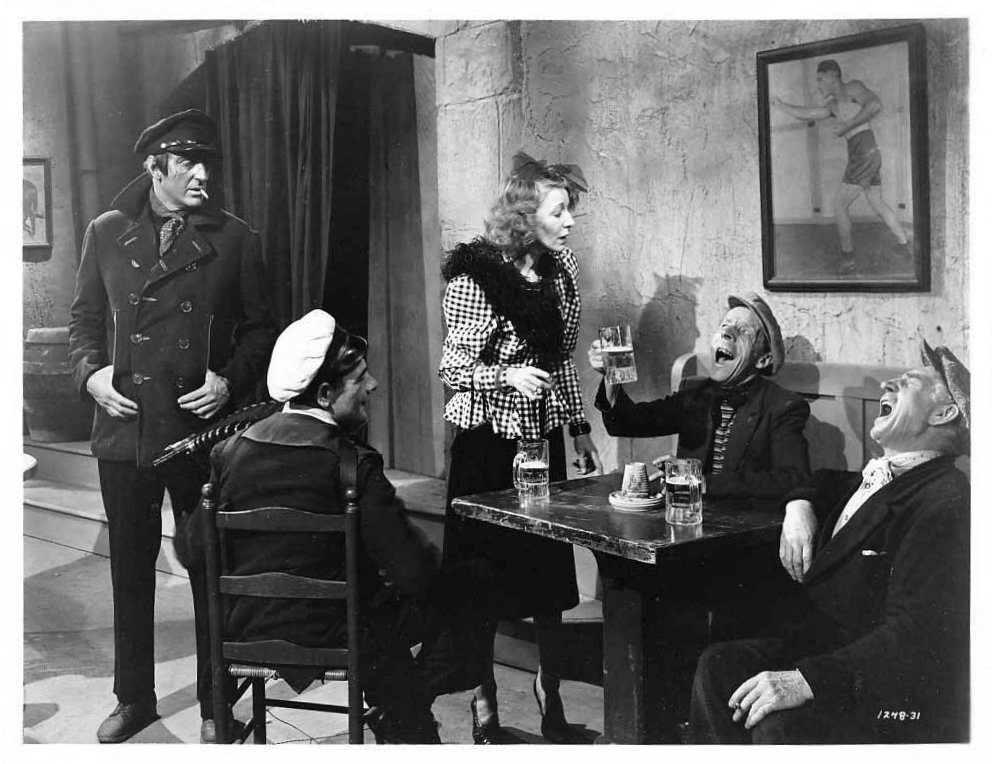
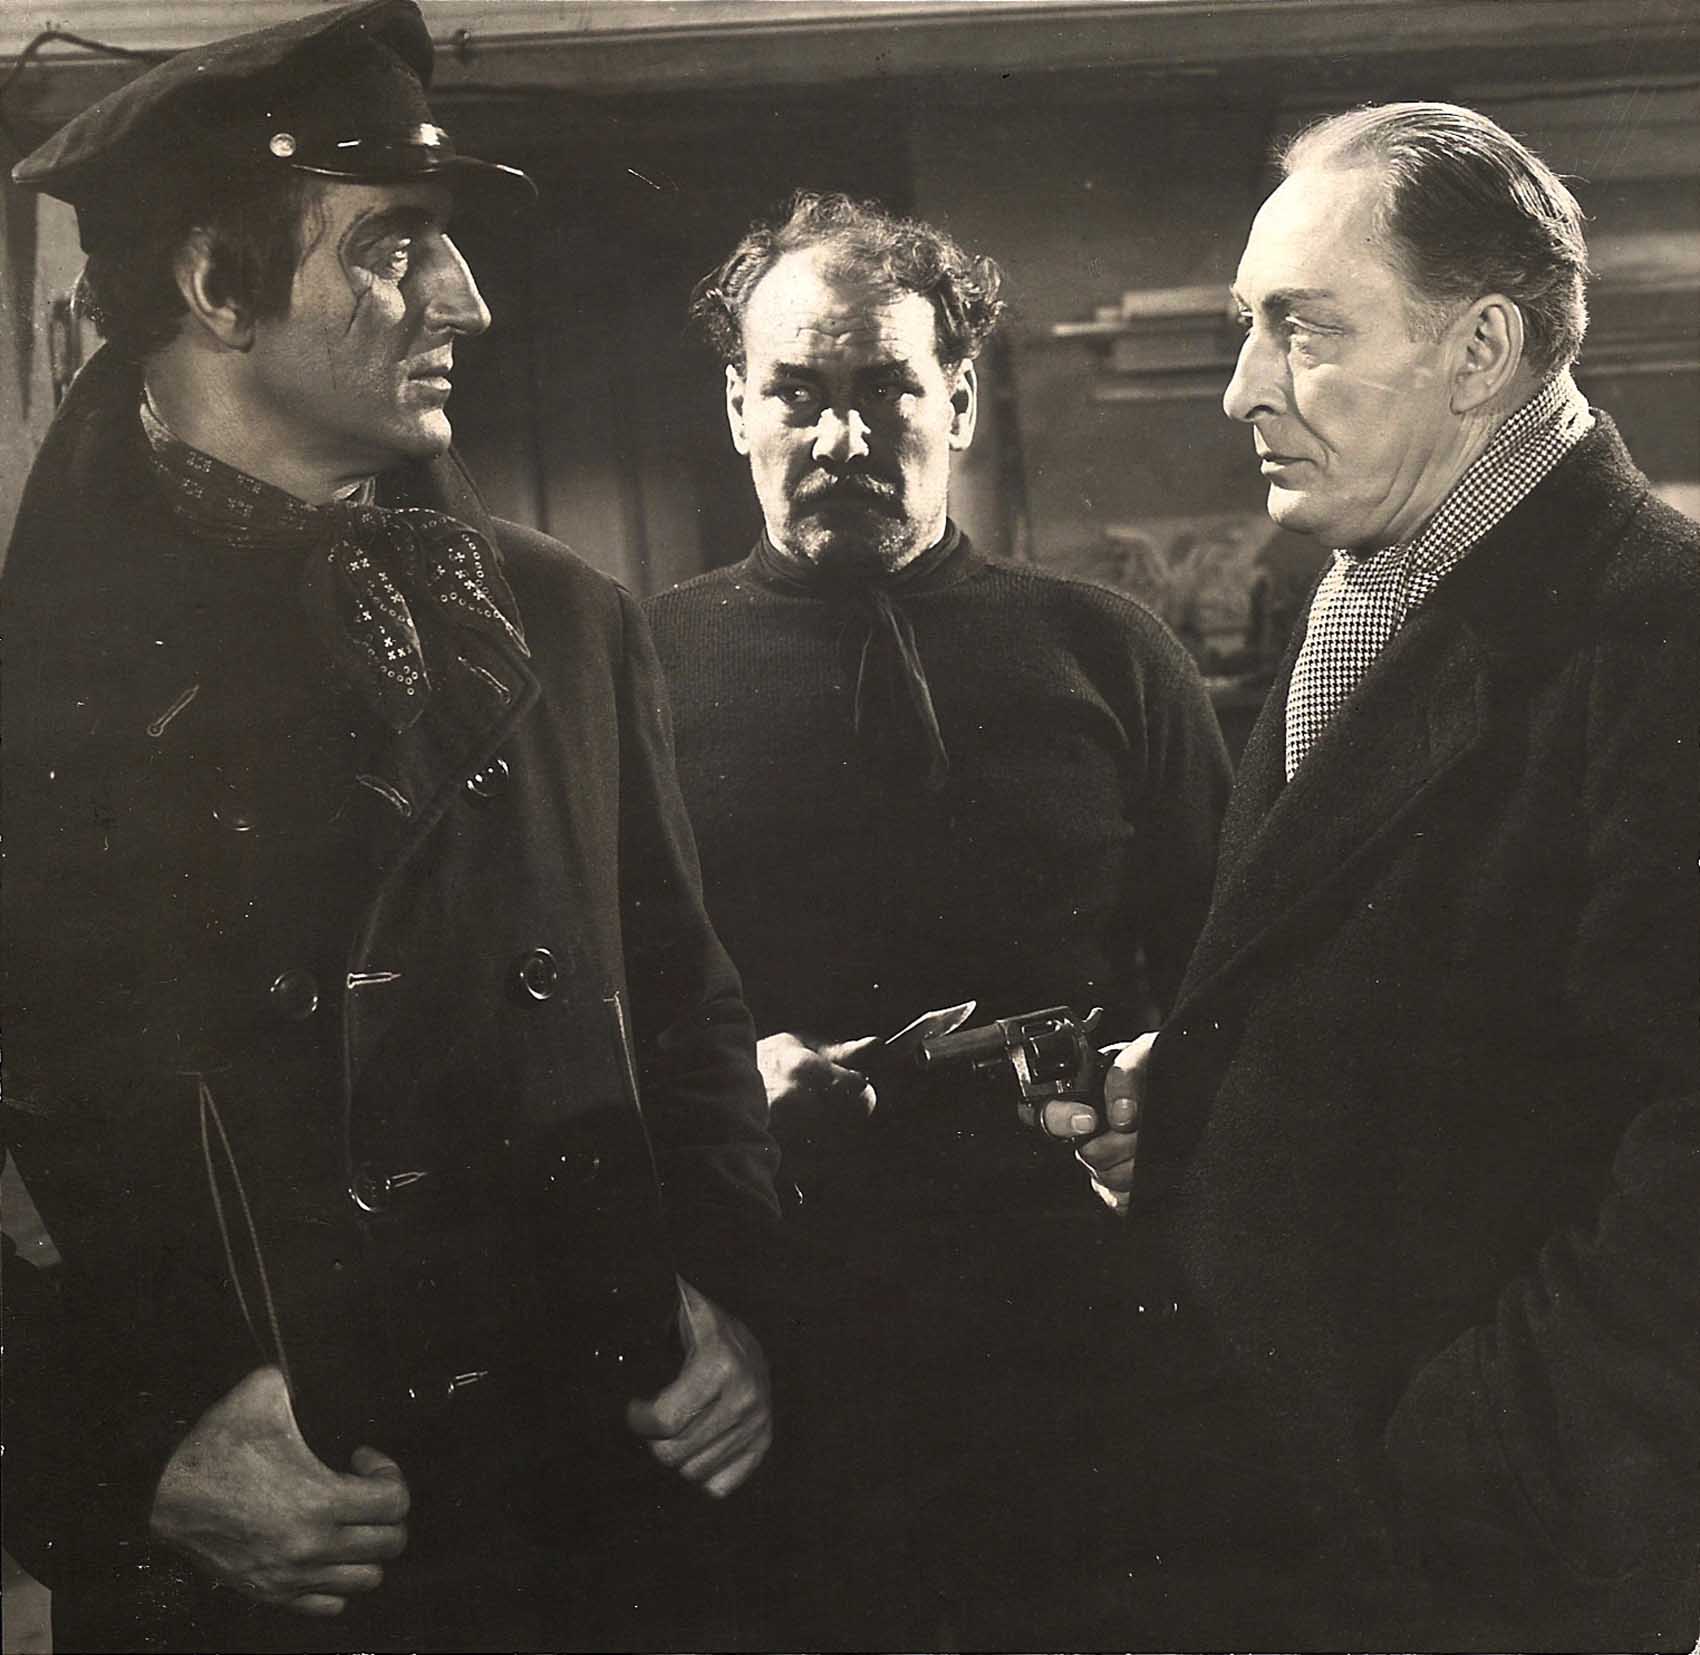 The second disguise was as a murderous Lascar. |
 Rathbone with Harry Cording and Harold de Becker |
|||
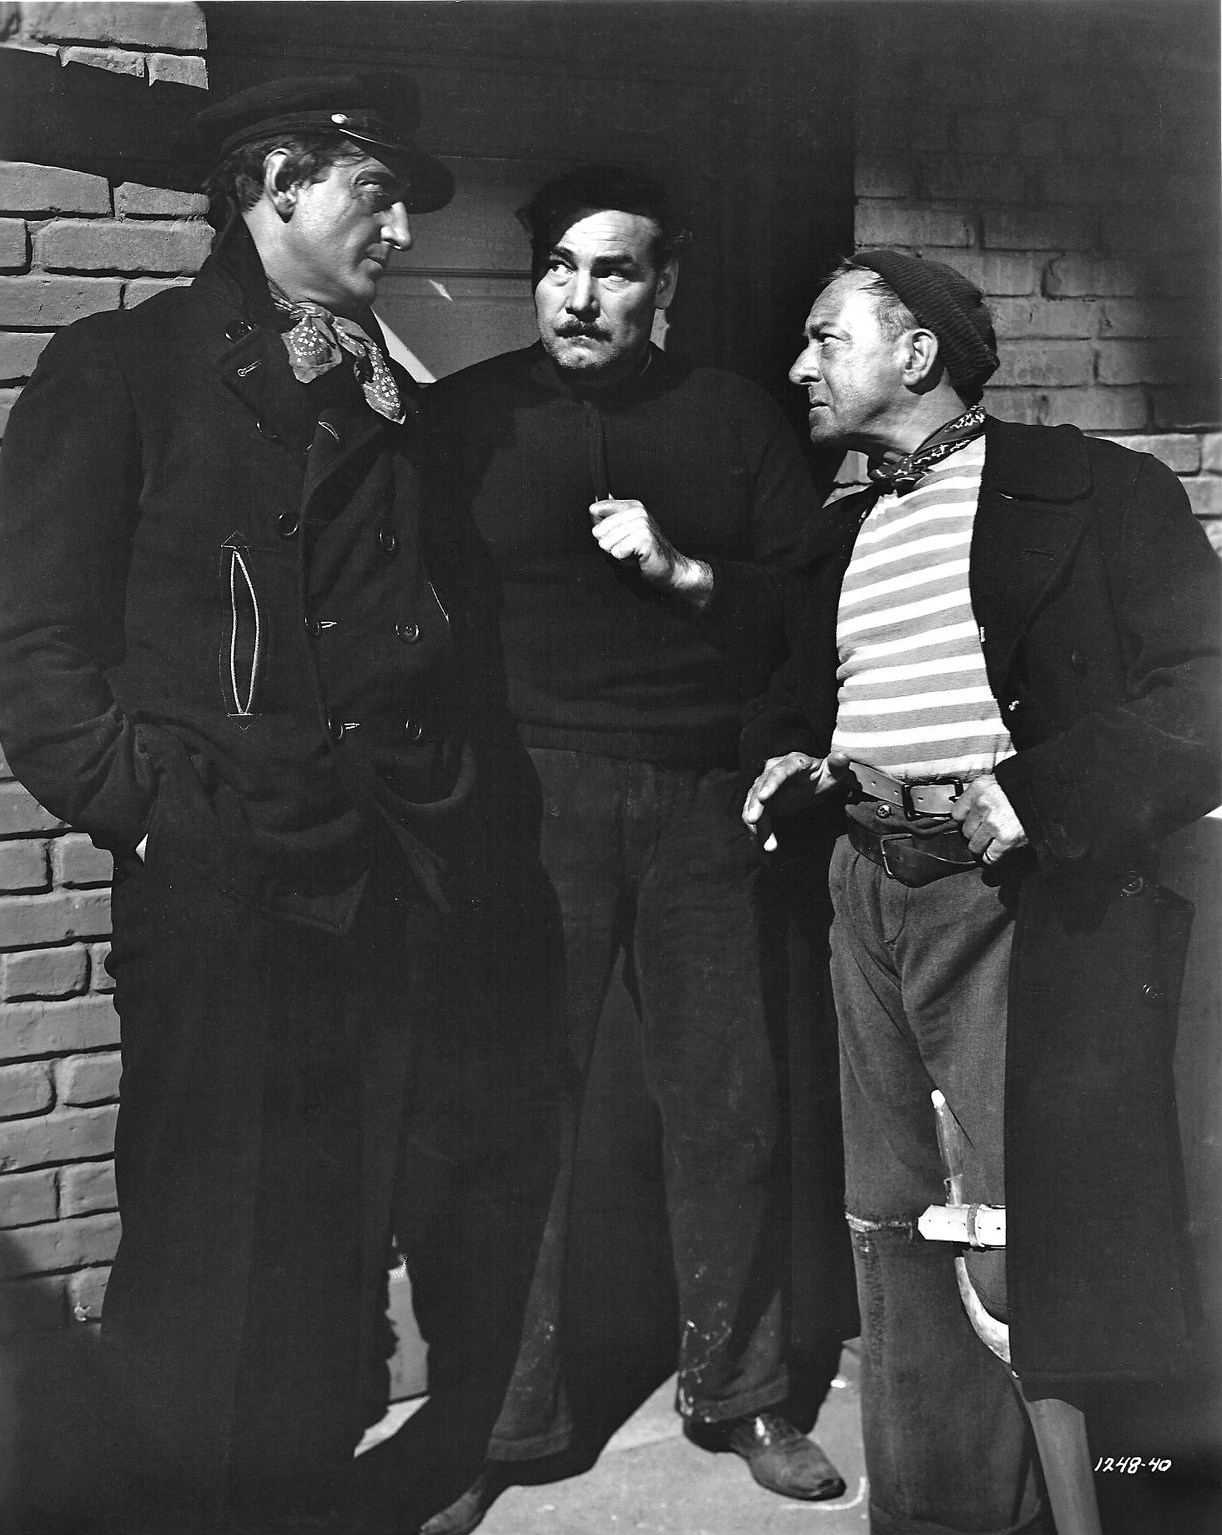 Rathbone, Harry Cording, and Harold de Becker |
 |
|||
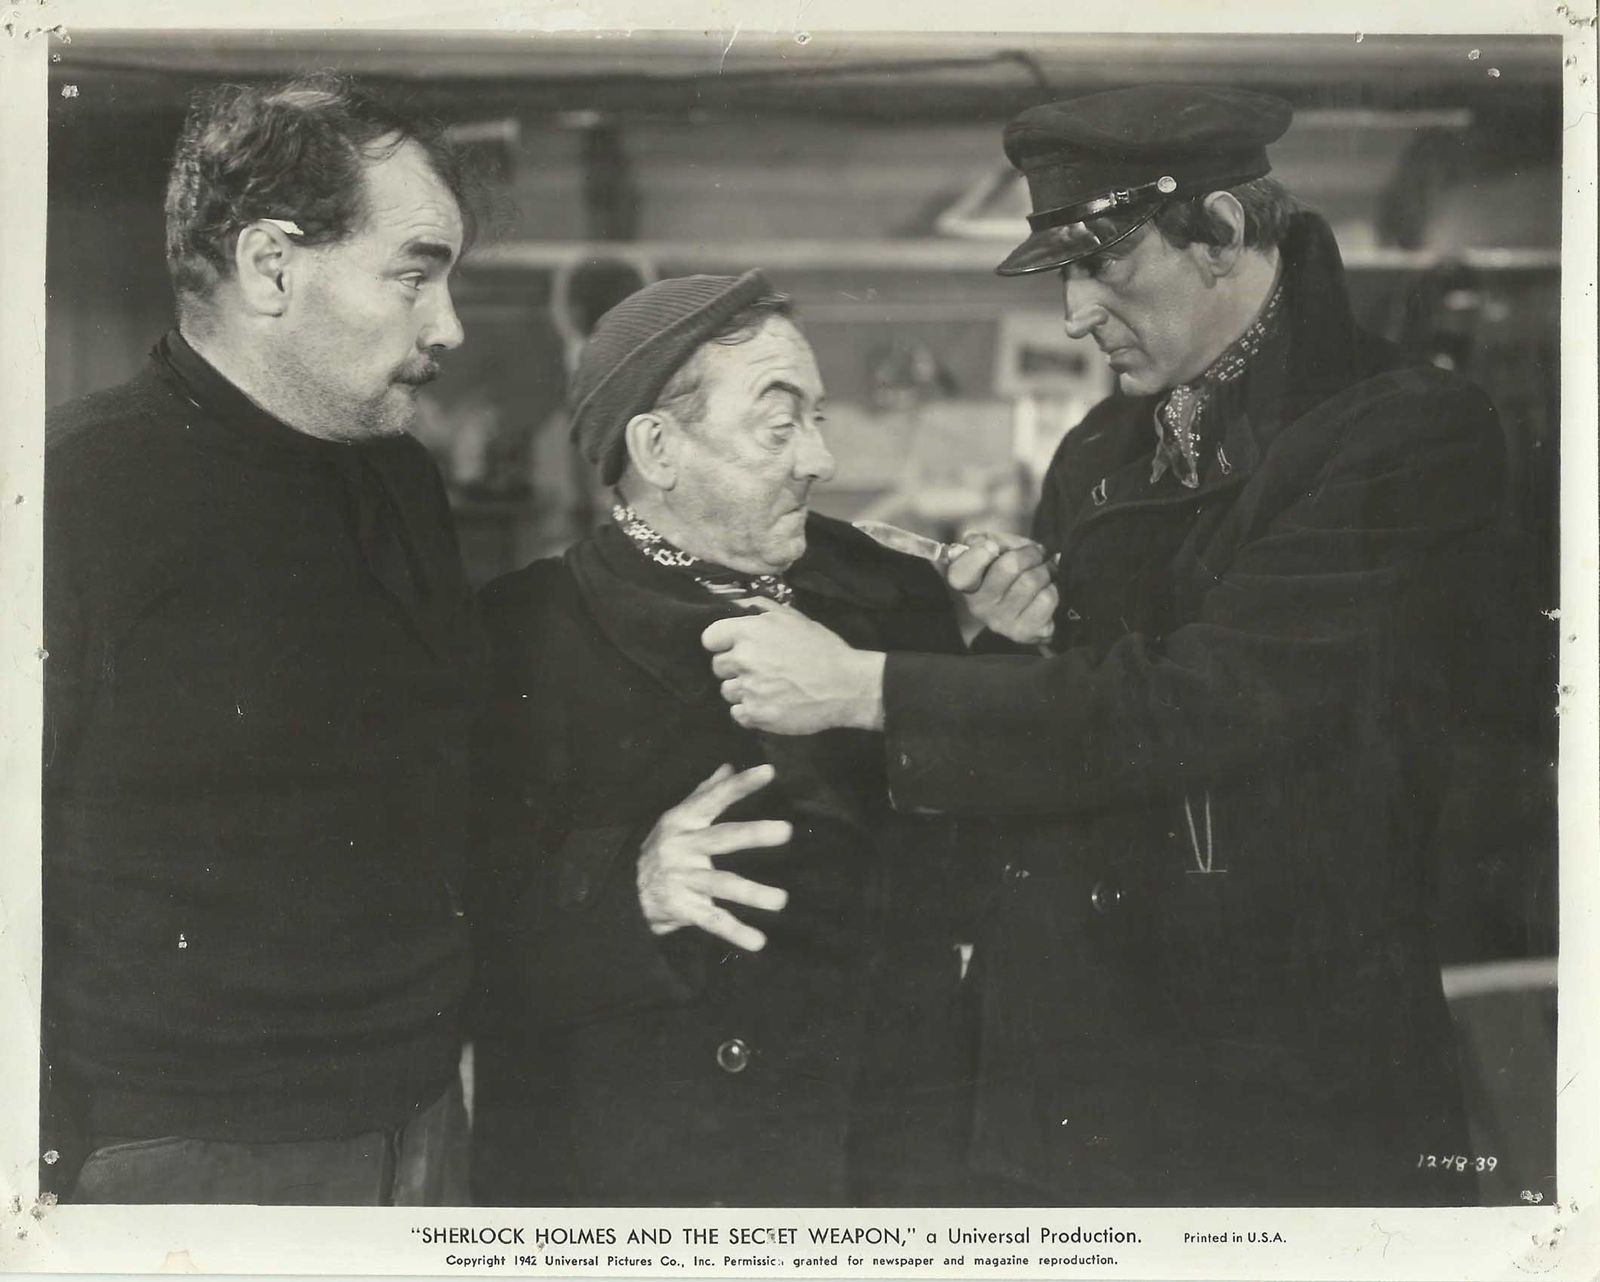
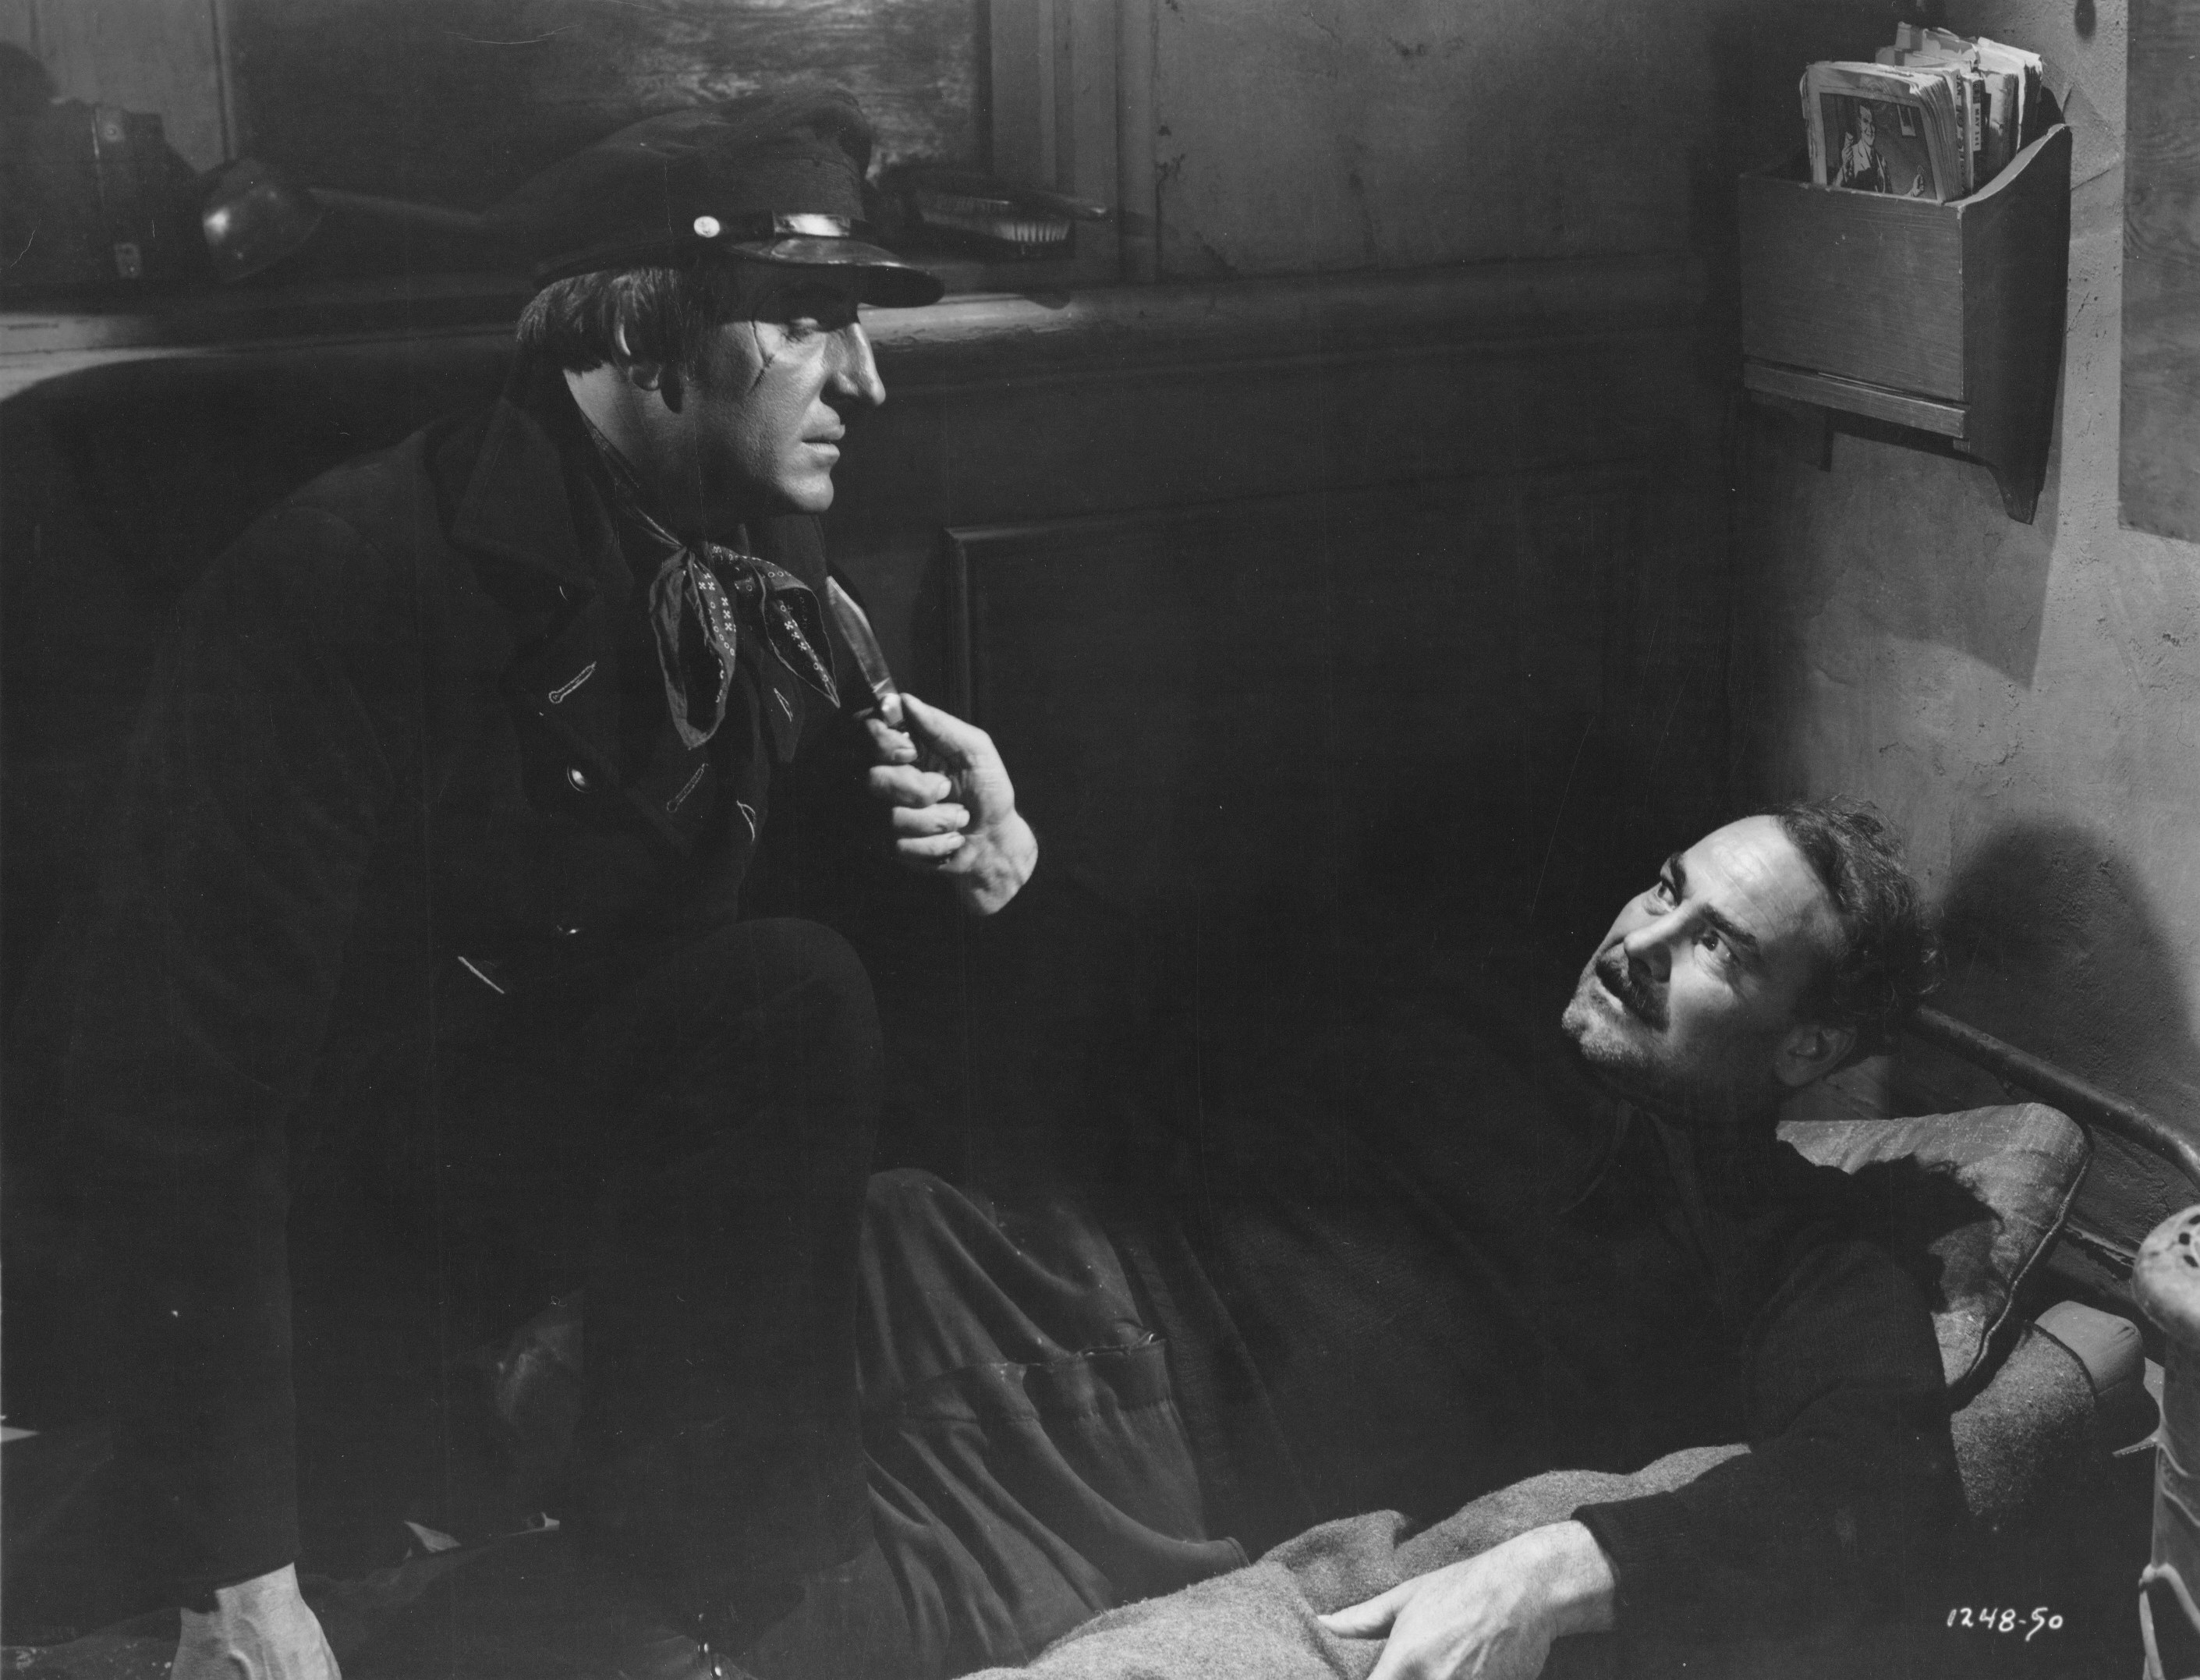 Rathbone and Harry Cording |
 Watson and Lestrade rescue Holmes. |
|||
 The third disguise was as Professor Hoffner. |
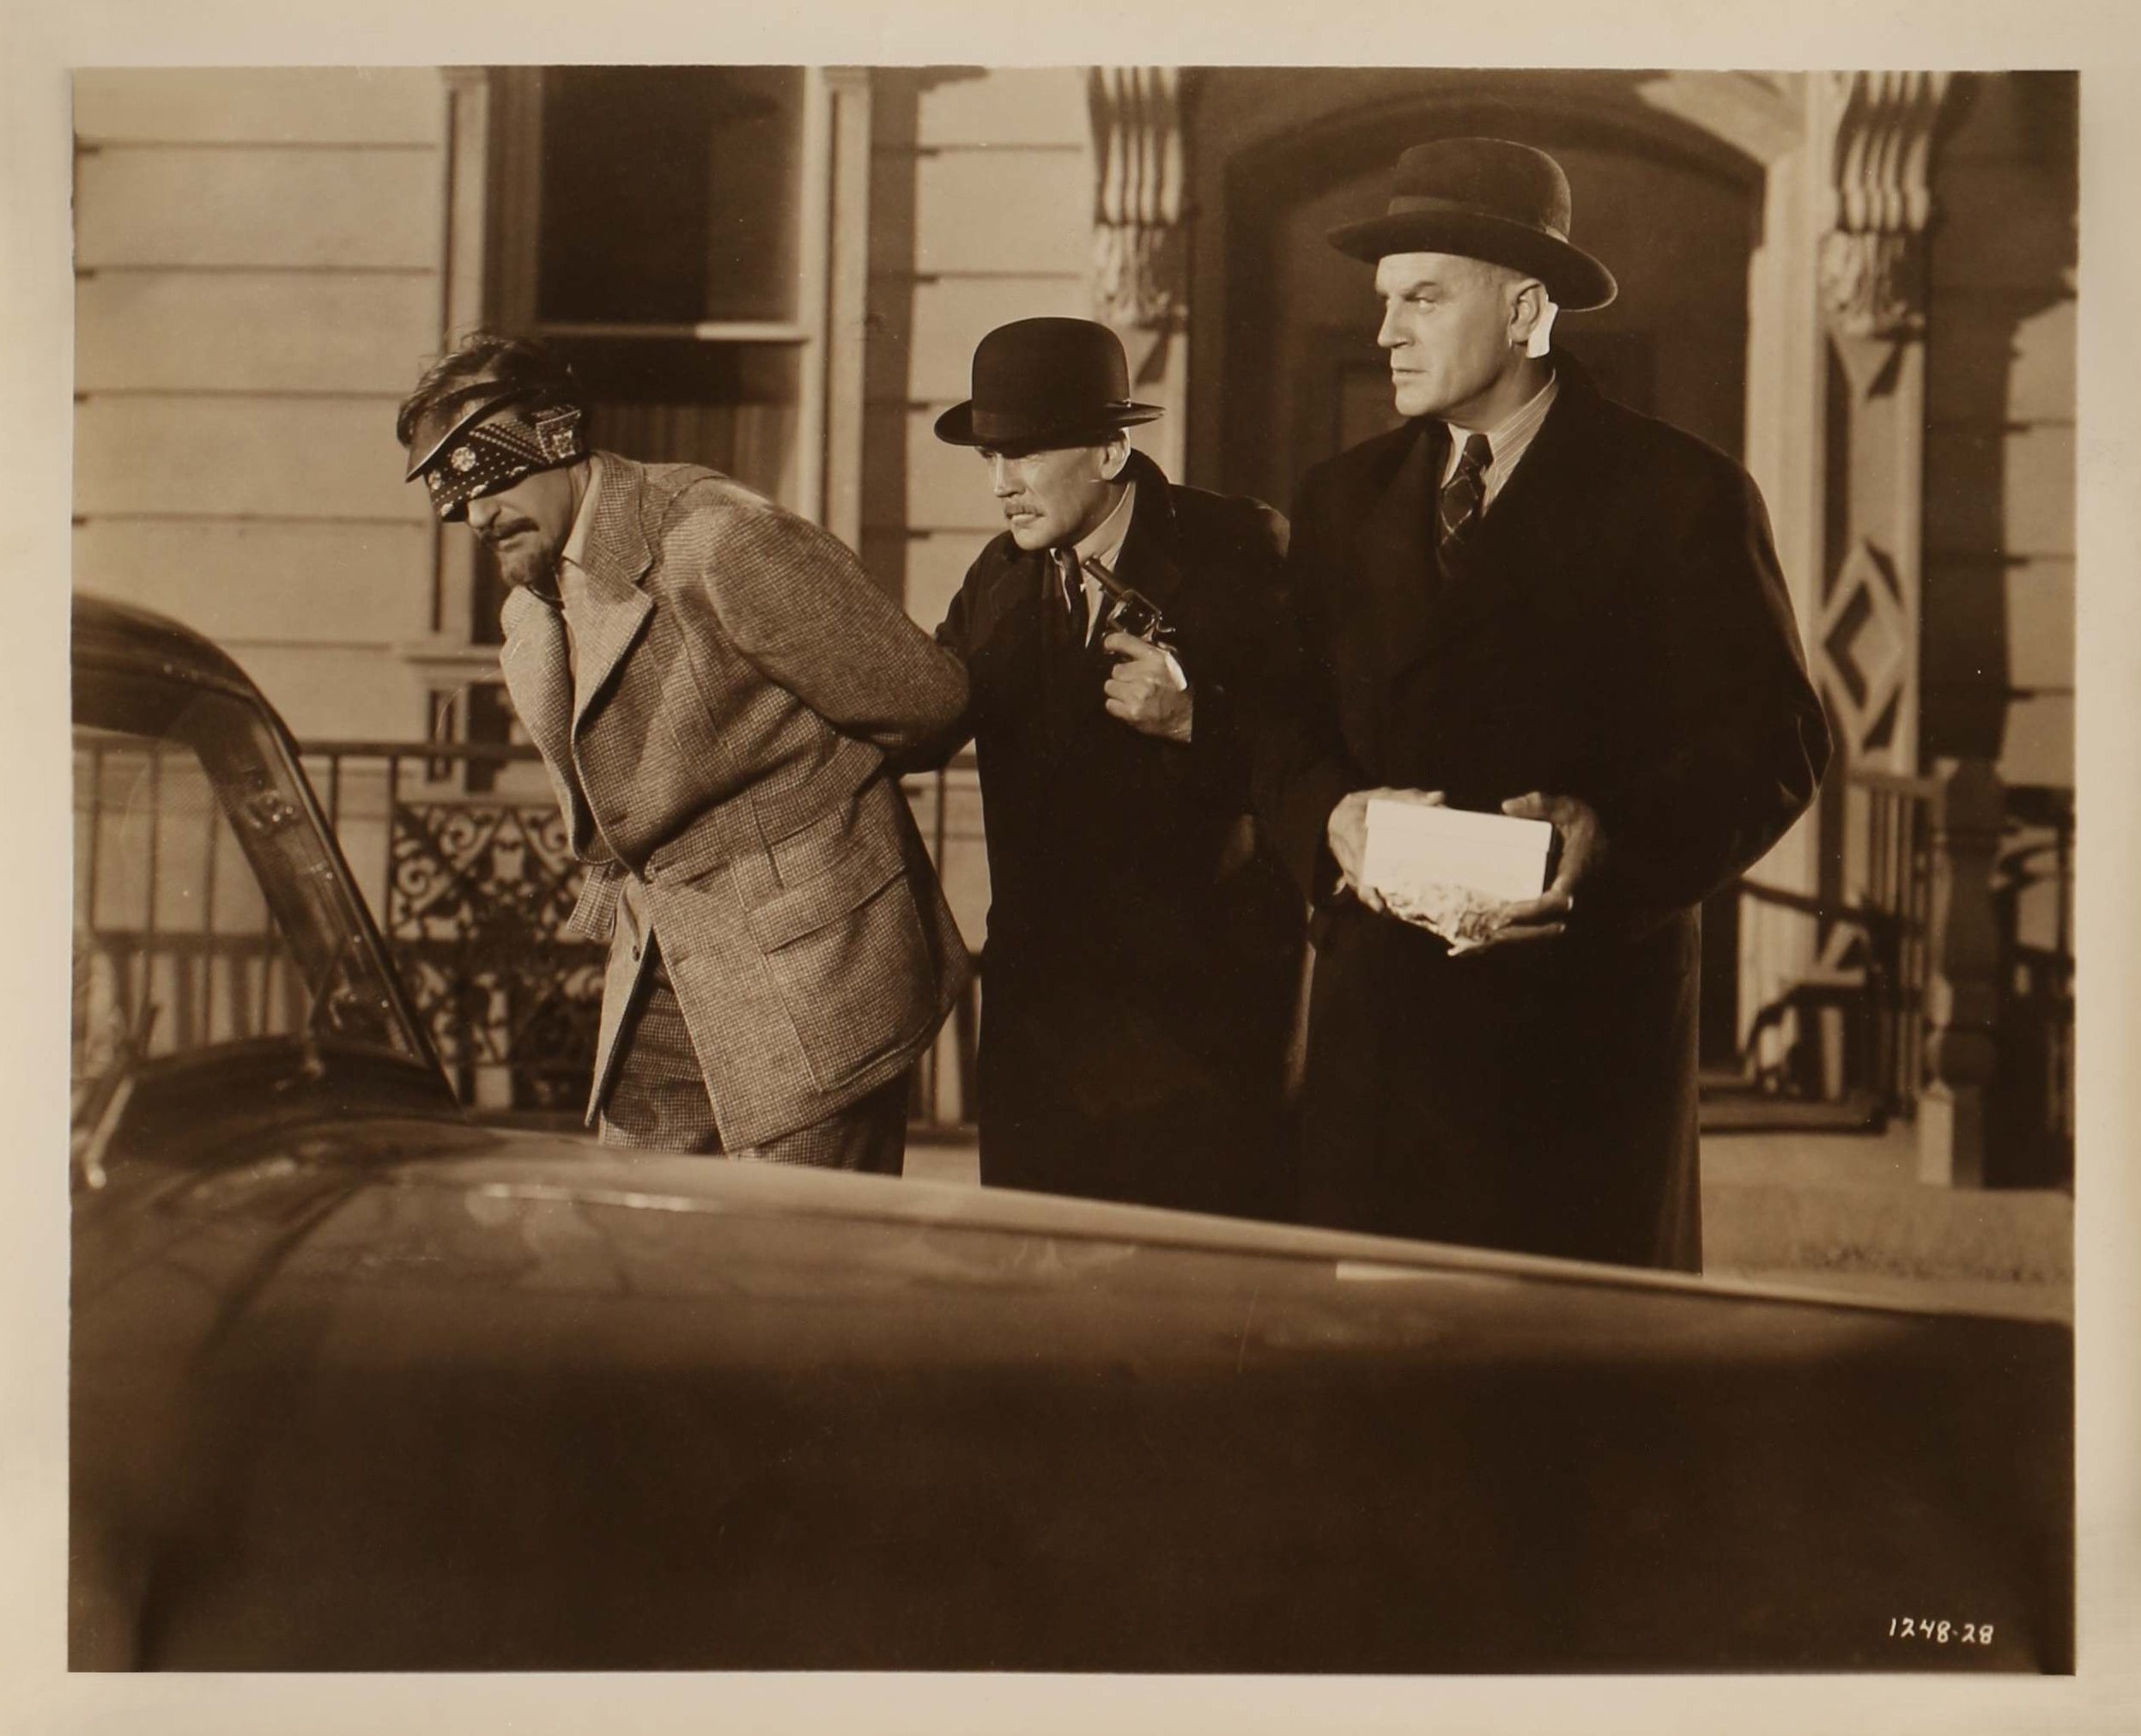 Professor Hoffner is abducted |
|||
|
||||
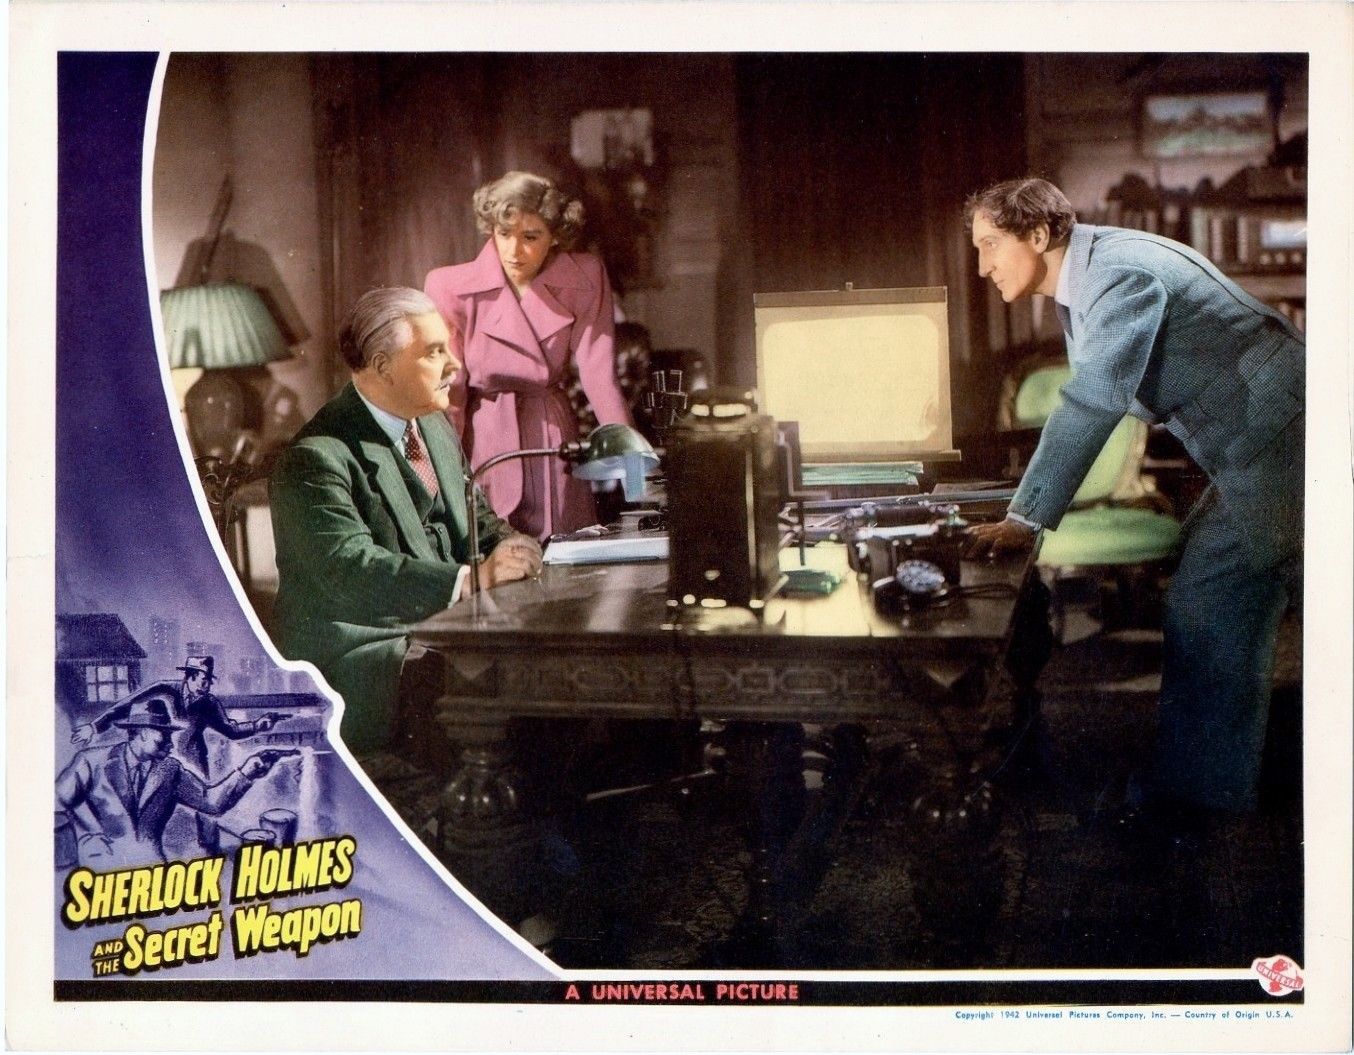
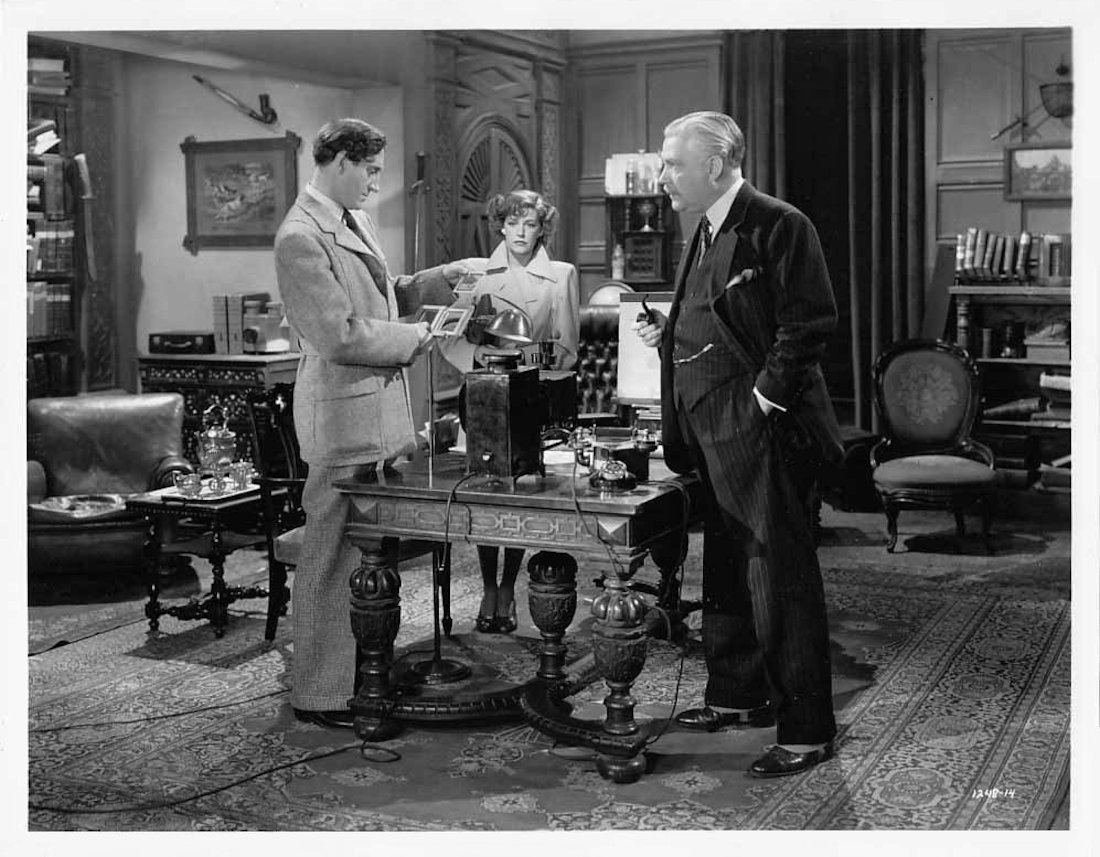
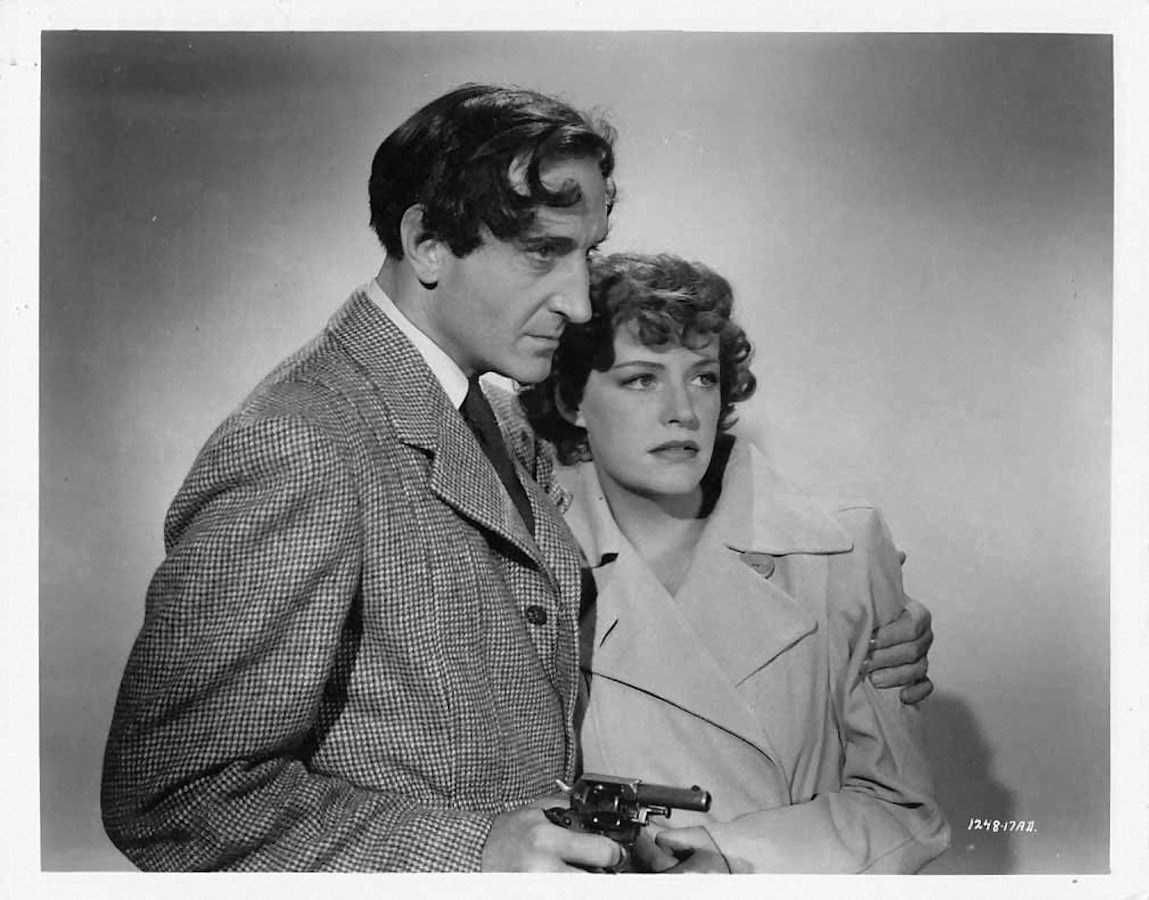 Rathbone with Kaaren Verne |
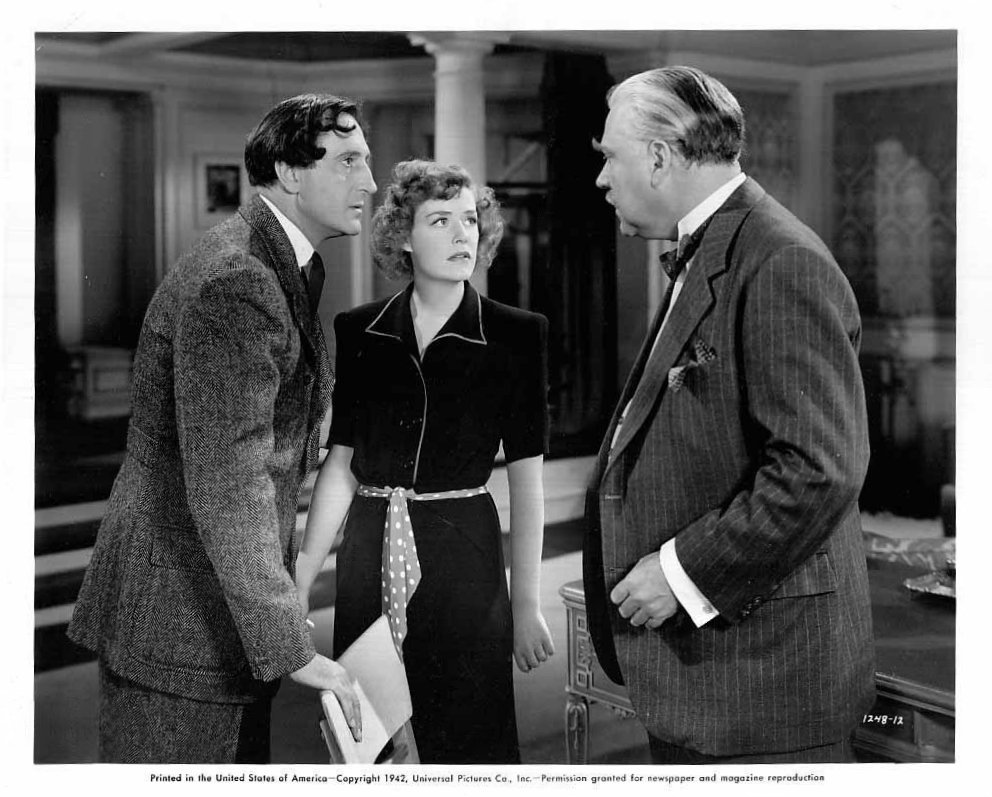
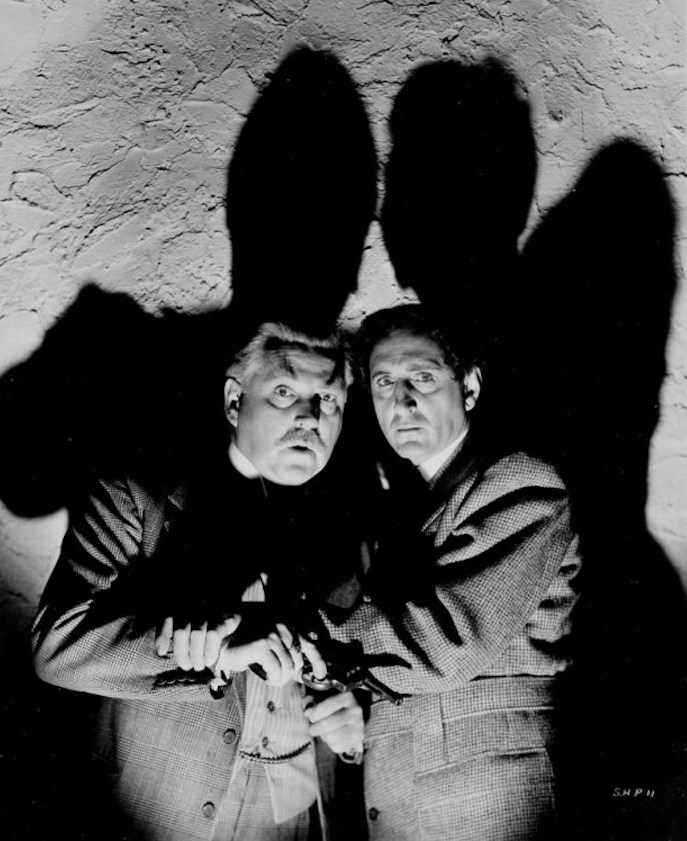
 Lionel Atwill, Nigel Bruce, and Basil Rathbone |
|||
 |
 |
|||
 |
 Rathbone with Kaaren Verne and Nigel Bruce |
|||
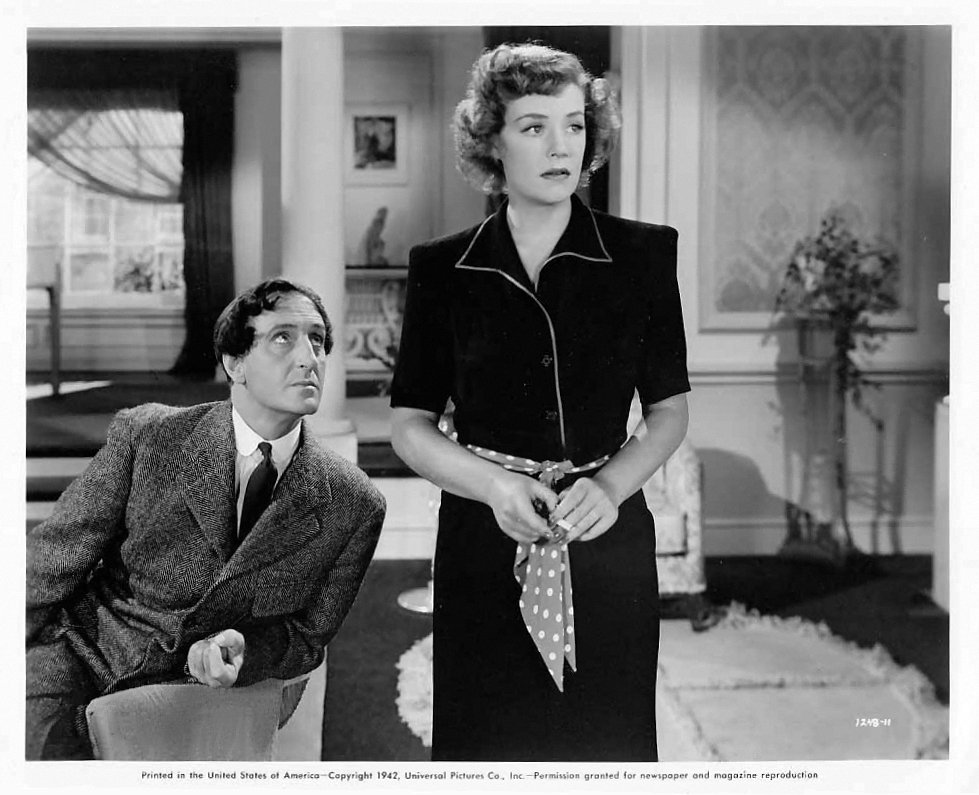 Rathbone with Kaaren Verne |
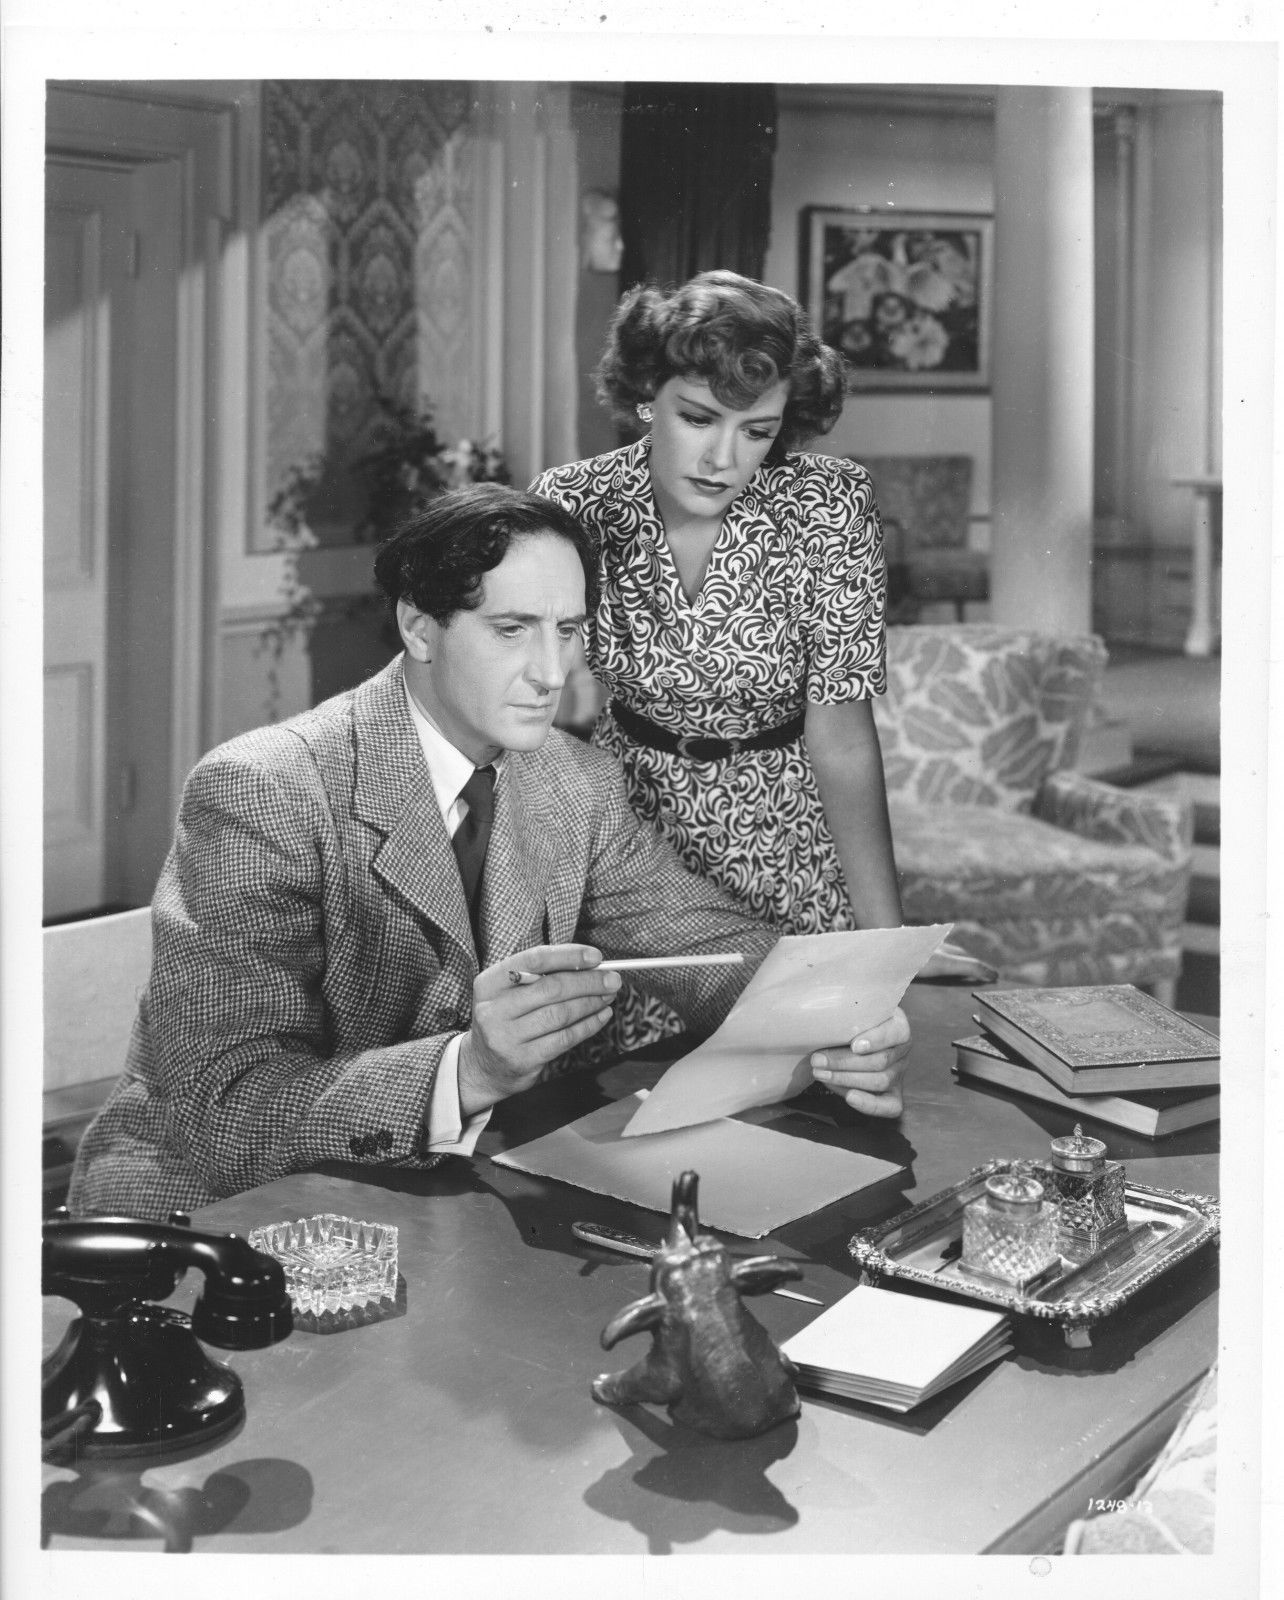 Rathbone with Kaaren Verne |
|||
 Nigel Bruce and Basil Rathbone |
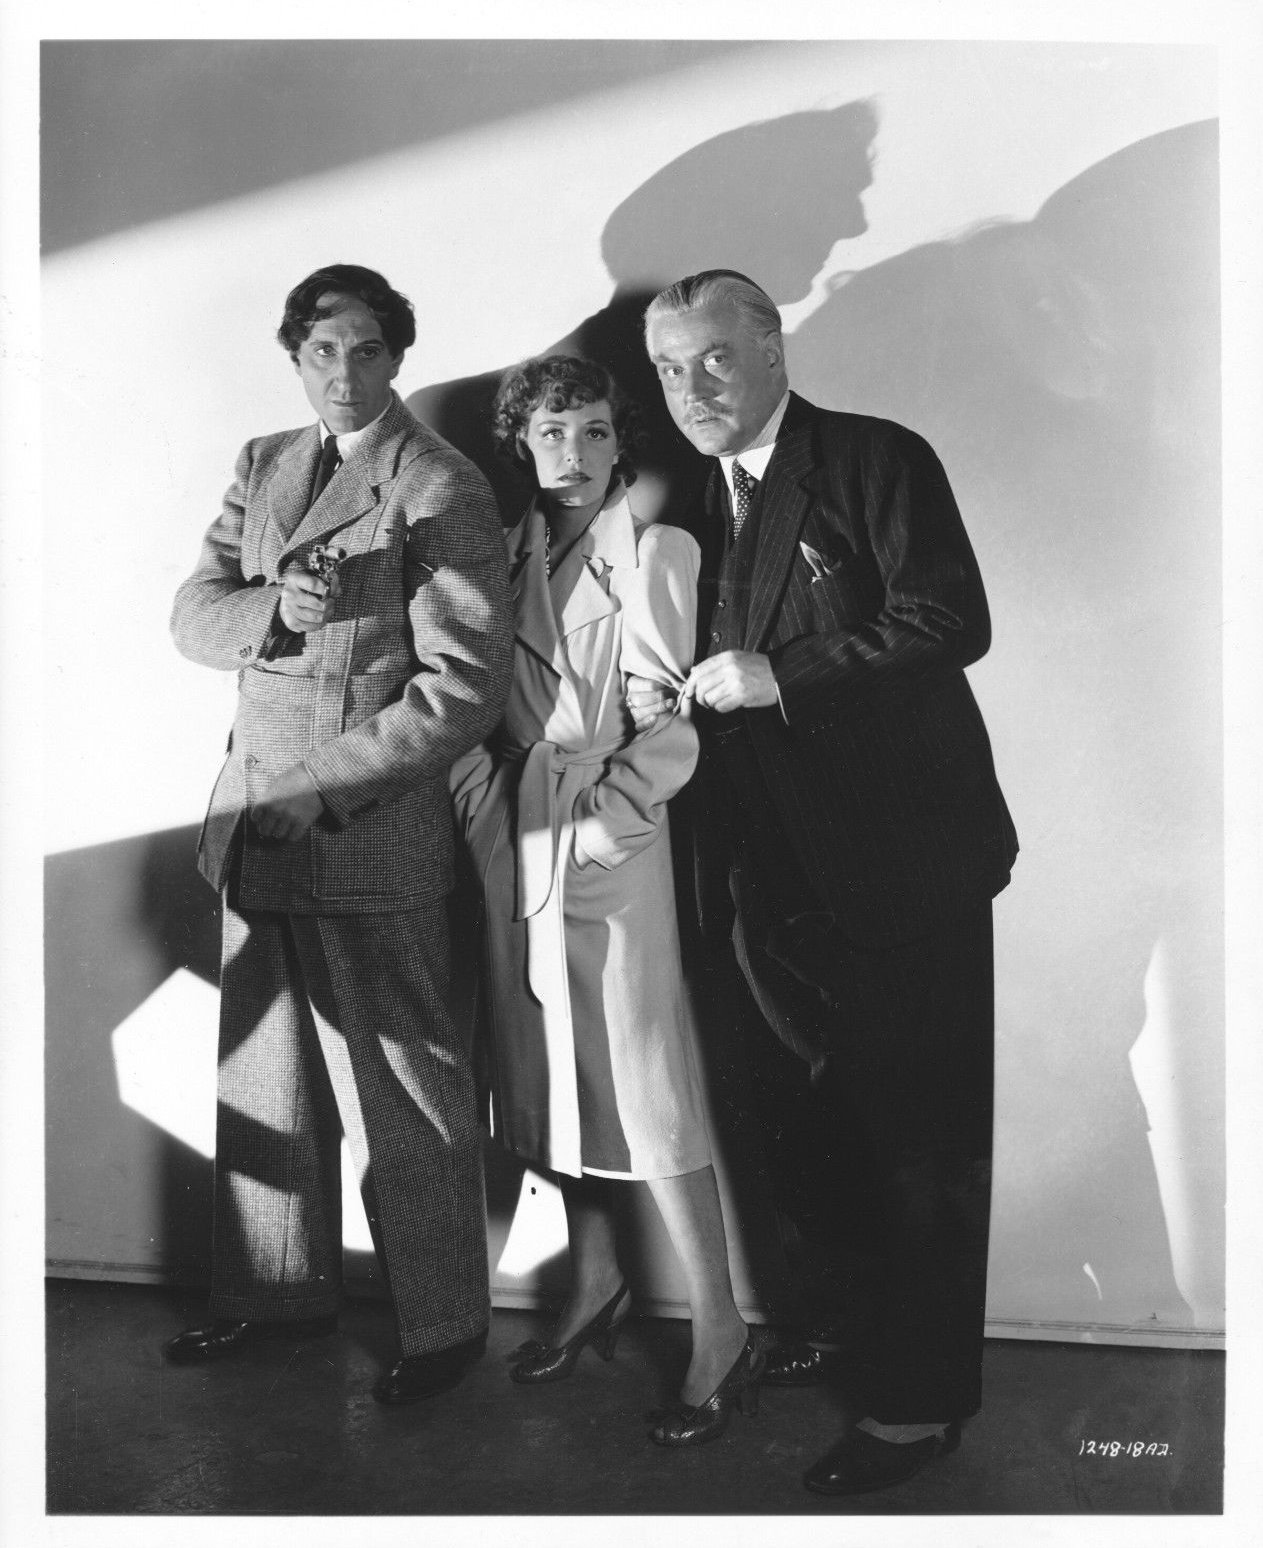
 Nigel Bruce, Kaaren Verne, and Basil Rathbone |
|||
 Nigel Bruce, Kaaren Verne, and Basil Rathbone |
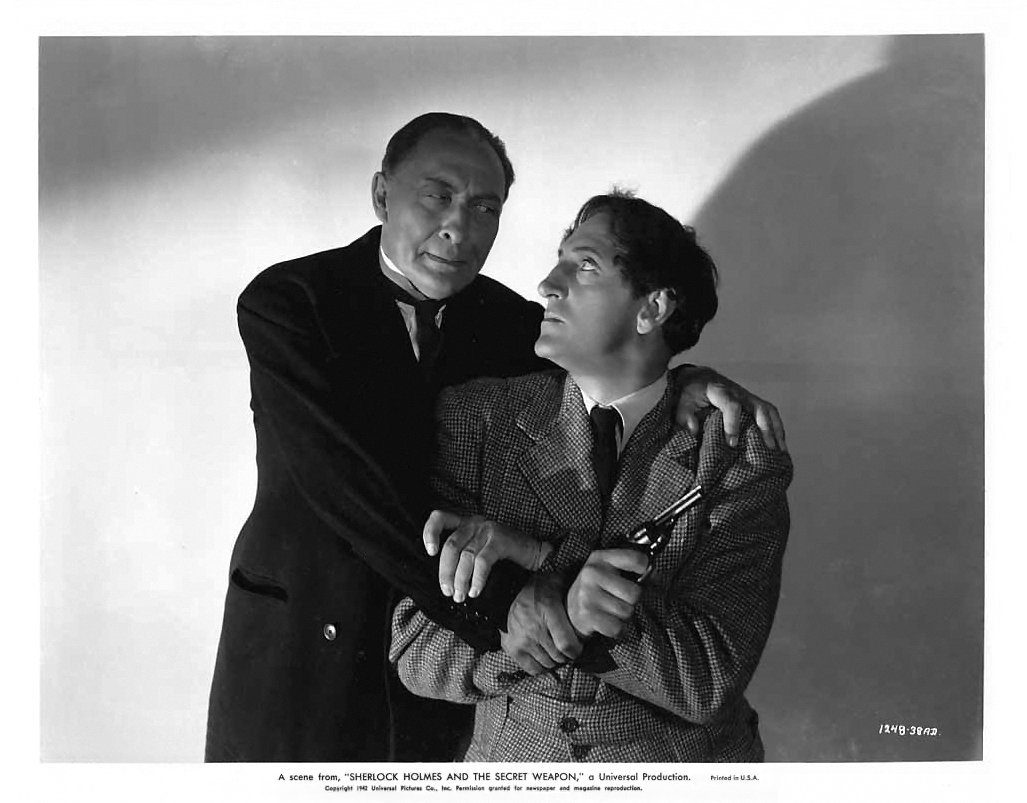
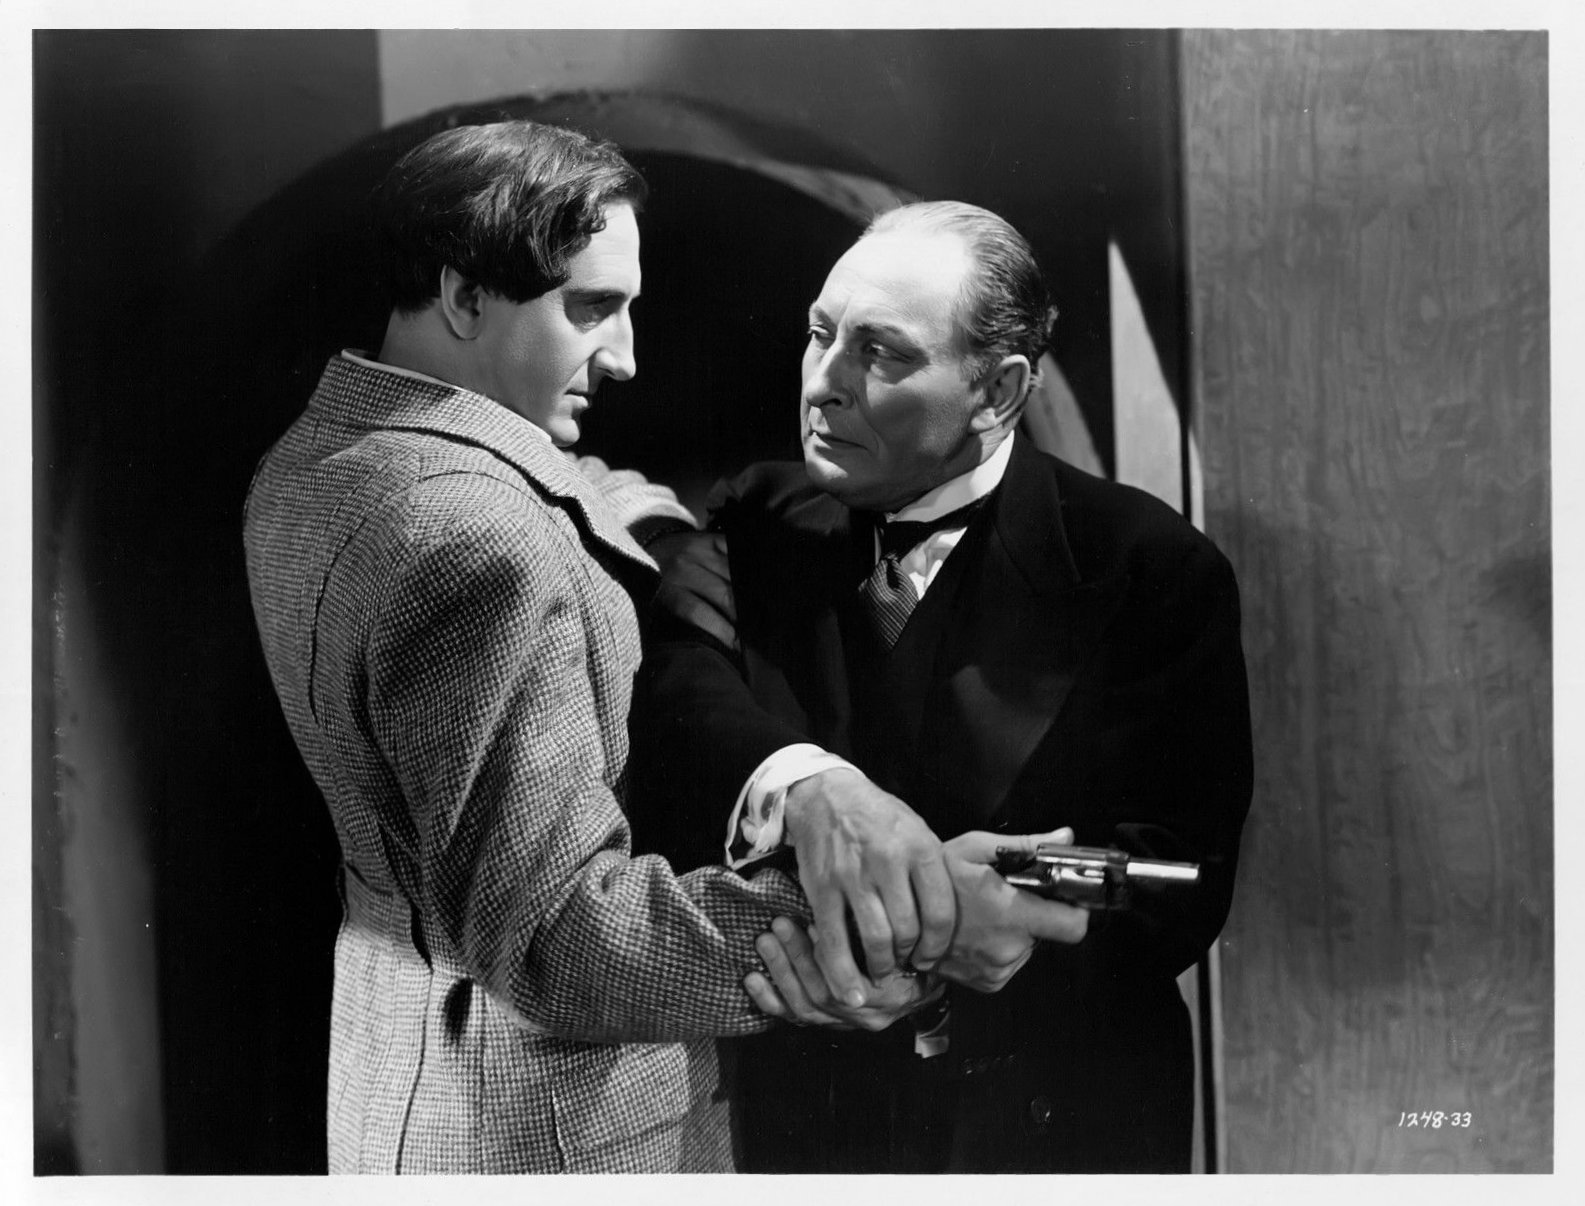 Rathbone and Lionel Atwill |
|||
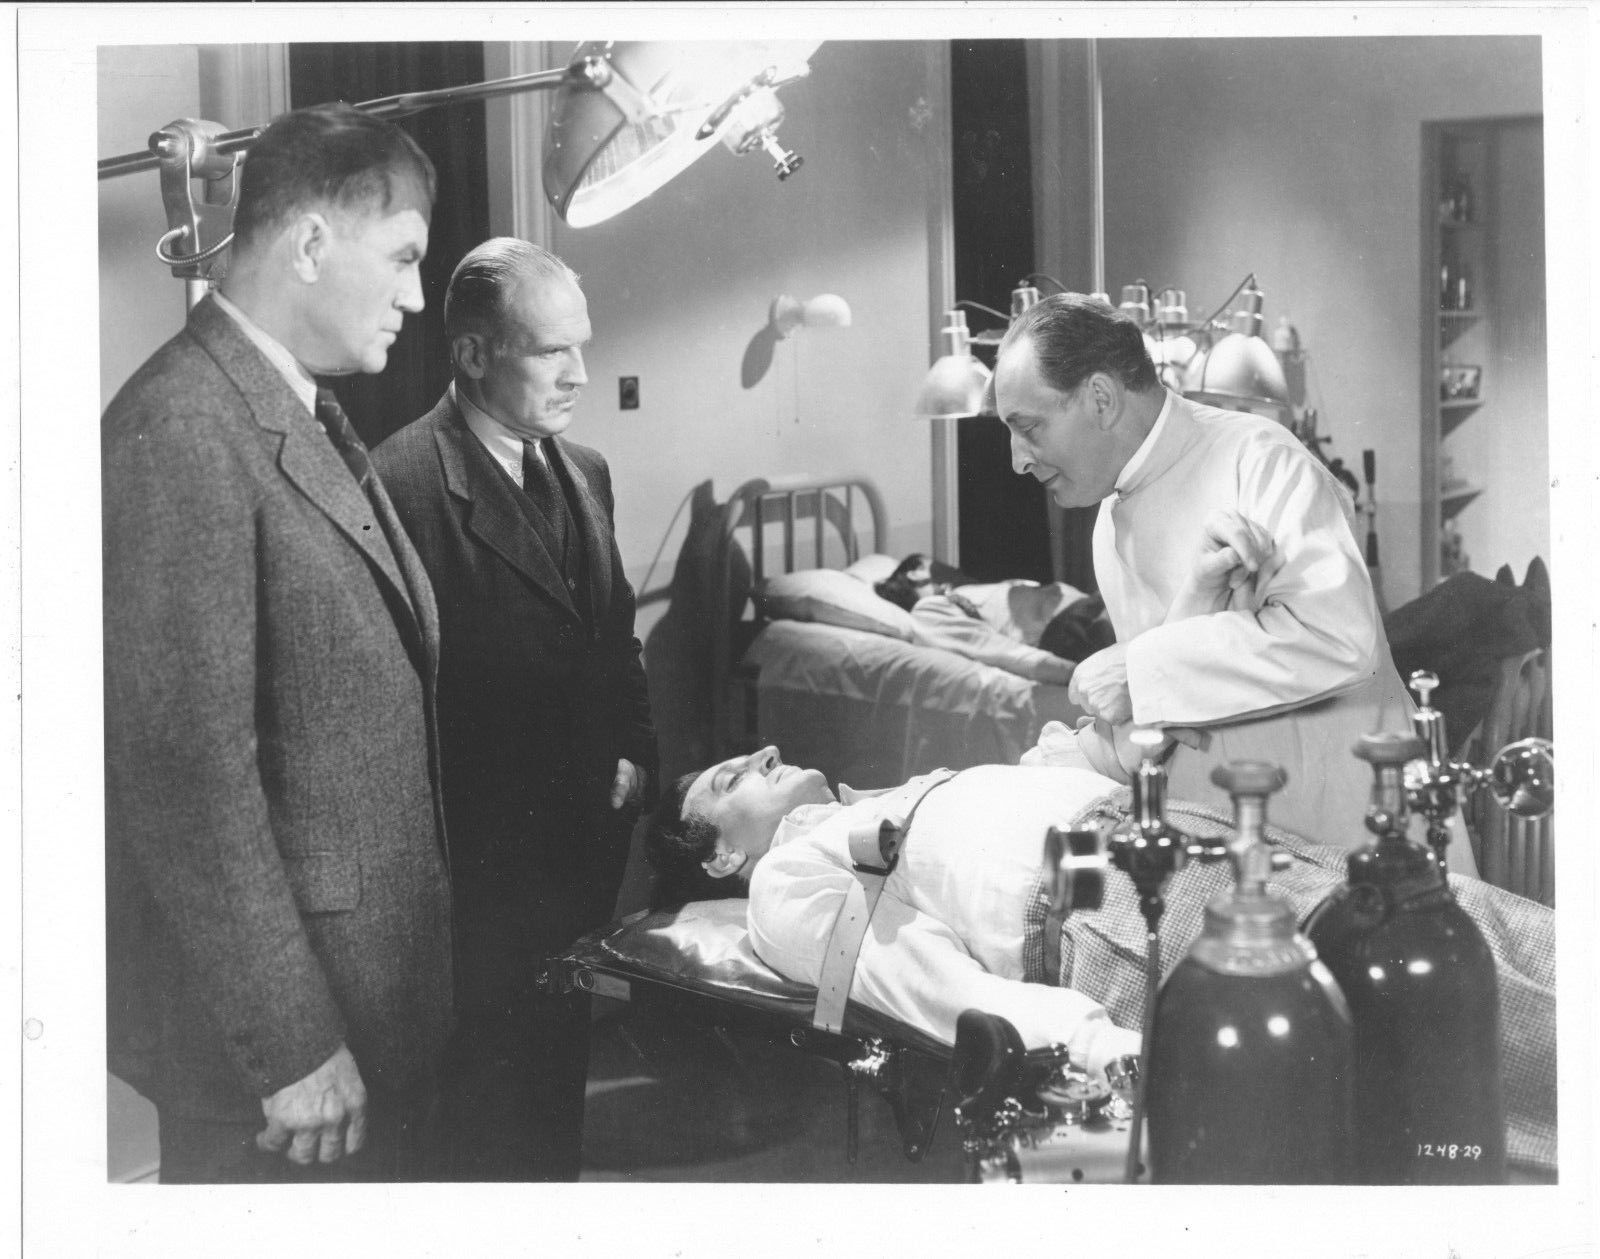 The blood-draining scene |
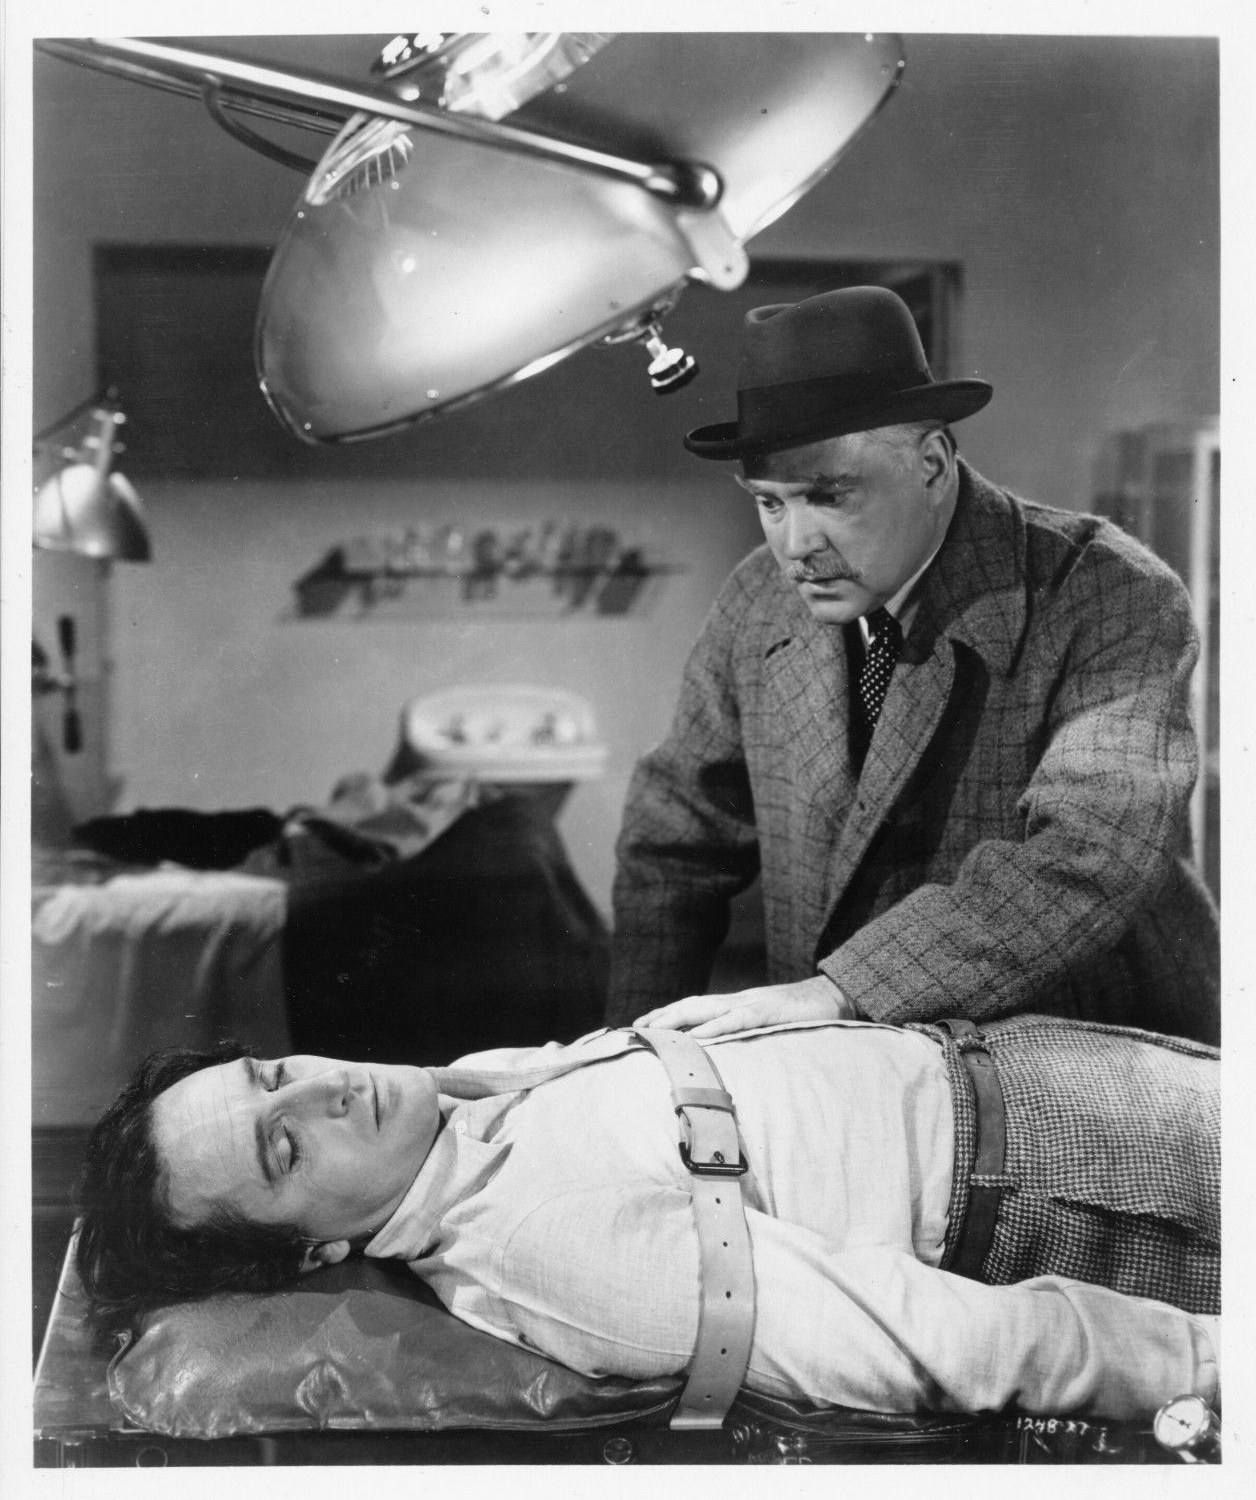 Watson to the rescue! |
|||
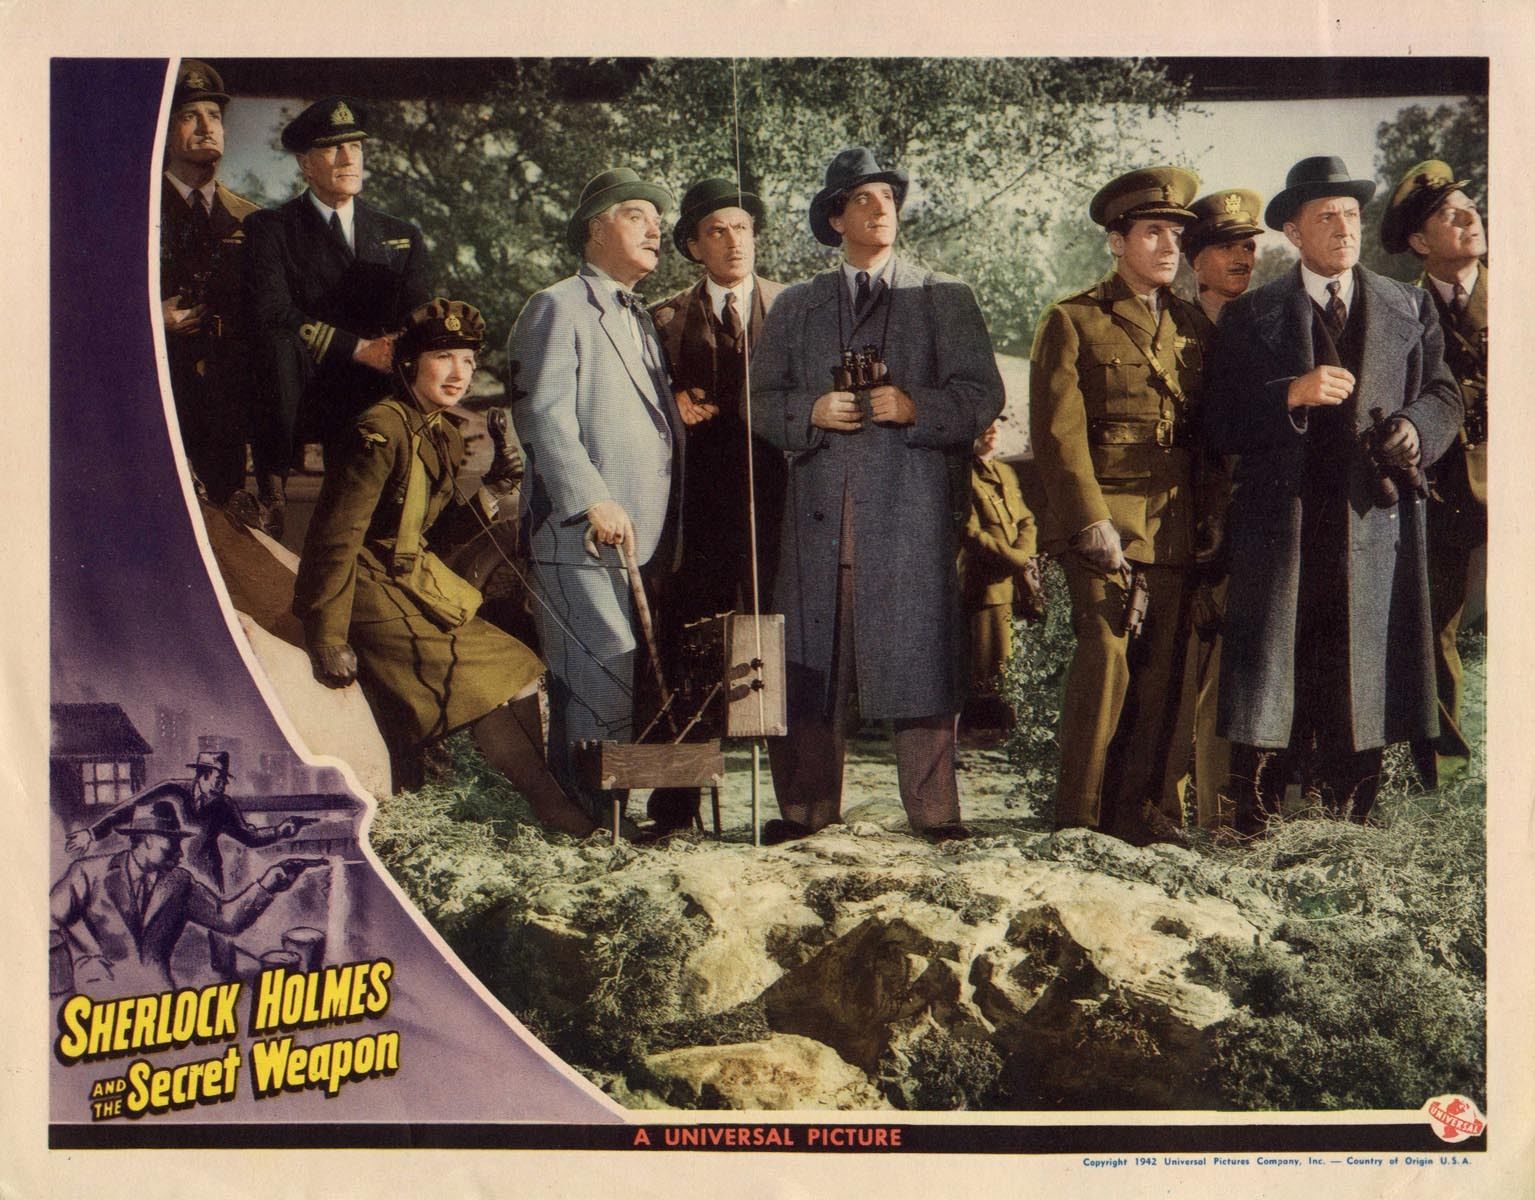
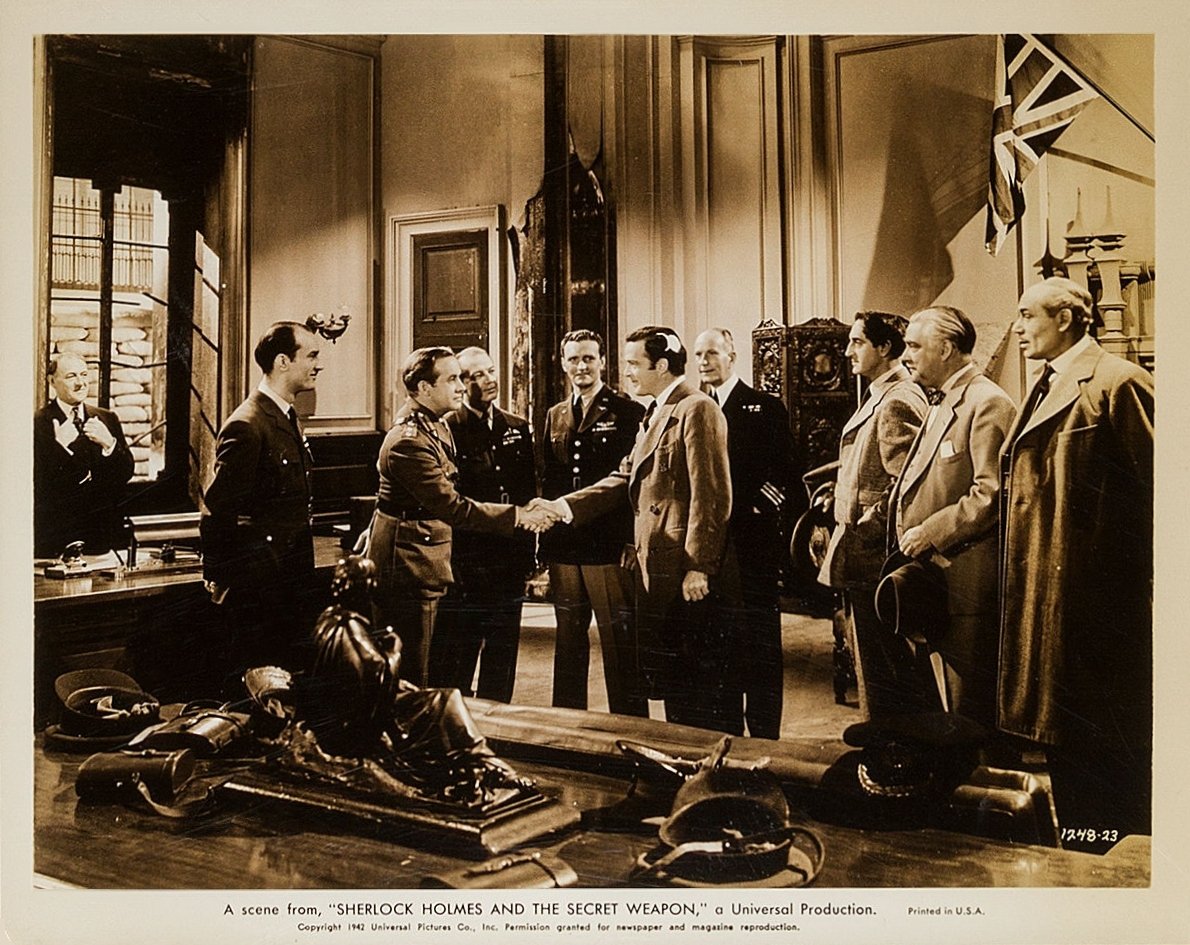
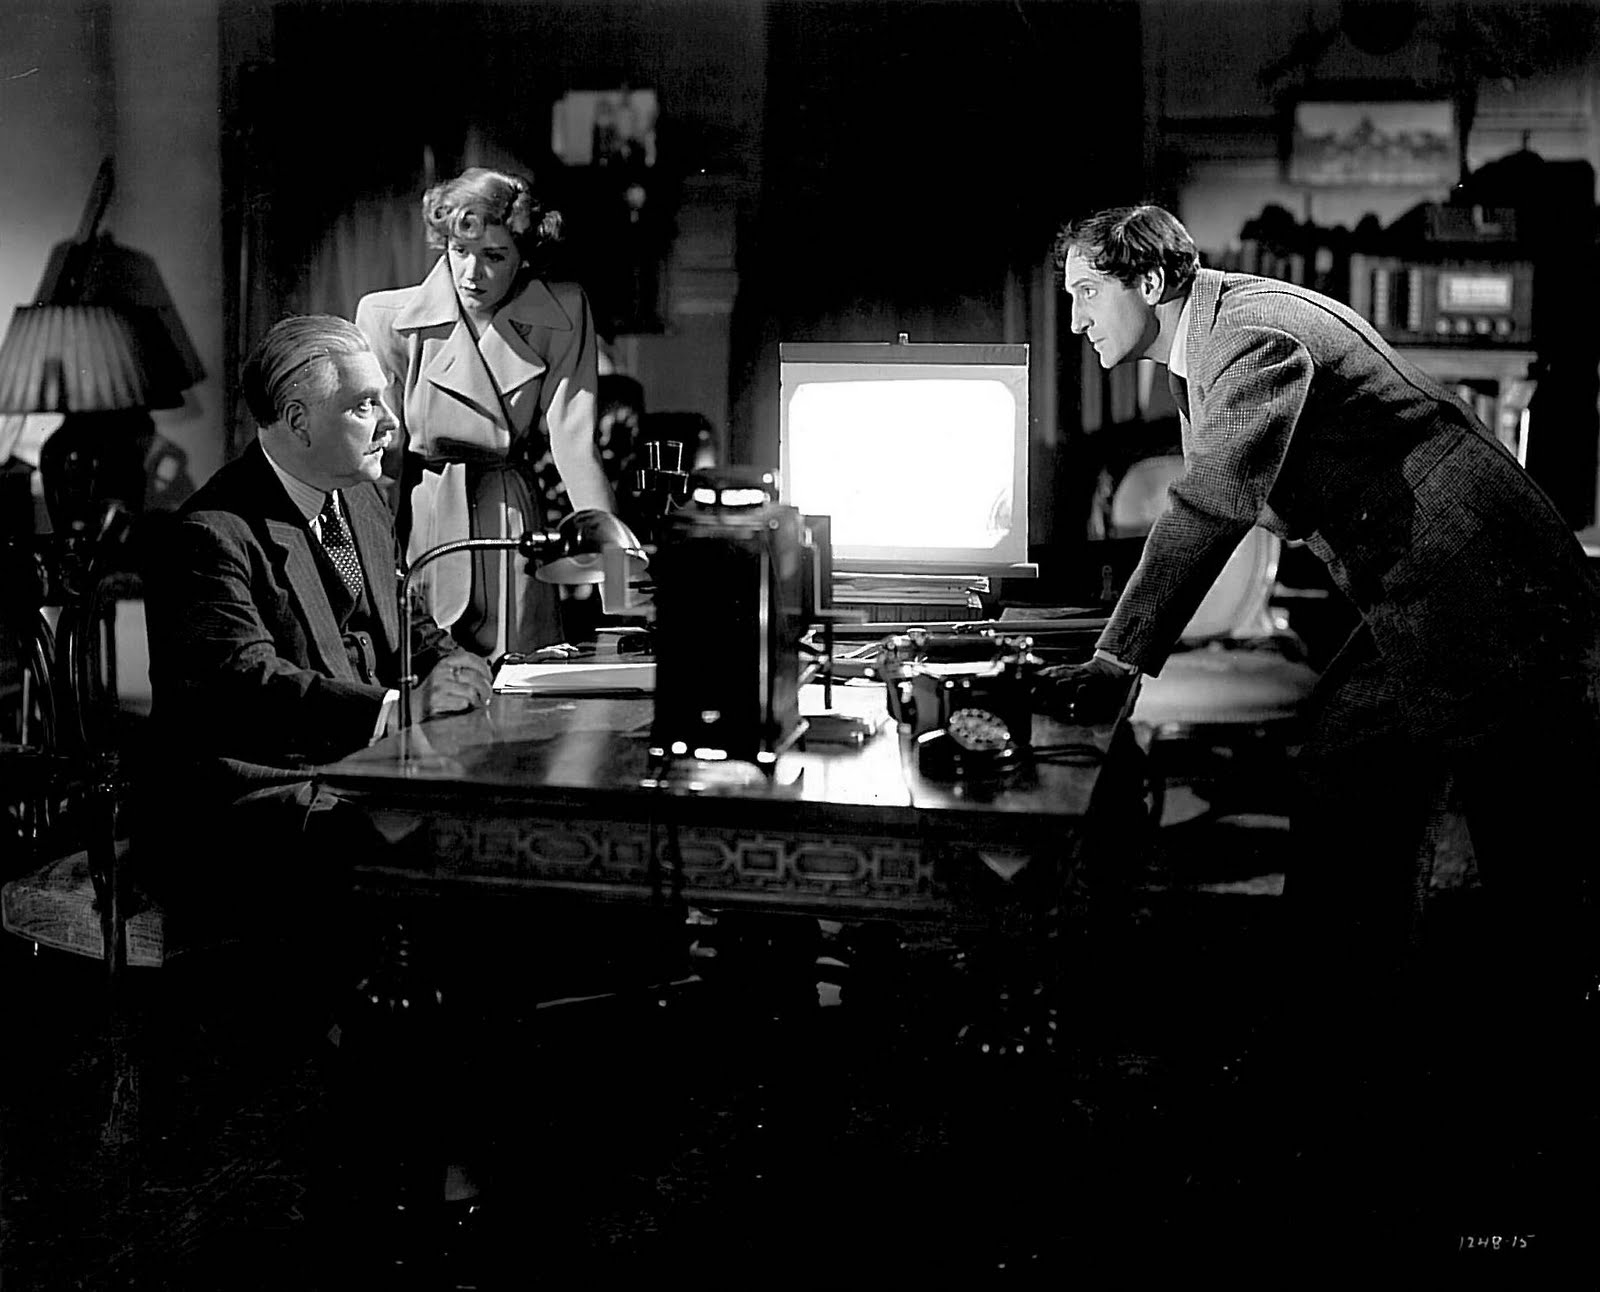
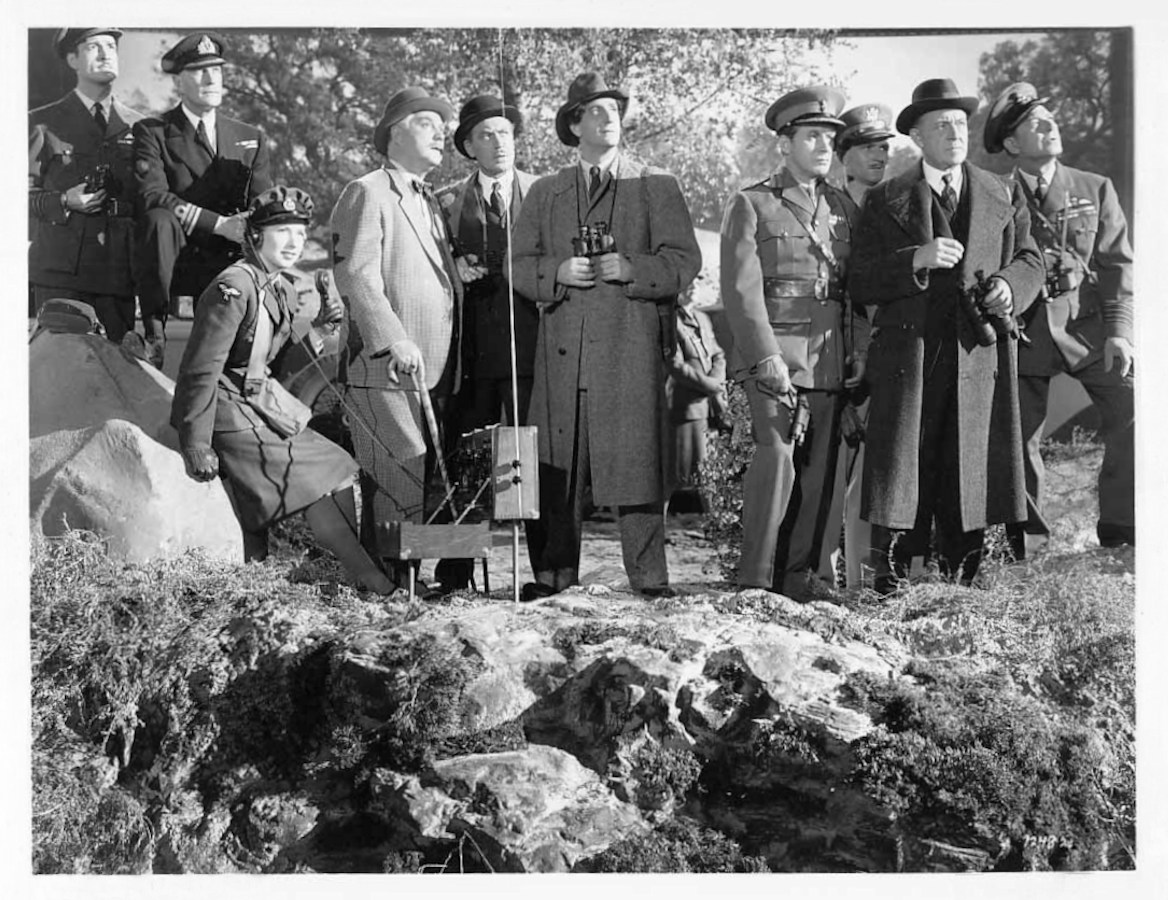 Watching the test of the bomb site |
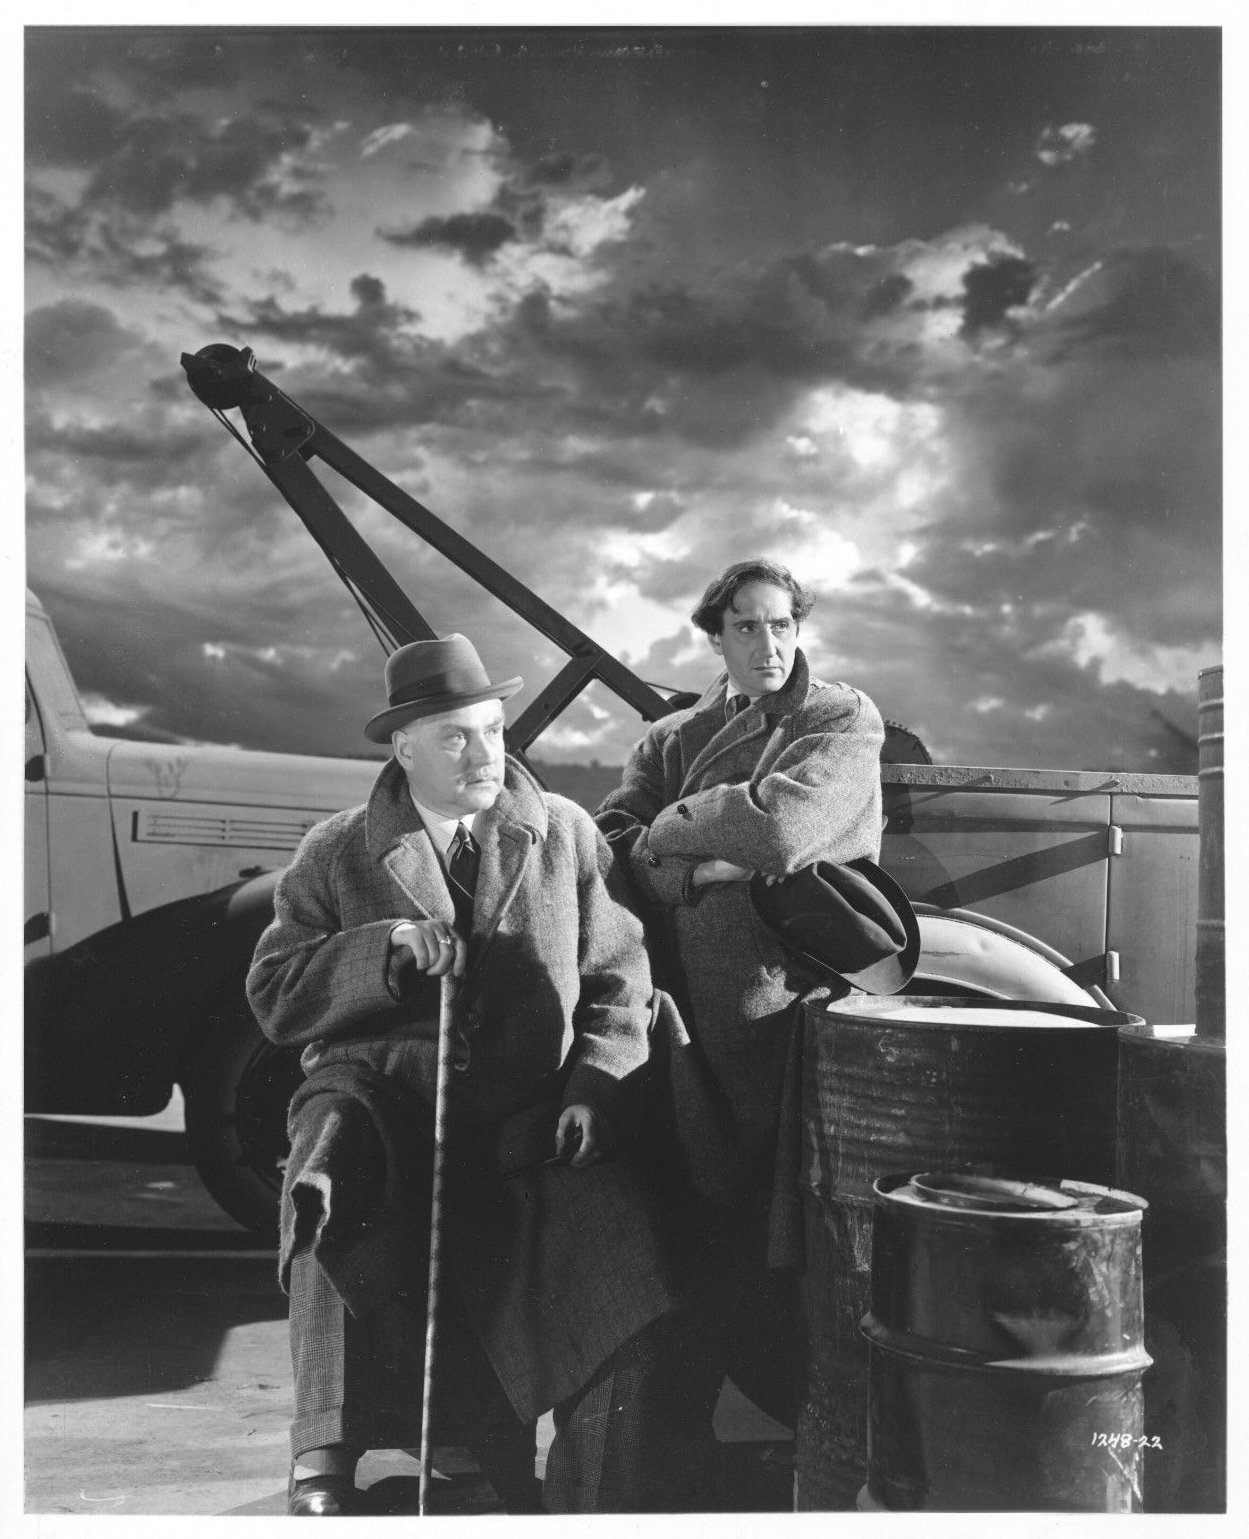 Nigel Bruce and Basil Rathbone |
|||
Back to Page One, review of Sherlock Holmes and the Secret Weapon